Remote control One camera, four uses
-
Controlling the DxO ONE over Wi-Fi
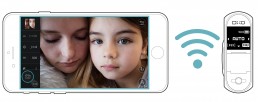
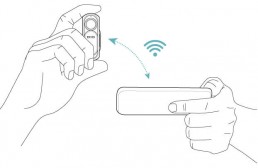
The DxO ONE can be unplugged from the iPhone and operated remotely thanks to its built-in Wi-Fi mode.
When the two devices are connected via Wi-Fi, the DxO ONE sends the viewfinder image to the iPhone, allowing you to access all your camera’s commands, functions, and settings. Remote control makes certain types of shots easier, including photos taken from creative angles, group selfies, long exposures, etc.
-
Choosing the connection mode
You can set up a wireless connection (Wi-Fi) between your iPhone and your DxO ONE. The iPhone then becomes a remote control for your DxO ONE, allowing you to access new shooting angles without losing the ability to preview or control your settings.
Based on your needs and how you’re using the camera, choose between two available modes:
-
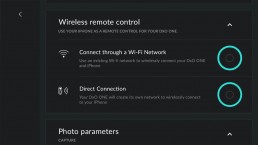
Direct connection: your DxO ONE creates a wireless connection that lets you control the camera remotely in places where there is no Wi-Fi network available.
-
Connection via an existing network: this mode lets you establish a connection between your iPhone and the DxO ONE by making use of a local network (at home or at the office).
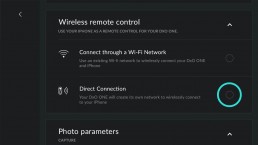
These two connection modes are accessible in Shooting settings, under the Remote control section. To select a connection mode, tap to the right of the desired mode.
Note that activating the Wi-Fi significantly affects the battery life of the DxO ONE.
In Wi-Fi mode, the images taken with the DxO ONE are saved onto the microSD card but are not automatically transferred to the iPhone or iPad.
Connection via an existing Wi-Fi network is simpler (no need to change the Wi-Fi network on your iPhone) and allows a virtually infinite range (depending on the range of your existing network).
On the other hand, a direct connection between the iPhone and DxO ONE is more reliable and performs better, in particular if there are already a large number of devices using your Wi-Fi network.
-
Connecting in Direct Wi-Fi mode
If you don’t have a Wi-Fi network, you can set up a connection between your iPhone and your DxO ONE in Direct Wi-Fi (“peer-to-peer”) mode.
-
Plug the DxO ONE onto your iPhone and turn it on to open the application.
-
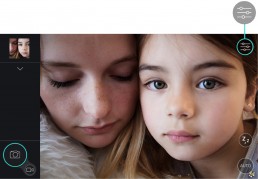
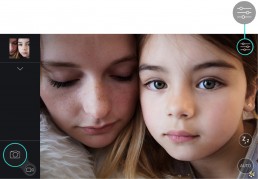
Press the Shooting settings icon.
-
Scroll through the settings to the Remote control section.
-
Tap on the circle to the right of “Direct connection”.
-
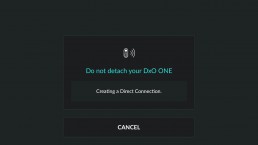
A dialogue box will tell you the status of the current connection.
-
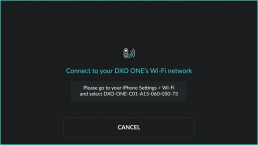
After a few seconds, the dialogue box will tell you to connect to “DxO ONE—XXX-XXX-XXX-XXX-XX” under the iPhone’s Wi-Fi Settings. Go into your iPhone’s Settings > Wi-Fi, select the network called “DxO ONE—XXX-XXX-XXX-XXX-XX”, then go back to the application.
-
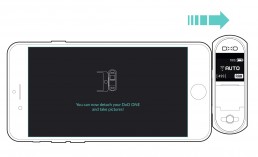
When the connection is confirmed, a new message will tell you to unplug the DxO ONE from your iPhone.
-
Unplug your DxO ONE from your iPhone. Your camera is ready to operate in remote mode via a direct Wi-Fi network.
The range of the direct connection can be up to about 45 meters [145 feet]. However, it does depend on factors like the presence of obstacles, weather conditions, the presence of other Wi-Fi devices, etc.
A direct Wi-Fi connection is possible with up-to-date firmware and version 2.1 or higher of the DxO ONE application.


 Download page