
Creating a Time-lapse video
Recording videos
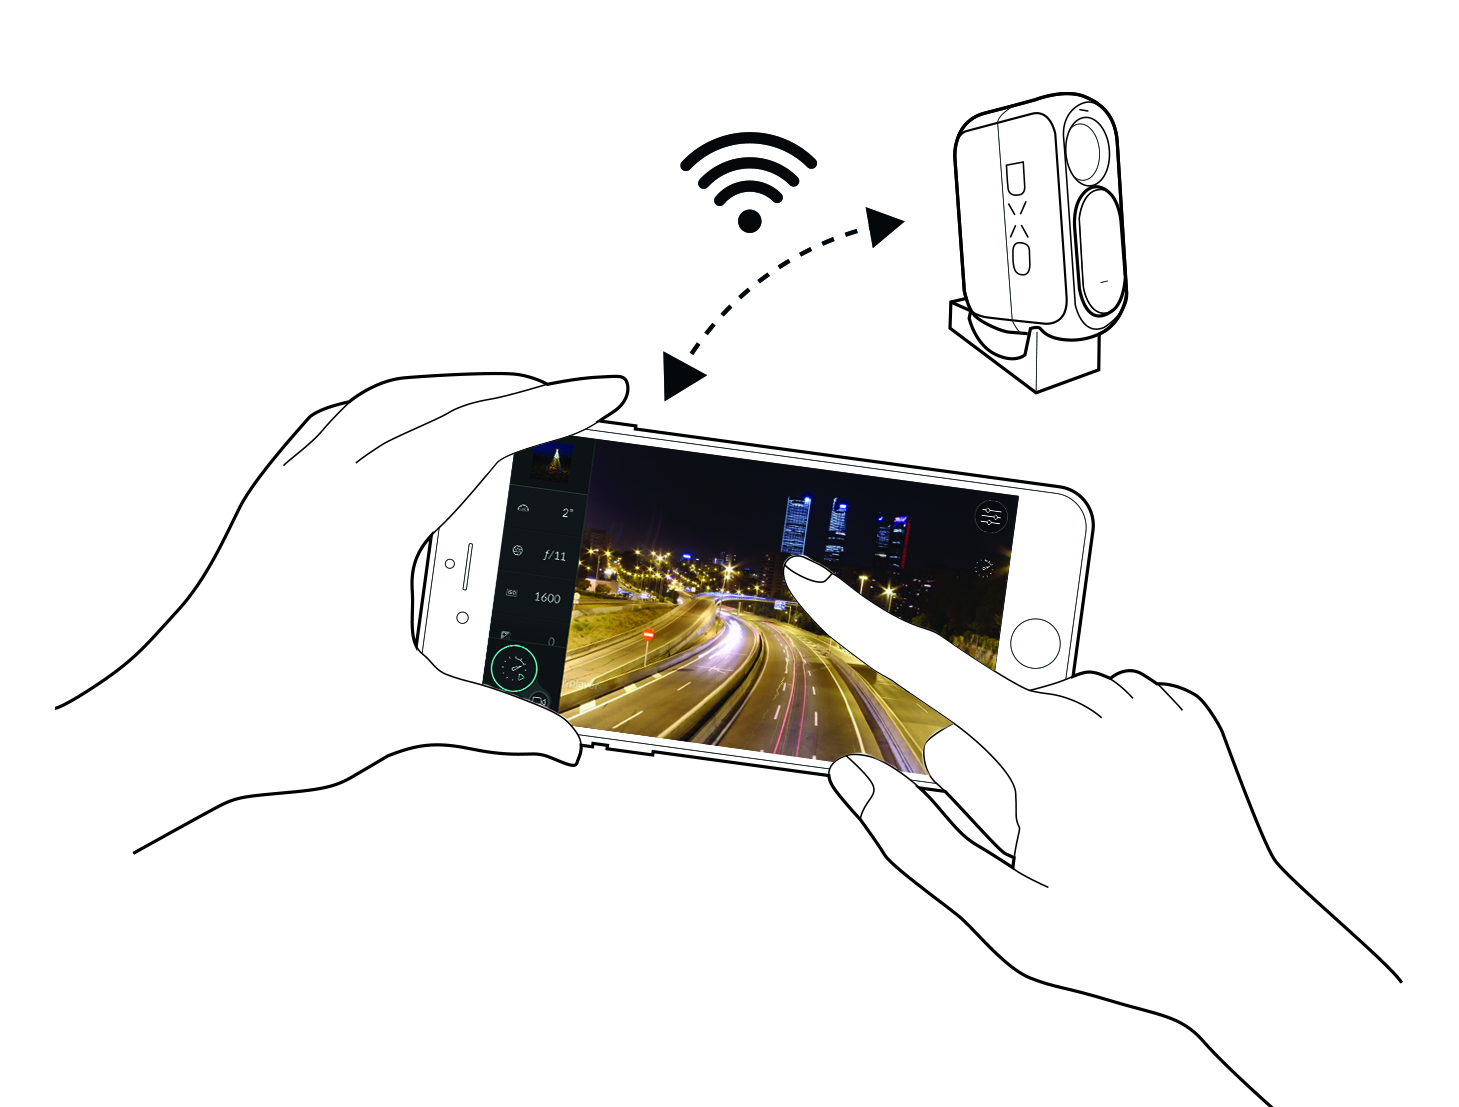
![]() Preparing to shoot Time-lapse video
Preparing to shoot Time-lapse video
To capture a Time-lapse with your DxO ONE in the best possible conditions, follow these recommendations carefully. Keep in mind that you might have to leave your camera as it records on its own for several hours:
-
-
 Make all your settings in Wi-Fi mode, preferably using the direct Wi-Fi option, which is much more practical if your DxO ONE is set up on a tripod in a tight space or in an area that’s difficult to access. Plus you won’t run the risk of accidentally moving the DxO ONE and changing the frame when you disconnect your iPhone. Once you’ve entered your settings, you can start the Time-lapse. You can move outside of the range of the Wi-Fi network or even leave the app without affecting the recording process. When you return to your DxO ONE, the application will immediately ask if you would like to reconnect to the camera.
-
To use the direct Wi-Fi mode, especially if you are in a natural setting and away from any Wi-Fi network, read “Remote Control (part.I)”.
-
Use a strong, stable tripod so your DxO ONE is steady as you record your Time-lapse video. Adjust the height of the tripod, position the DxO ONE, and frame your image using your smartphone screen (also while in Wi-Fi mode) and the grid to make sure your image is correctly lined up. Once you’ve set up your camera, don’t forget to tighten the tripod head and swivel joint to prevent any unwanted movement while you’re recording. If you aren’t staying with the camera while it records, don’t forget to mark the location of the tripod and leave a note asking passersby not to touch the camera.
You can mount your DxO ONE on a tripod using the Stand adapter or the Outdoor Shell waterproof case. Both are available through the DxO store.
-
If you want to record a short Time-lapse video (maximum of 30 minutes), charge your DxO ONE to 100%. For a longer Time-lapse, we recommend connecting an external battery to your DxO ONE via the micro-USB port. You can purchase several types of power bank batteries designed to recharge tablets and smartphones. These devices can power your DxO ONE for several hours (each hour uses around 750 mAh). If you have access to an outlet, you can also power your DxO ONE with the standard USB charging cable that comes with your iPhone.
To prevent vibrations caused by wind, attach the battery and cable to the tripod with gaffer tape. You can easily cut his type of adhesive without tools. It is easily removed and doesn’t leave behind any sticky residue. You can even use it to protect your DxO ONE once you’ve attached it to your tripod. You can purchase gaffer tape online or at any photo retail shop.
-
When recording outside, we recommend using the Outdoor Shell waterproof case to protect your DxO ONE from the elements.
-
Make sure you use a large enough memory card and format it before recording to make sure to take advantage of all of its storage capacity. Pay attention to alert messages and to information about how much memory will be used when you program the time-lapse.
-
You should also take your subject into account when planning your time-lapse. Consider how much time you should record, what interval you should use in between each photo, and the kind of exposure settings you want to use. Your duration and interval settings will determine the video’s length.
To prepare and plan your Time-lapse, discover the tips and tricks of our expert Enrique Pacheco.
-
Finally, before starting your first real Time-lapse project, practice adjusting the settings and setting up your equipment. Do a few trial runs—you don’t even need to go far to do it. Simply film the traffic on your street or the view of the sunset from your backyard or balcony. (You will be much more comfortable practicing in a familiar place.) You can do several tests, and then review the results immediately afterward.
 Download page