
Streaming video in real time on Facebook Live
Recording videos
![]() What is Facebook Live?
What is Facebook Live?
Facebook Live is a video-sharing service offered by Facebook, a social network platform, that lets you shoot and share events in real time. Take your videos to the next level by pairing the DxO ONE with your iPhone or iPad. Use the DxO ONE application to control several different viewpoints—that of your DxO ONE and the front and back cameras of your smartphone. You can also use the Wi-Fi mode to operate your DxO ONE without attaching it to your iPhone to take several shots with sound or to take dynamic and professional videos.
By combining your iPhone with your DxO ONE, you can simultaneously film an interview using shot/counter shot, record what is happening on stage and behind the scenes, and vary your camera angles. You can even record with a second camera person—just have the other person hold the iPhone while you use the DxO separately. Since the broadcast is live, your audience can react in real time with likes and comments, or can ask you questions directly.
Due to the required level of streaming capability, Facebook Live is available on iPhone 5s or later. This feature is not available on the iPhone 5, iPhone 5C, or iPad 4.
Make sure you stream on Facebook Live only content that complies with Facebook’s terms and conditions. For example, Facebook might automatically interrupt your recording if you broadcast content that is copyrighted.
![]() Activating Facebook Live on your DxO ONE
Activating Facebook Live on your DxO ONE
To use and access Facebook Live, you must have a Facebook account and a stable and fast enough (between 5 and 10 Mbps) Internet connection to allow you to upload god-quality live streaming video. As much as possible, use a dedicated Wi-Fi network or minimize the number of devices connected to the Wi-Fi network when you’re ready to go live.
To connect to Facebook Live through your DxO ONE:
-
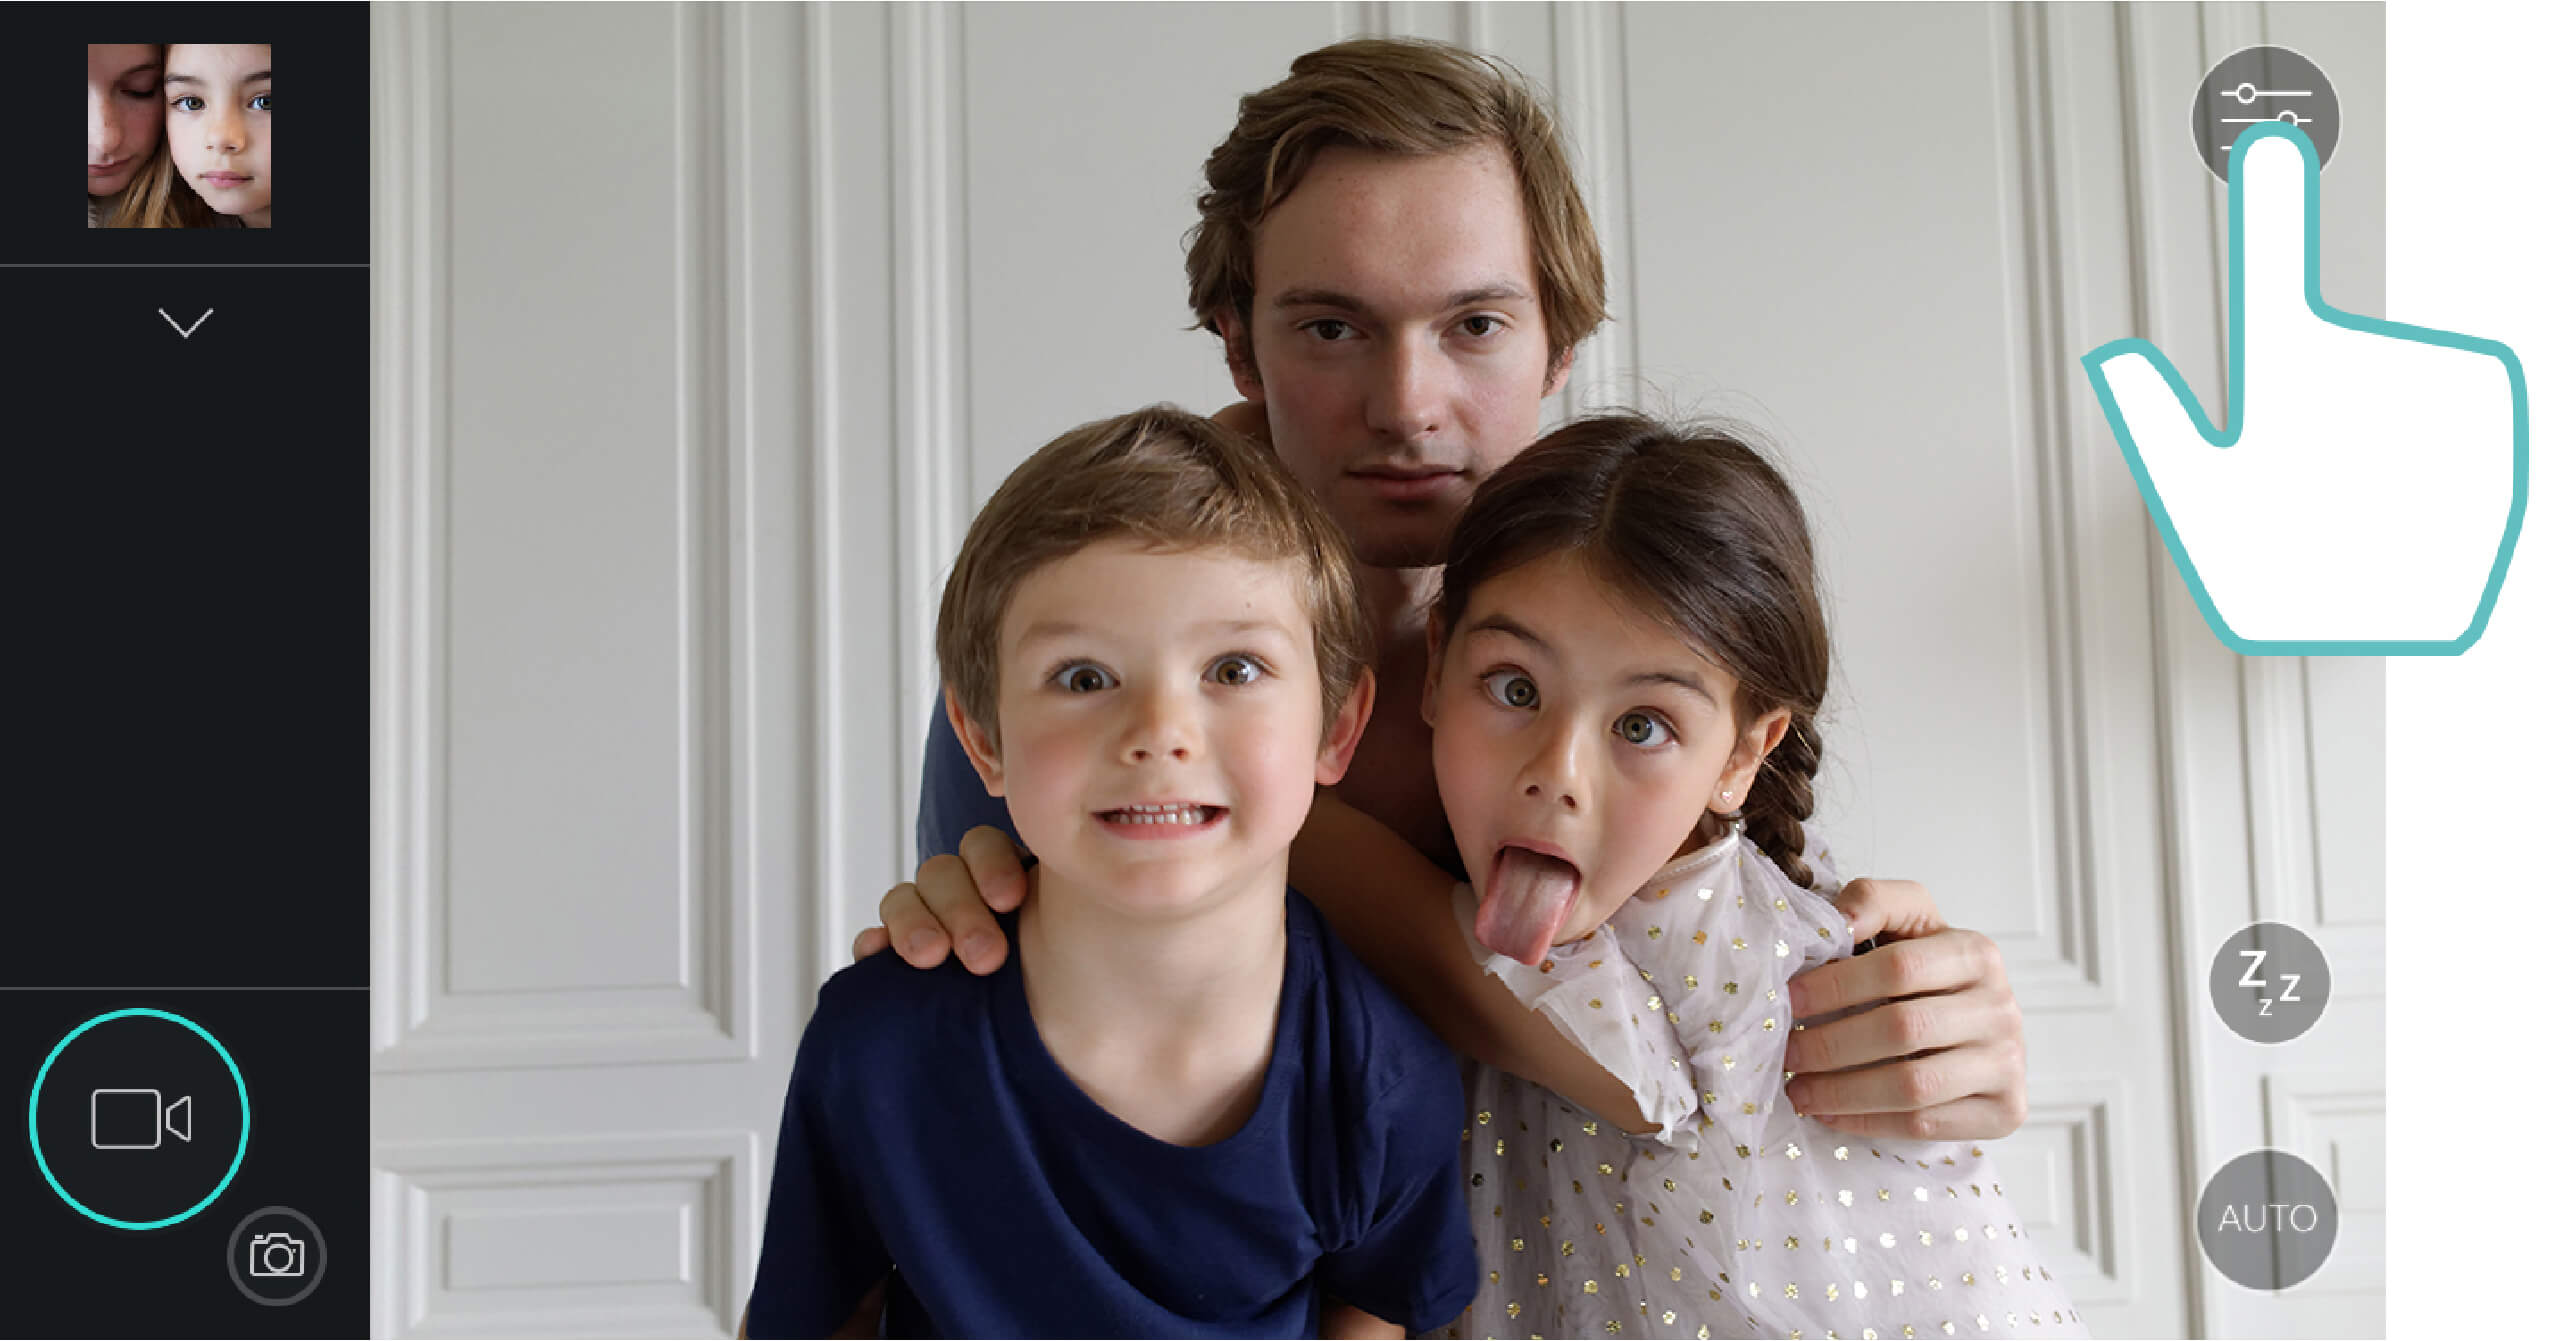
 In the viewfinder screen, switch to Video mode by pressing the shutter button in the bottom left.

-
 Press the settings access button in the upper right.
-
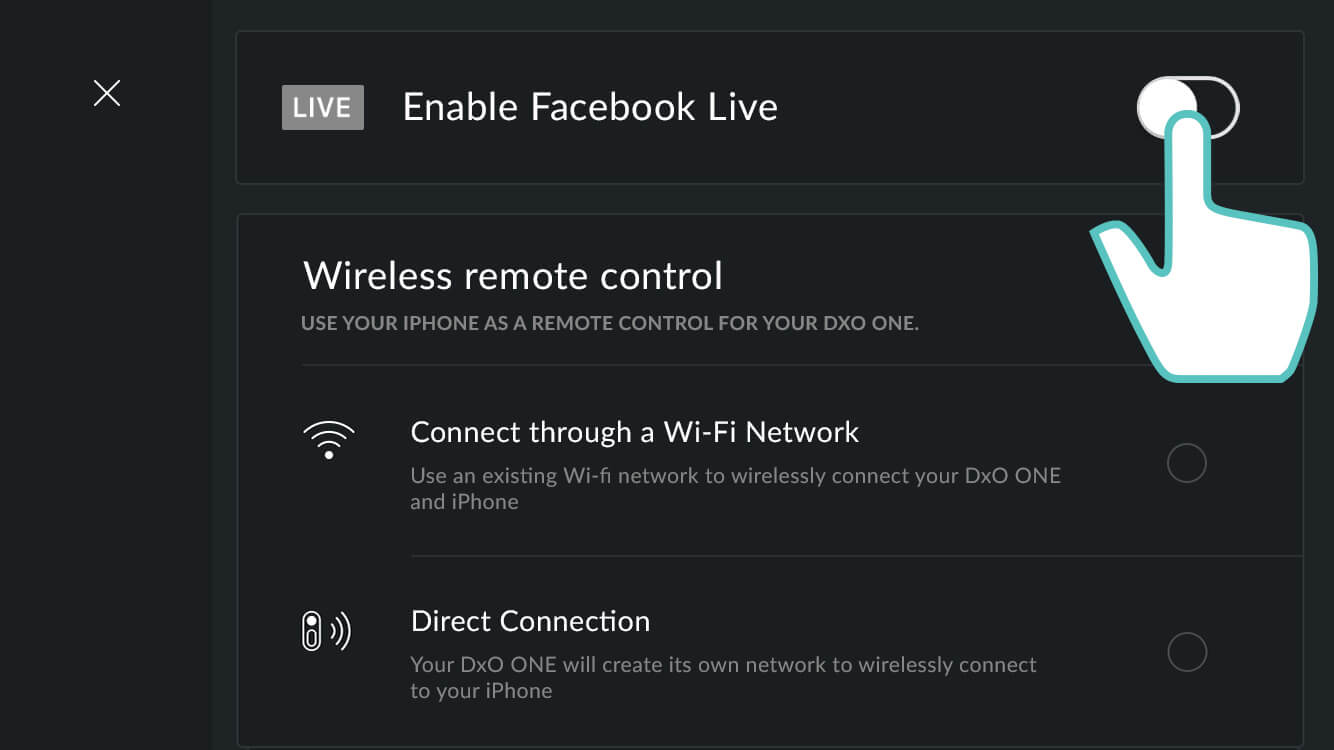
 Under settings, press the button to the right of the Enable Facebook Live line.
-
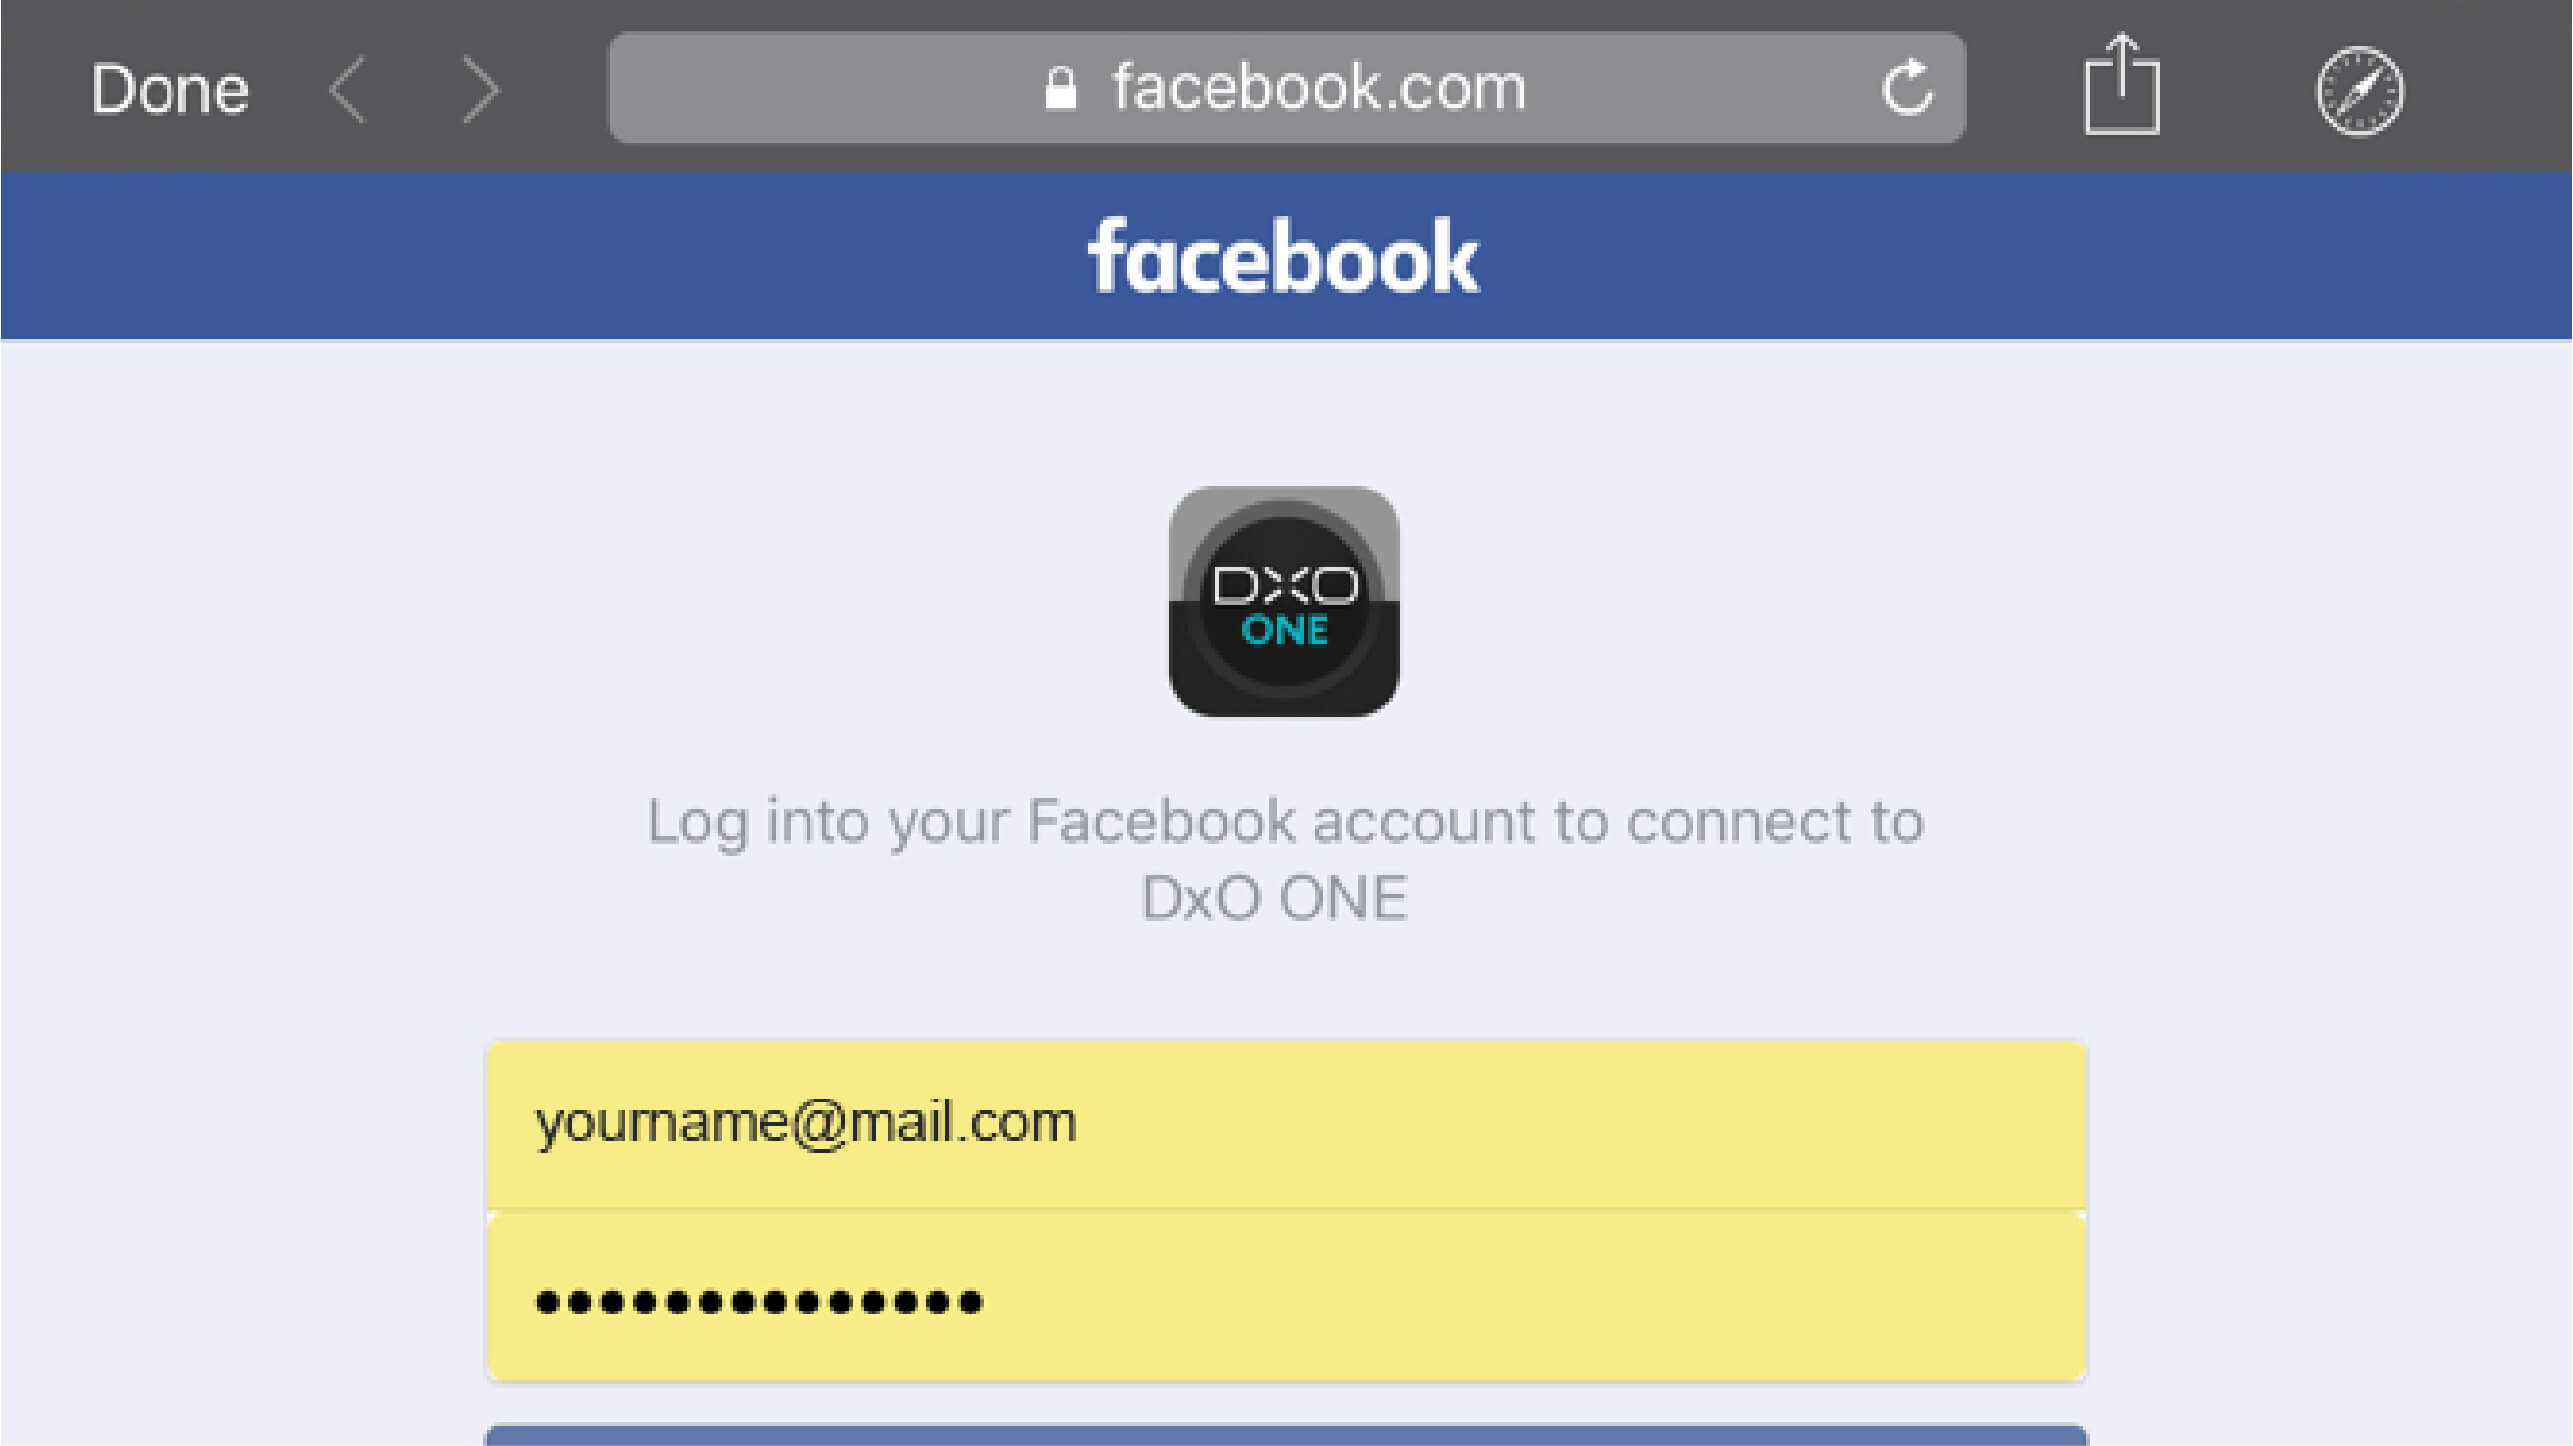
 Your web browser will immediately ask you to connect to your Facebook account either through your Facebook app or by using your phone number or email address.
-
If you already have an account, the easiest method is to log in via the Facebook application. Press the login button, then press Continue as [your name].”.
-
A pop-up window will ask if you want Facebook to open the DxO ONE application. Select Open.
-
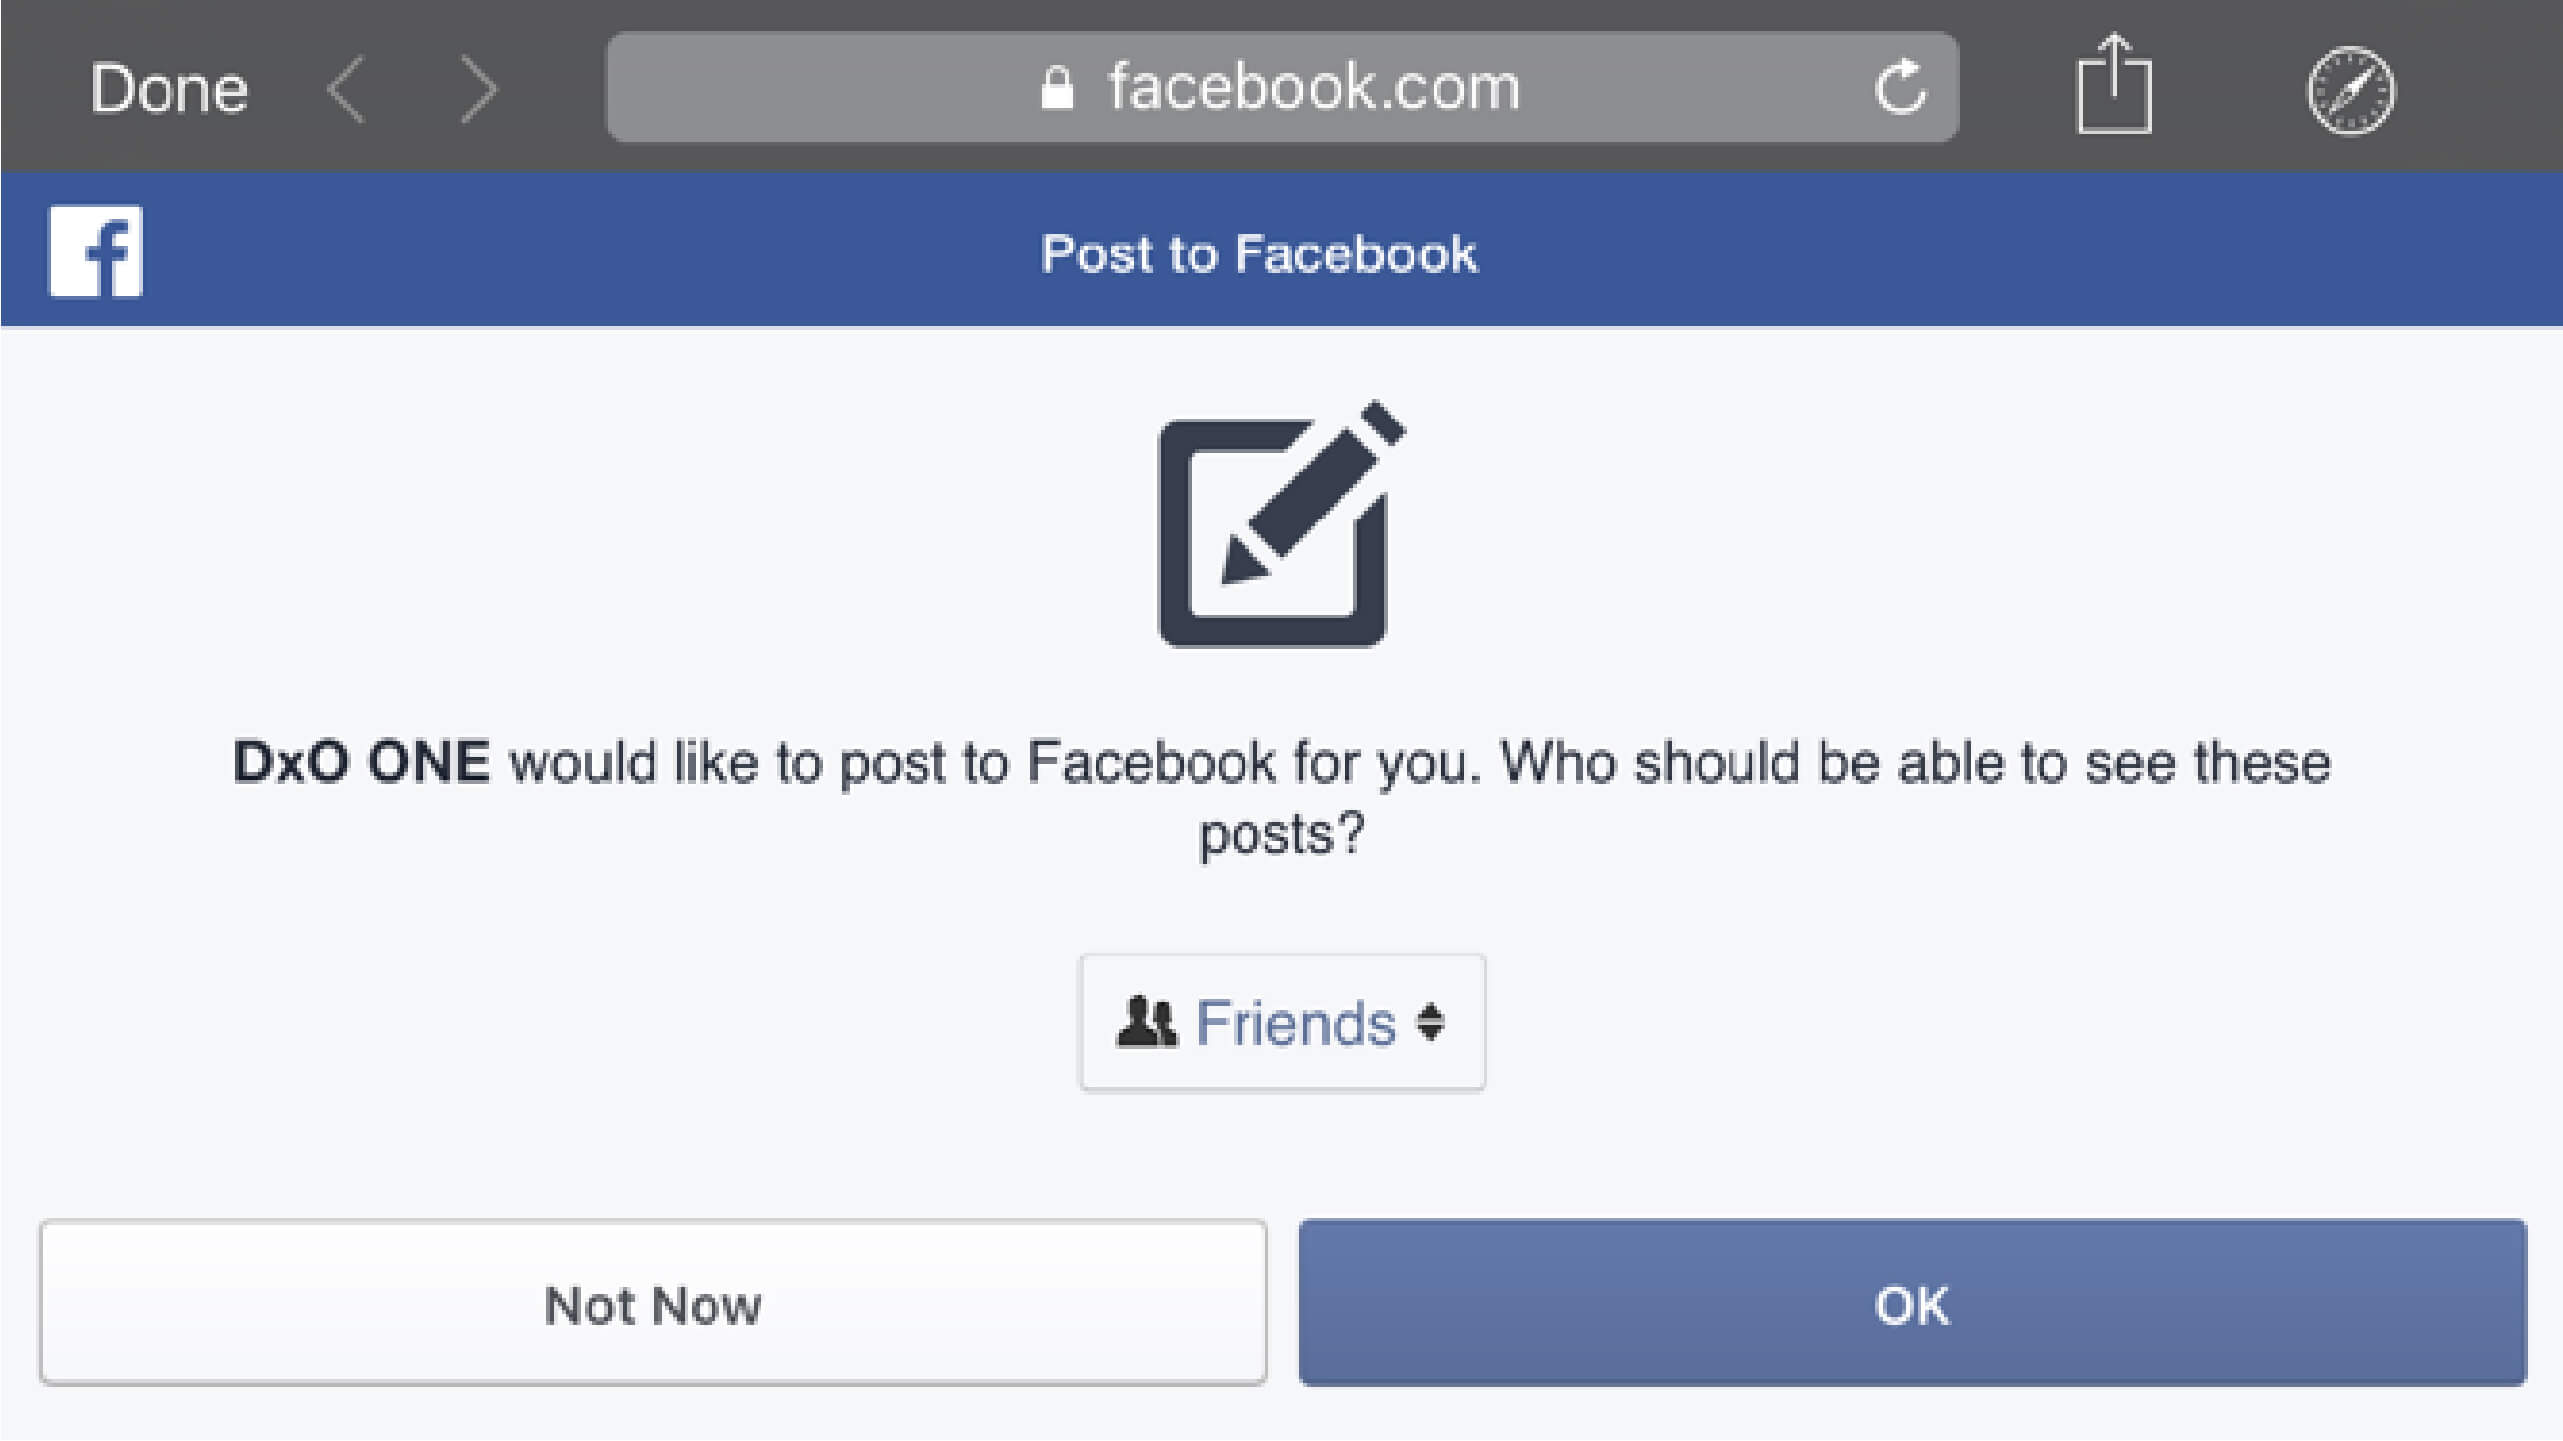
A new Publish on the Facebook page lets you set the widest audience (“Friends only” or “Public”) that will have access to your streaming videos. (Note that if you choose the “Public” option, you can still choose to broadcast a video only to your friends in the future by changing this setting at a later time.) Confirm with the OK button.
-
As soon as you activate Facebook Live, a red icon will appear to the left of the Enable Facebook Live line, and the button will appear on the right in active mode (blue background).
-
Your name and Facebook picture will be displayed just below with a disconnect button to the right.
-
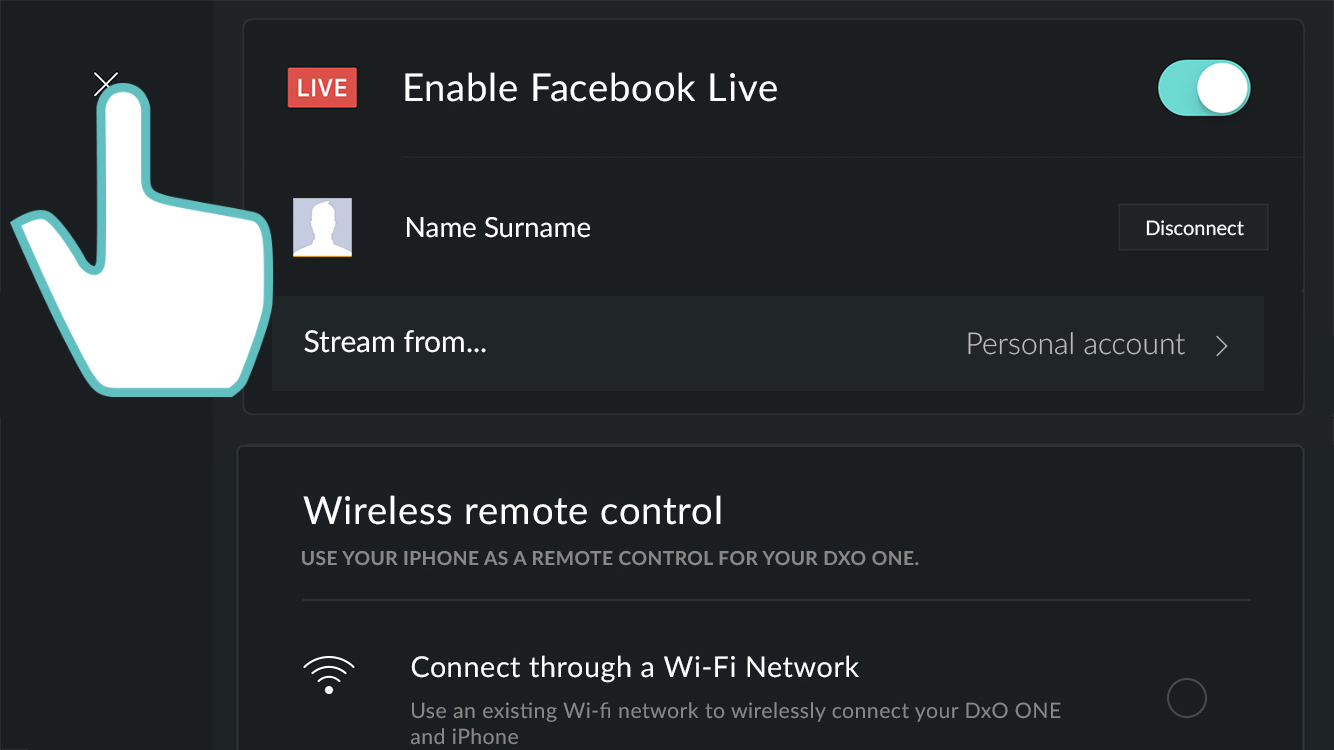
New with 3.1 version: if you are the administrator for a professional page, you can now broadcast your livestream from that page (tap on the corresponding link, follow the instructions, and select the page in the suggested list). You might be asked to asked to grant specific authorization for this step if you weren’t already asked when you first signed into your Facebook account.
-
Return to the viewfinder screen by pressing the X in the upper left-hand corner.
-
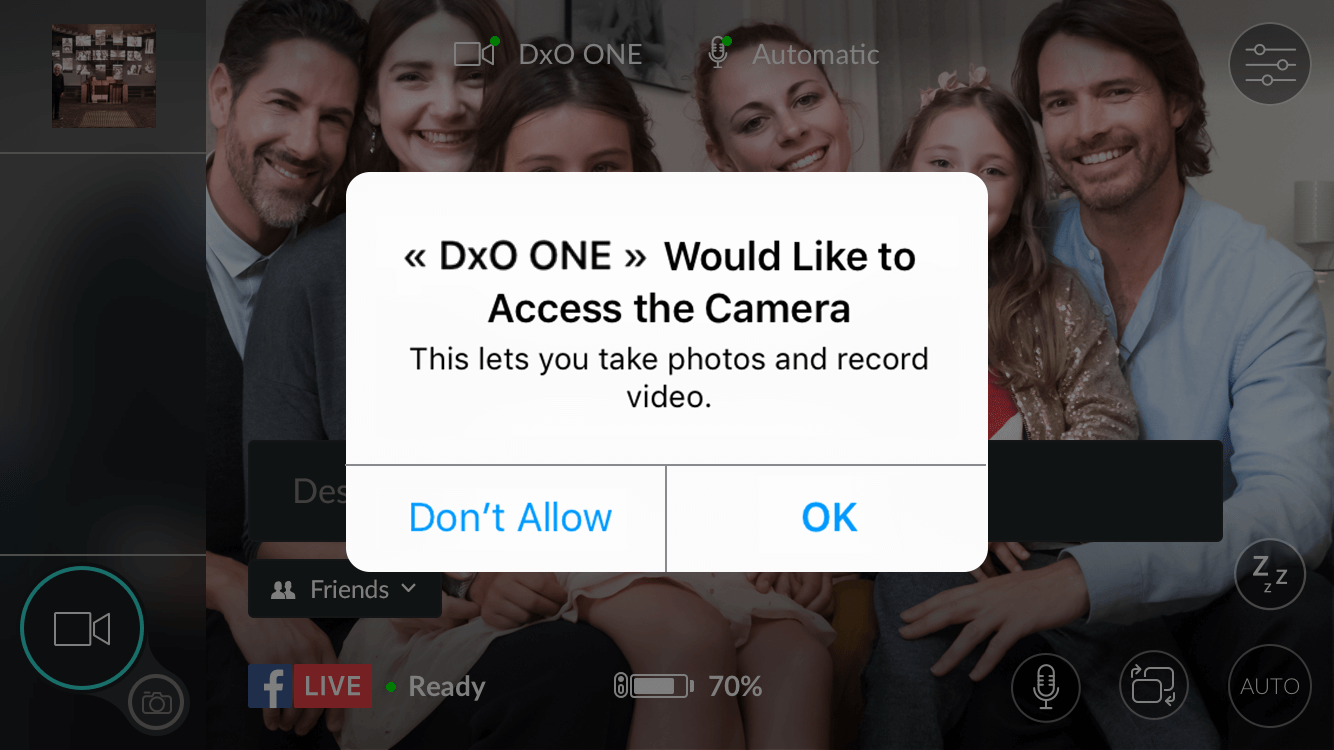
When you return to the viewfinder screen, a message will appear indicating that the DxO ONE application would like to connect to your microphone and then to your iPhone camera. Press OK both times.
-
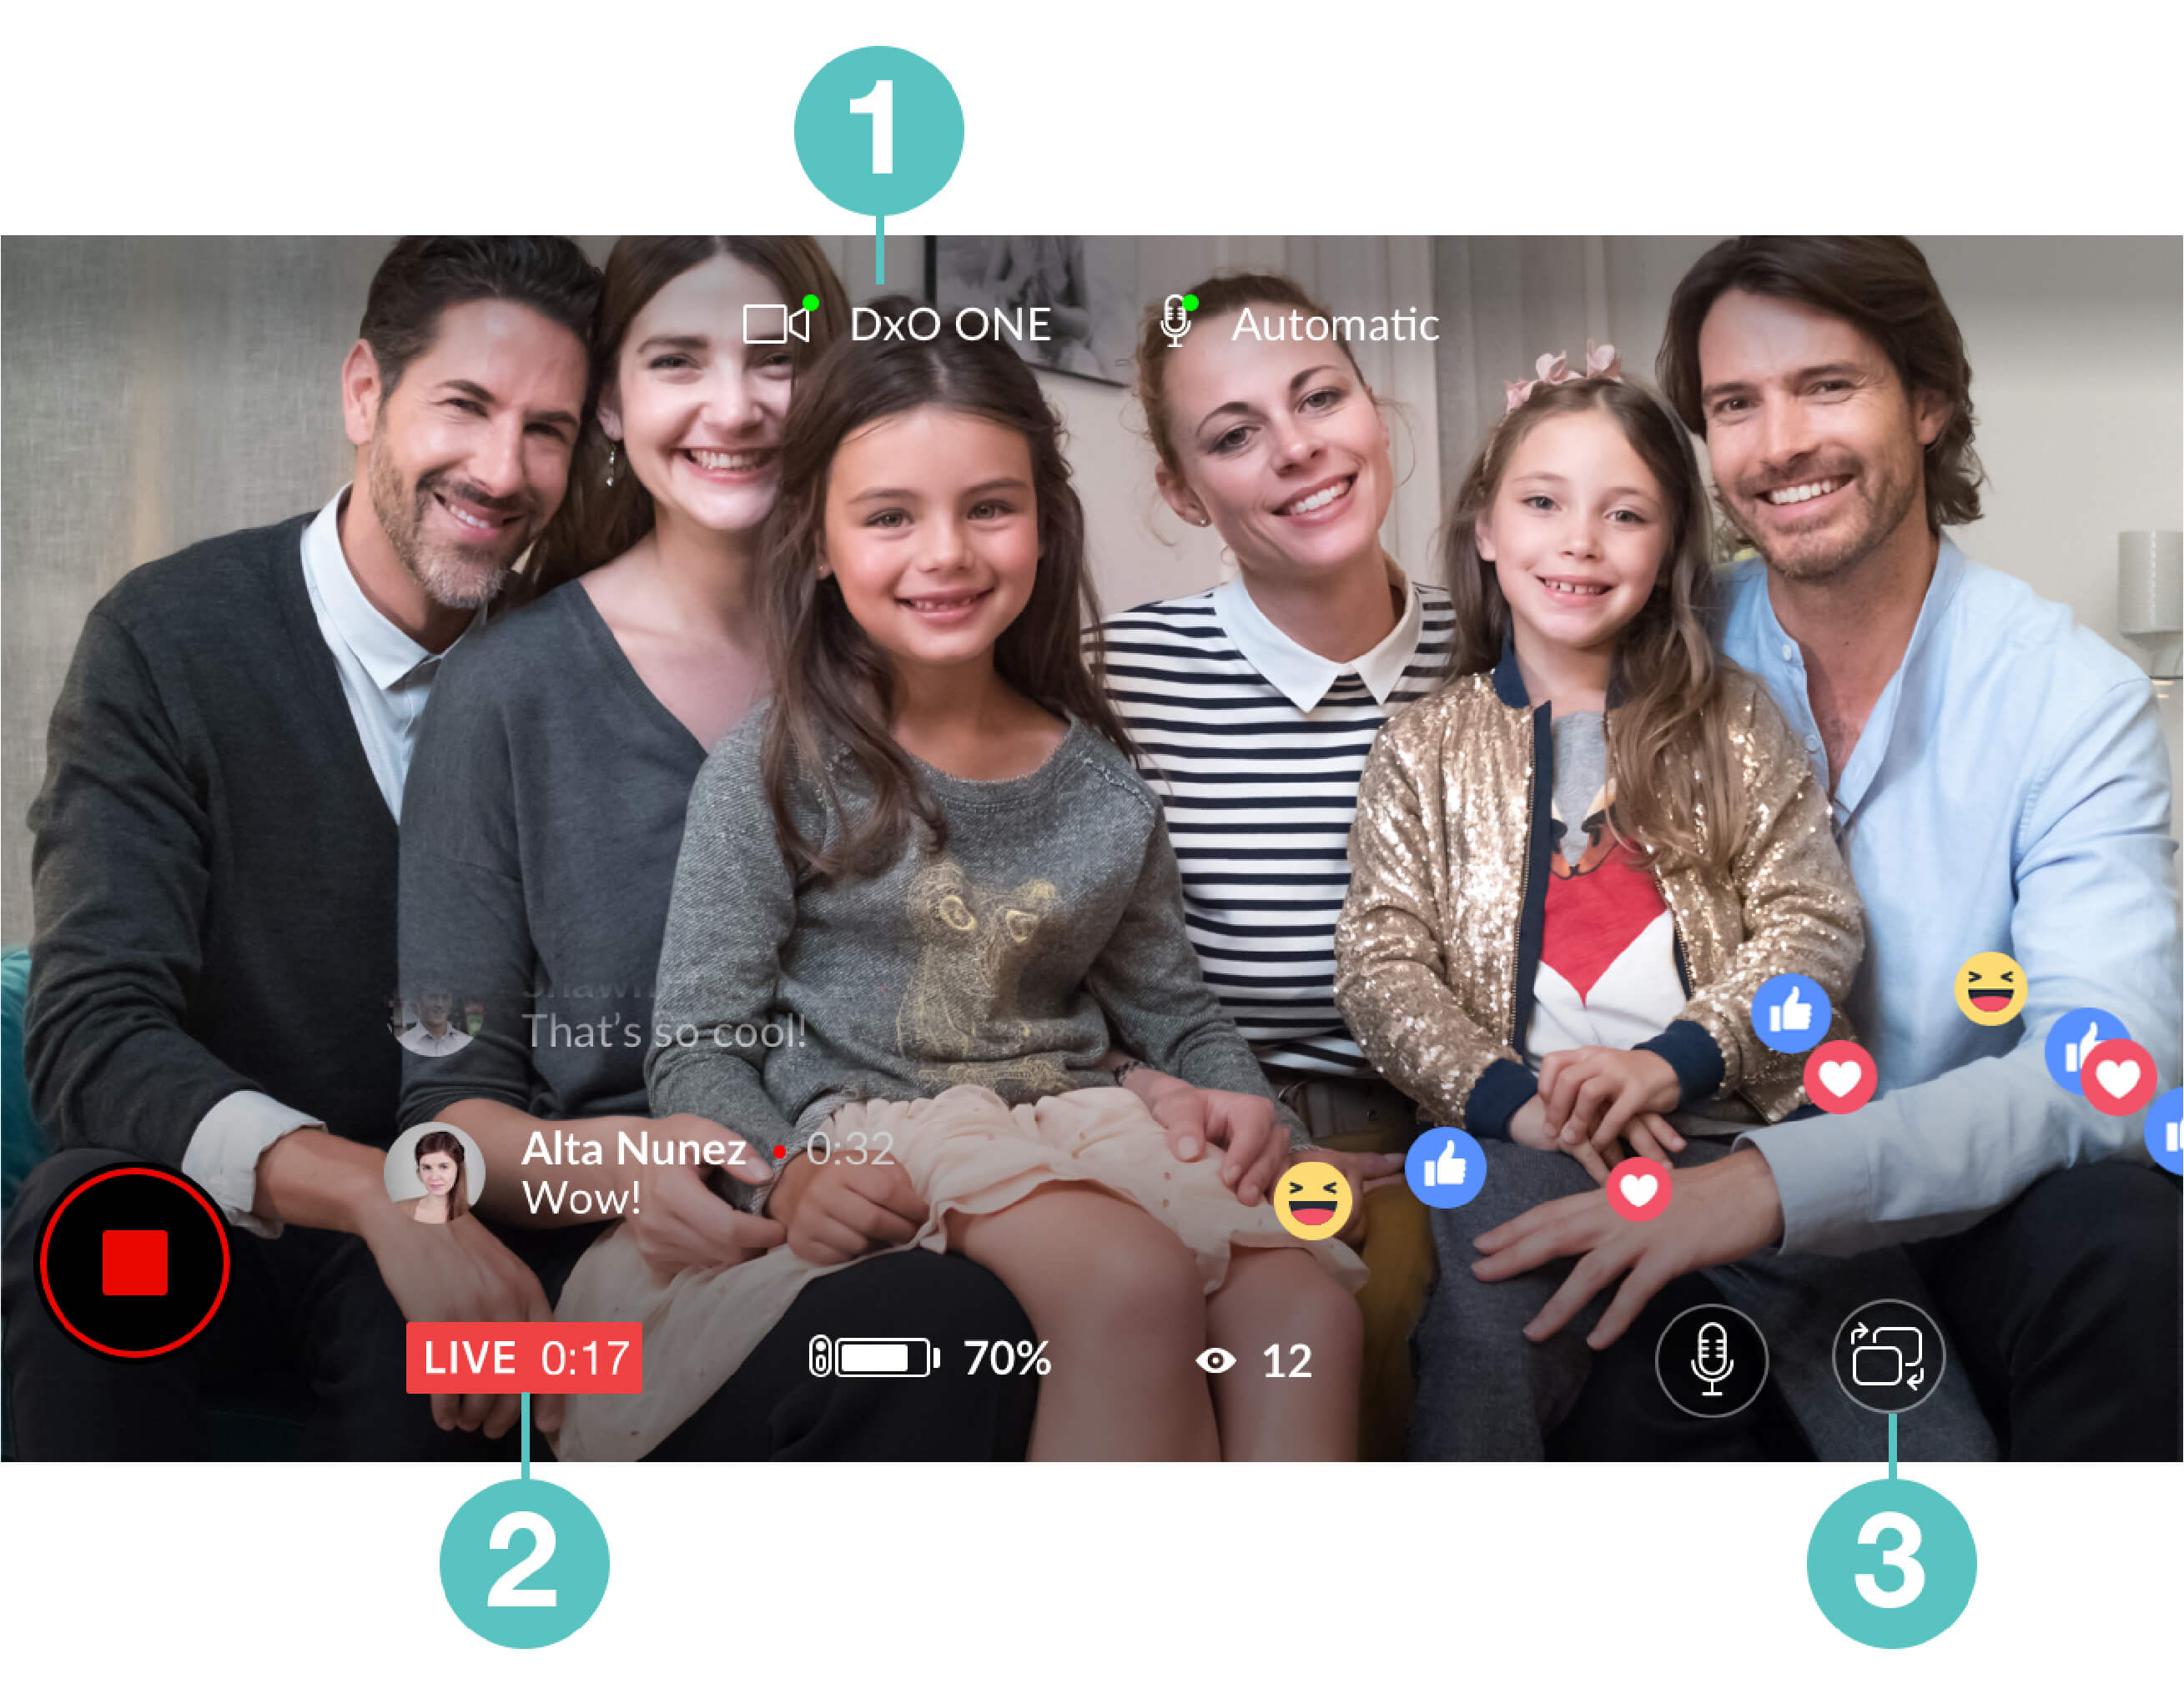
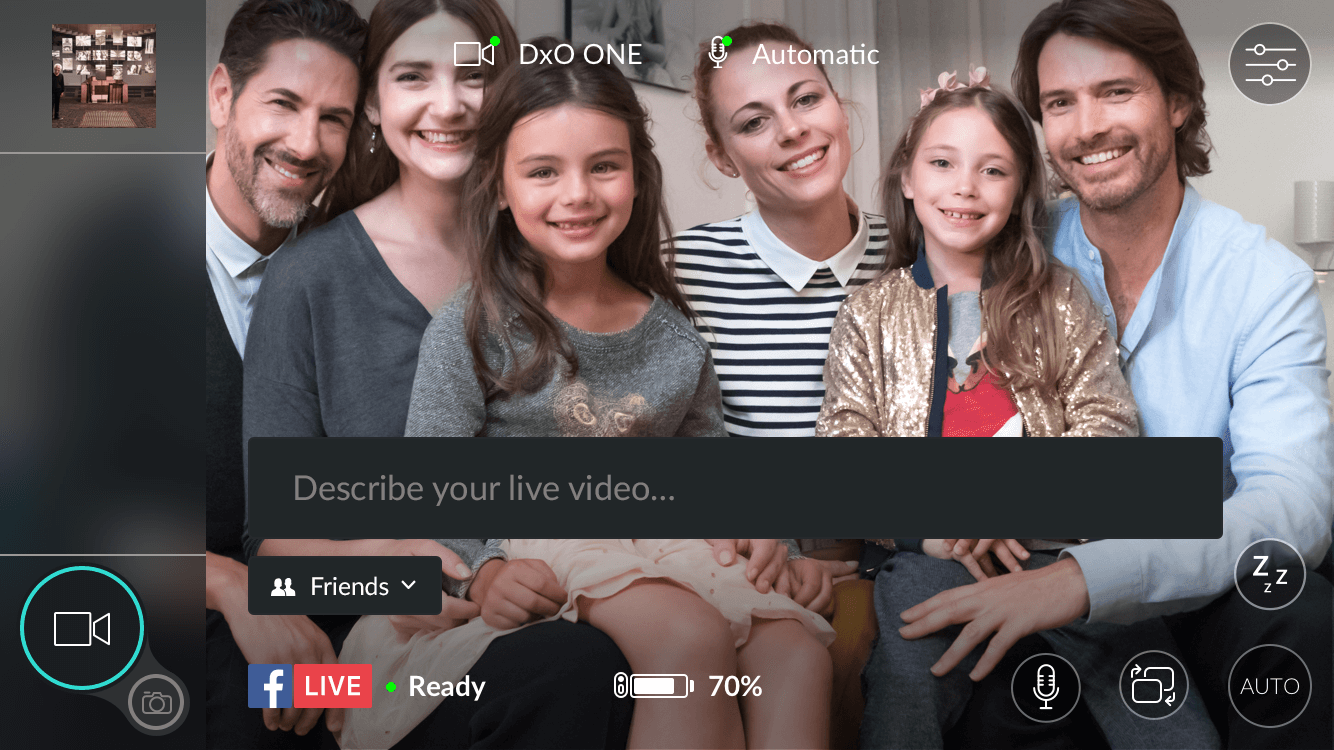
 The viewfinder screen will show the following information:
-
 Icons with green lights indicating that the DxO ONE and iPhone microphone are ready and on.
 -
 A Facebook Live logo with a green indicator to show that the service is ready (a Verification label will be displayed right after connecting).
 -
 A control panel button that lets you regulate the other cameras and switch among the DxO ONE camera and the front and back cameras of your iPhone or iPad.
-
 Enter your video title in the field:
-
Click the field to display the virtual keyboard.
-
Enter your text, then confirm by clicking the Finish button..
-
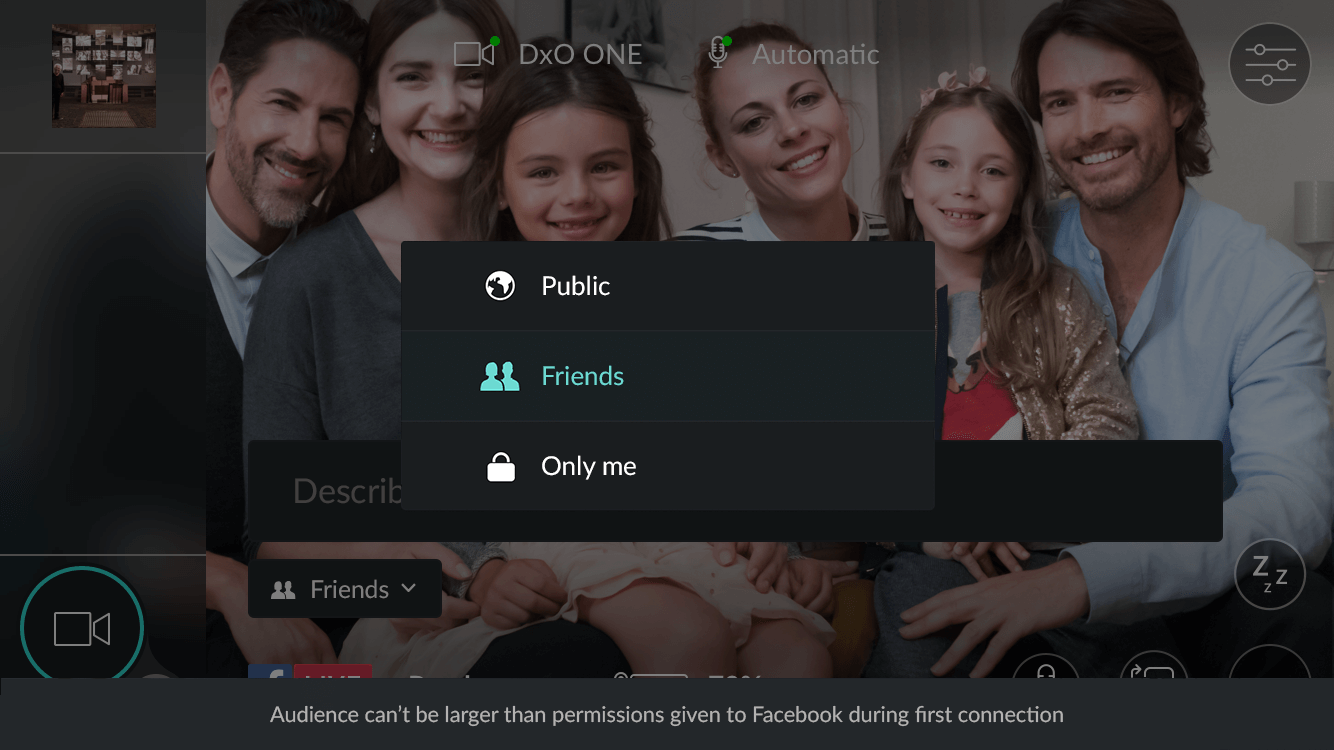
 Below the field, select a sharing mode:
-
Public (everyone).
-
Friends (only your Facebook friends).
-
Only me (to practice or do a trial run).
Facebook does not allow you to select your audience from a professional page. Your broadcast will be in “Public” mode and cannot be changed.
Now you’re ready to start your Facebook Live session!
Facebook Live sessions are streamed in real time and are not saved in your DxO ONE, smartphone, or tablet. They can be accessed via your Facebook timeline.
 Download page