
Aperture, shutter speed, and sensitivity
Depth of field
Learning about aperture, shutter speed, and sensitivity will help you take a well-exposed photo and manage depth of field, ambience, and movement.
A properly-exposed photo is neither too light nor too dark. When a photo is too light, it’s said to be overexposed. When it’s too dark, it’s underexposed. Exposure depends on three things: aperture, shutter speed, and sensitivity. Let’s take a closer look at each one:
-
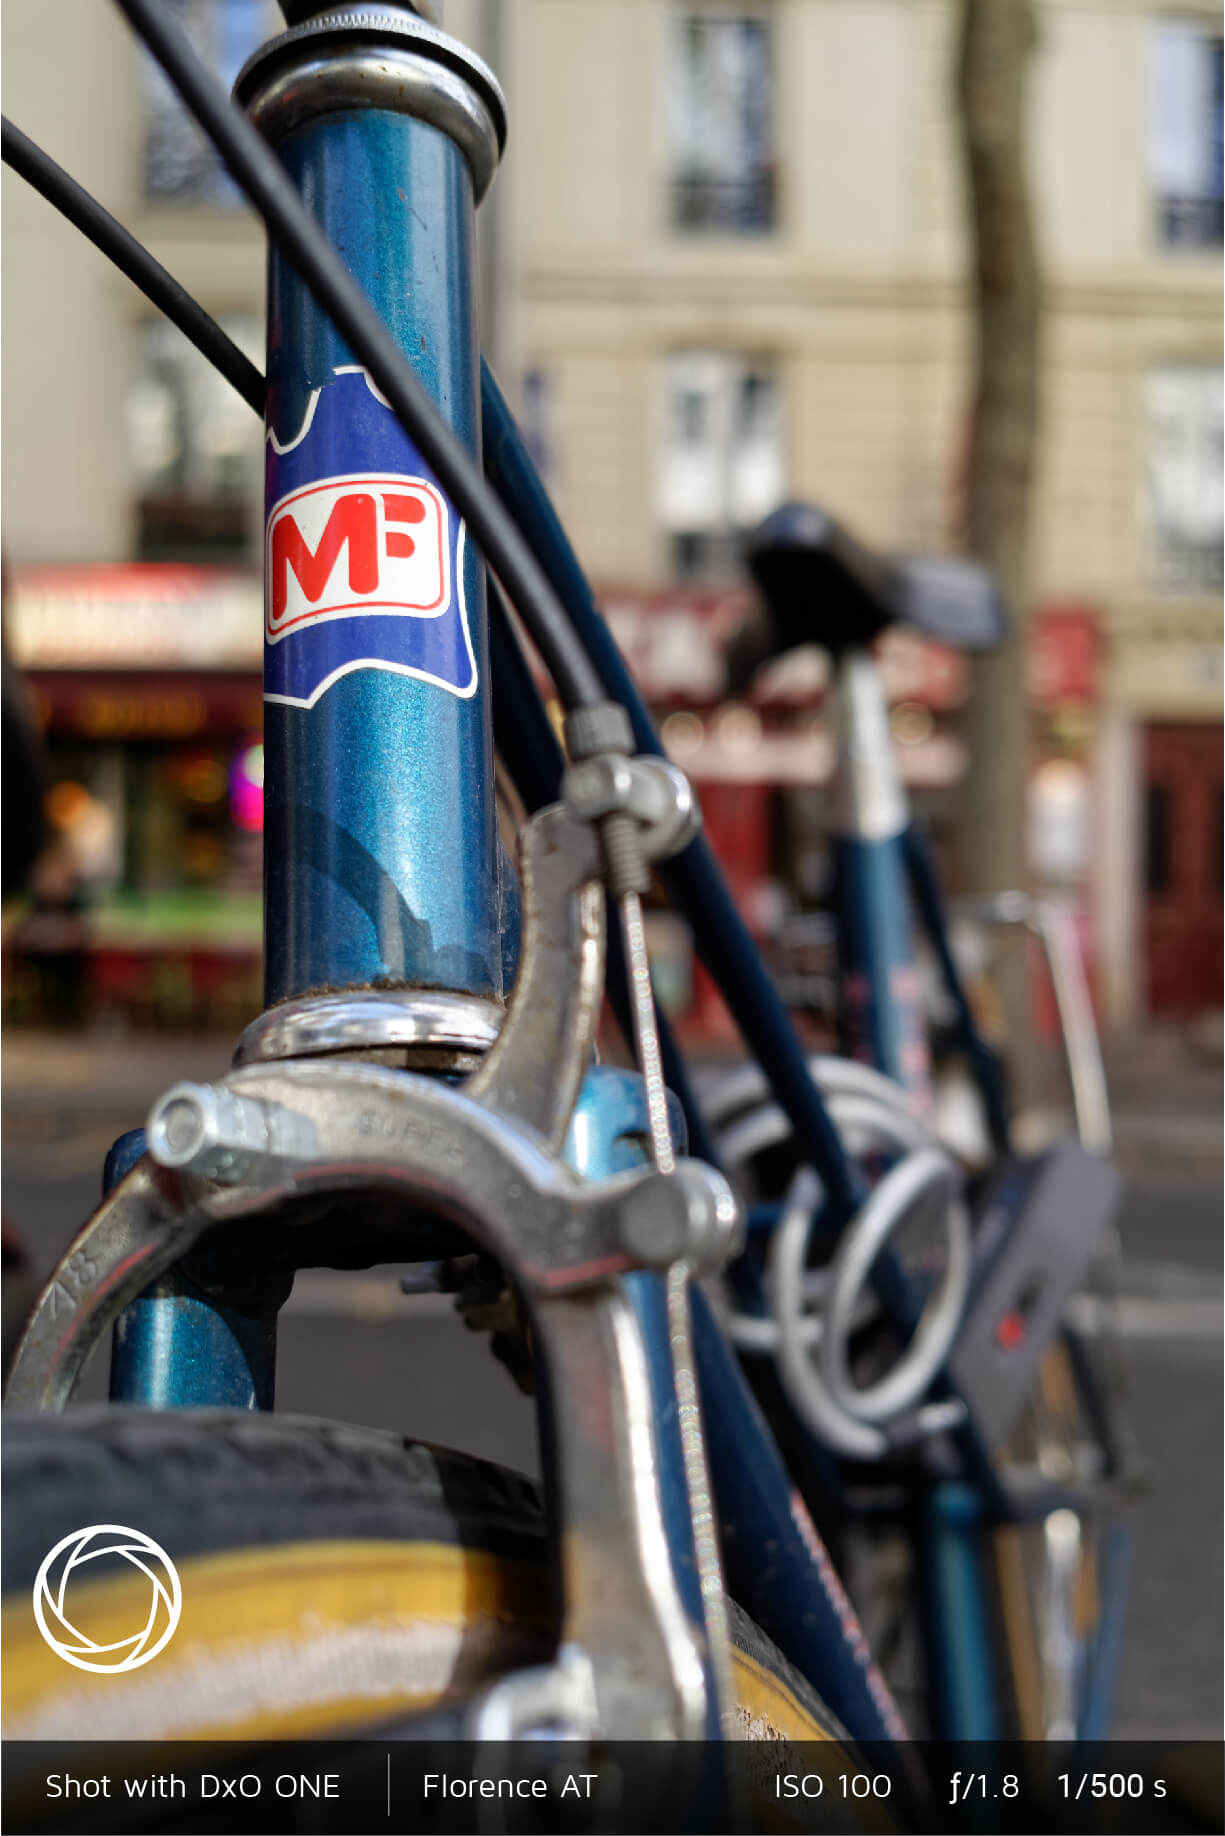
 The aperture
is the opening that lets light reach the sensor. The size of the opening is controlled by the diaphragm, which is made up of a set of blades arranged in a circle around the aperture.
If the surface area of the circle formed by the blades is as large as possible, the diaphragm is said to be open. If the surface area is as small as possible, the diaphragm is closed. Between these two extremes, the aperture can take on an entire range of values depending on the size of the surface area outlined by the blades.
The lens on your DxO ONE has an aperture that ranges from ƒ/1.8 to ƒ/11. The minimum value, ƒ/1.8, corresponds to the largest possible aperture, the one that allows the most light to enter the camera. Aperture plays a key role in managing light. It must be as open as possible in low-light conditions to use the fastest possible shutter speed without increasing the sensitivity (see the tutorial “High sensitivity”).
You can also use the aperture settings to create artistic effects.
When the diaphragm is wide open (ƒ/1.8), the focusing distance is short. The subject is in focus (and therefore sharp), allowing it to stand out more easily against a blurred background. In this case, the depth of field is shallow. On the other hand, when the diaphragm is closed down, both near and far away objects will appear sharp because the depth of field is deep (see the tutorial “Managing depth of field”).
A (aperture priority) mode lets you adjust the diaphragm.
This mode allows you to control the aperture setting and is useful for portraits, landscape photography, and photojournalism in general.
Depending on the kind of effect you want to achieve, set the aperture, and your DxO ONE will automatically adjust the shutter speed to maintain the correct exposure.

-
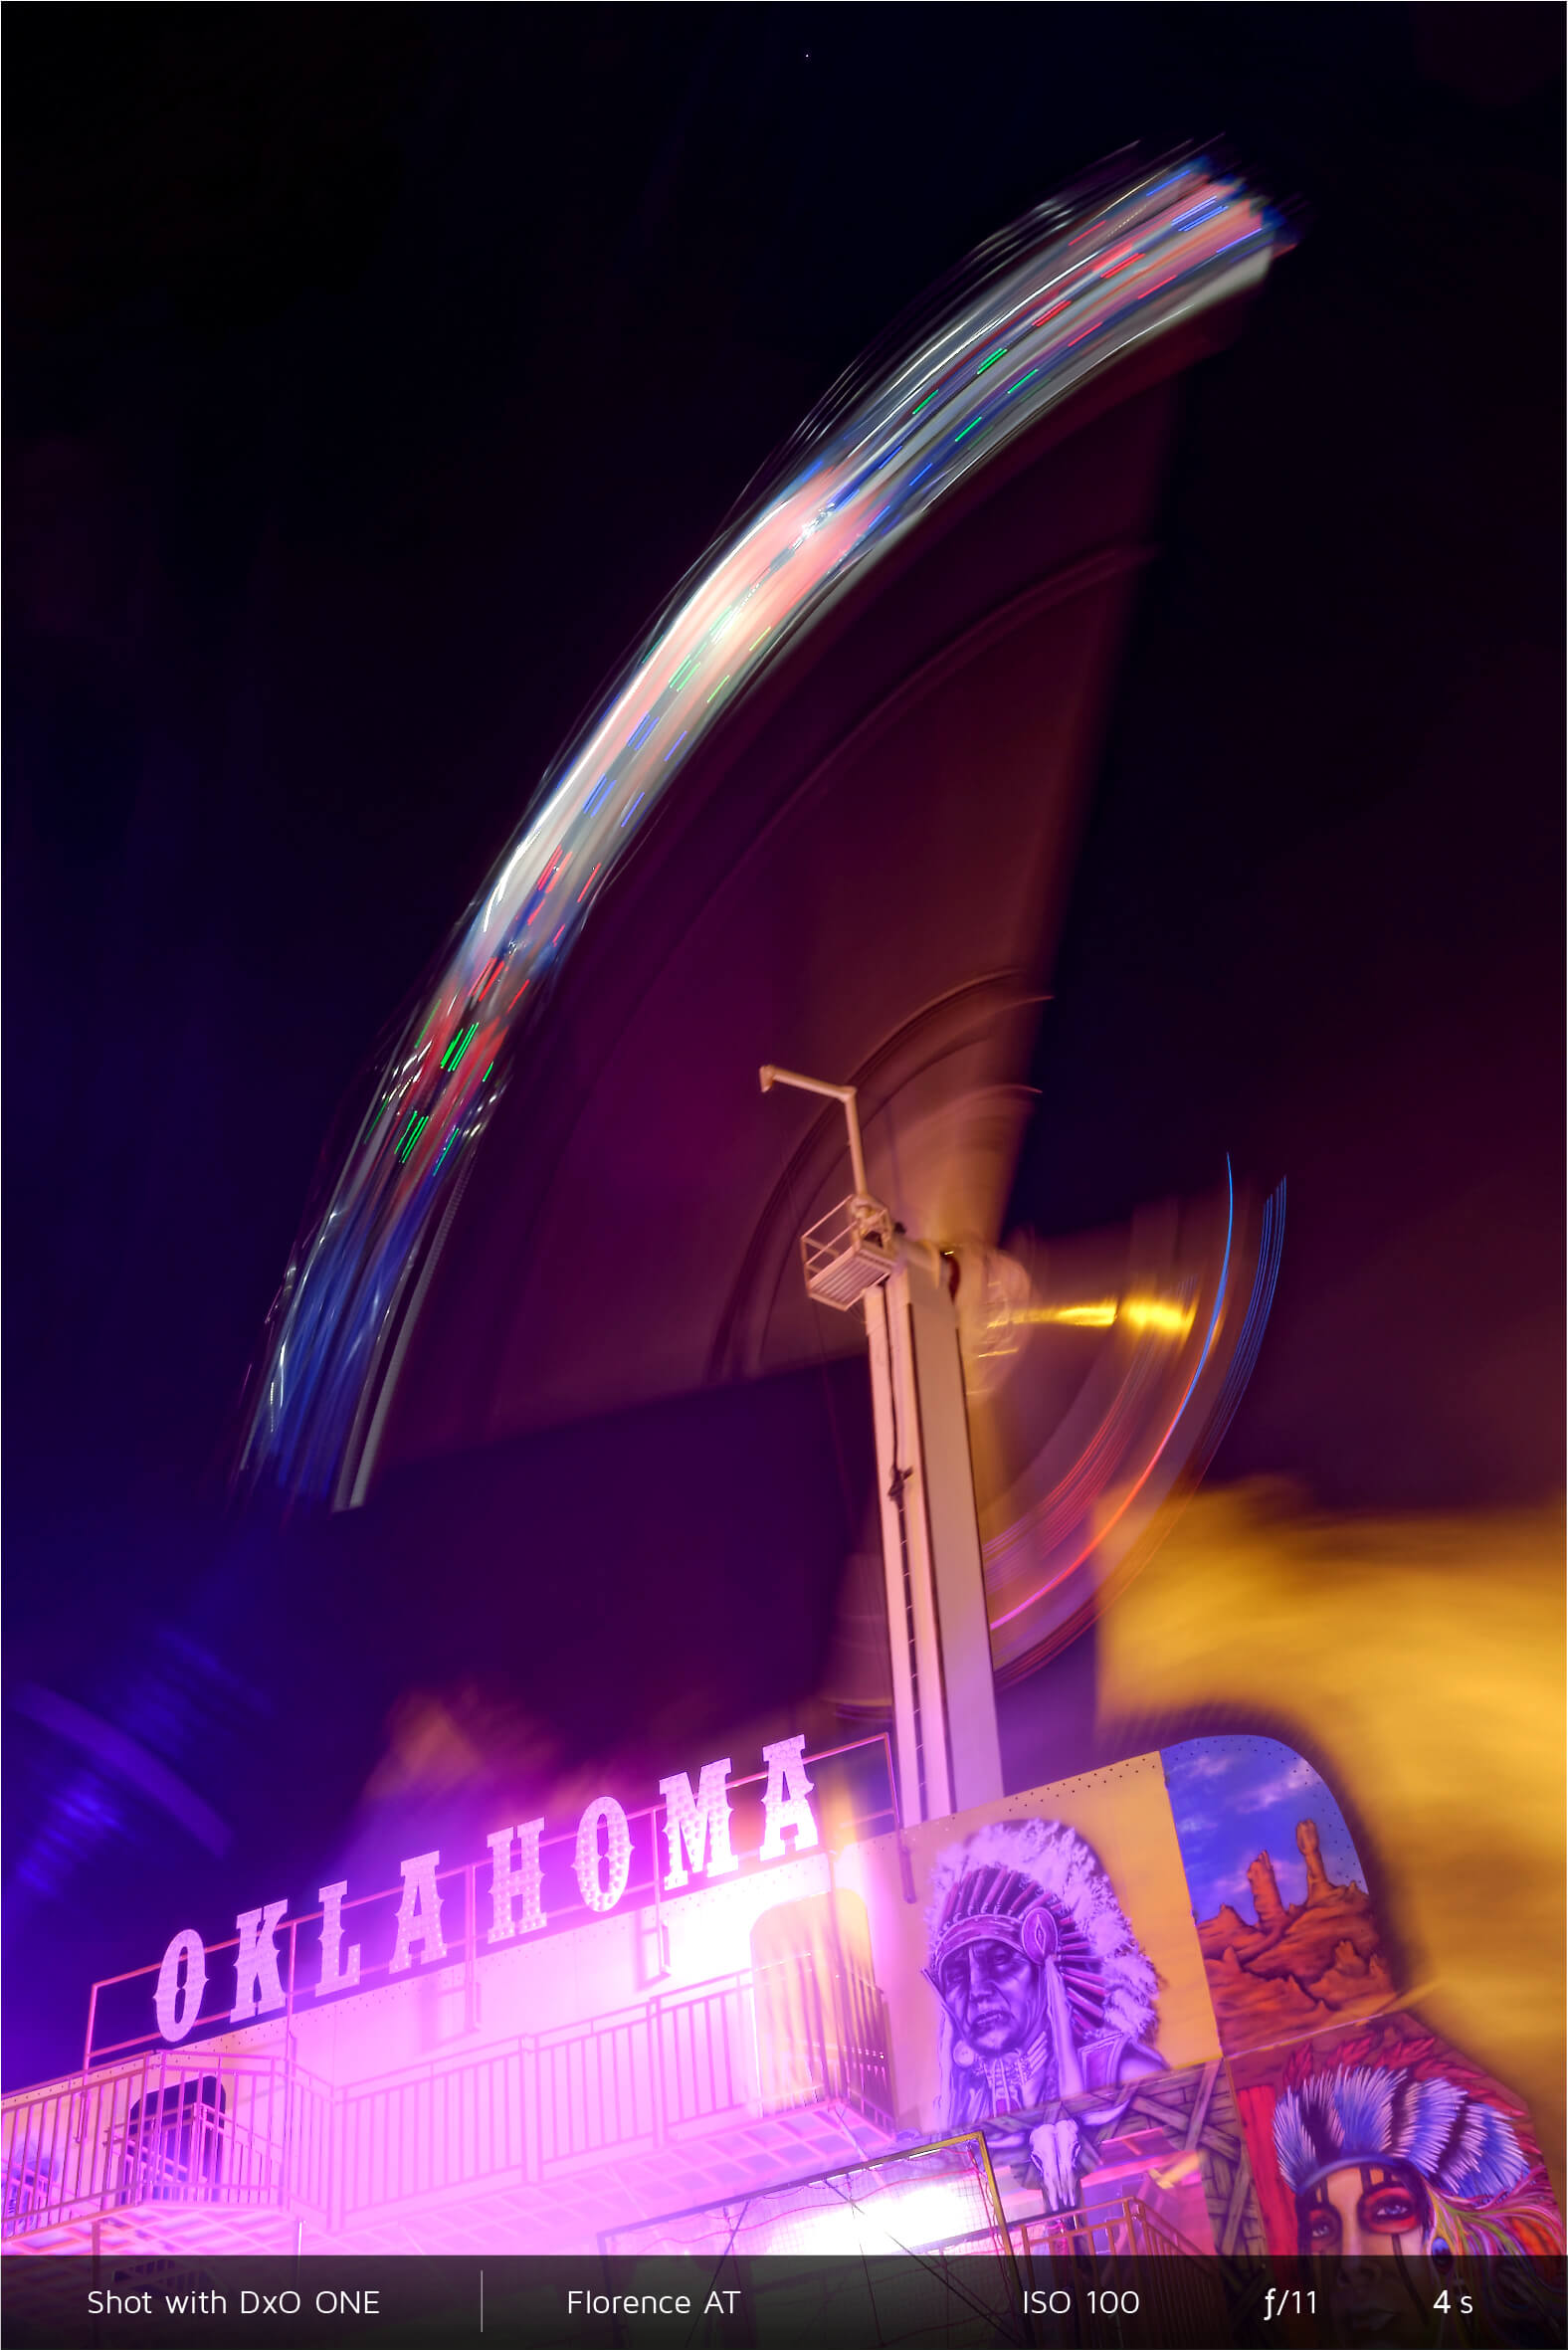
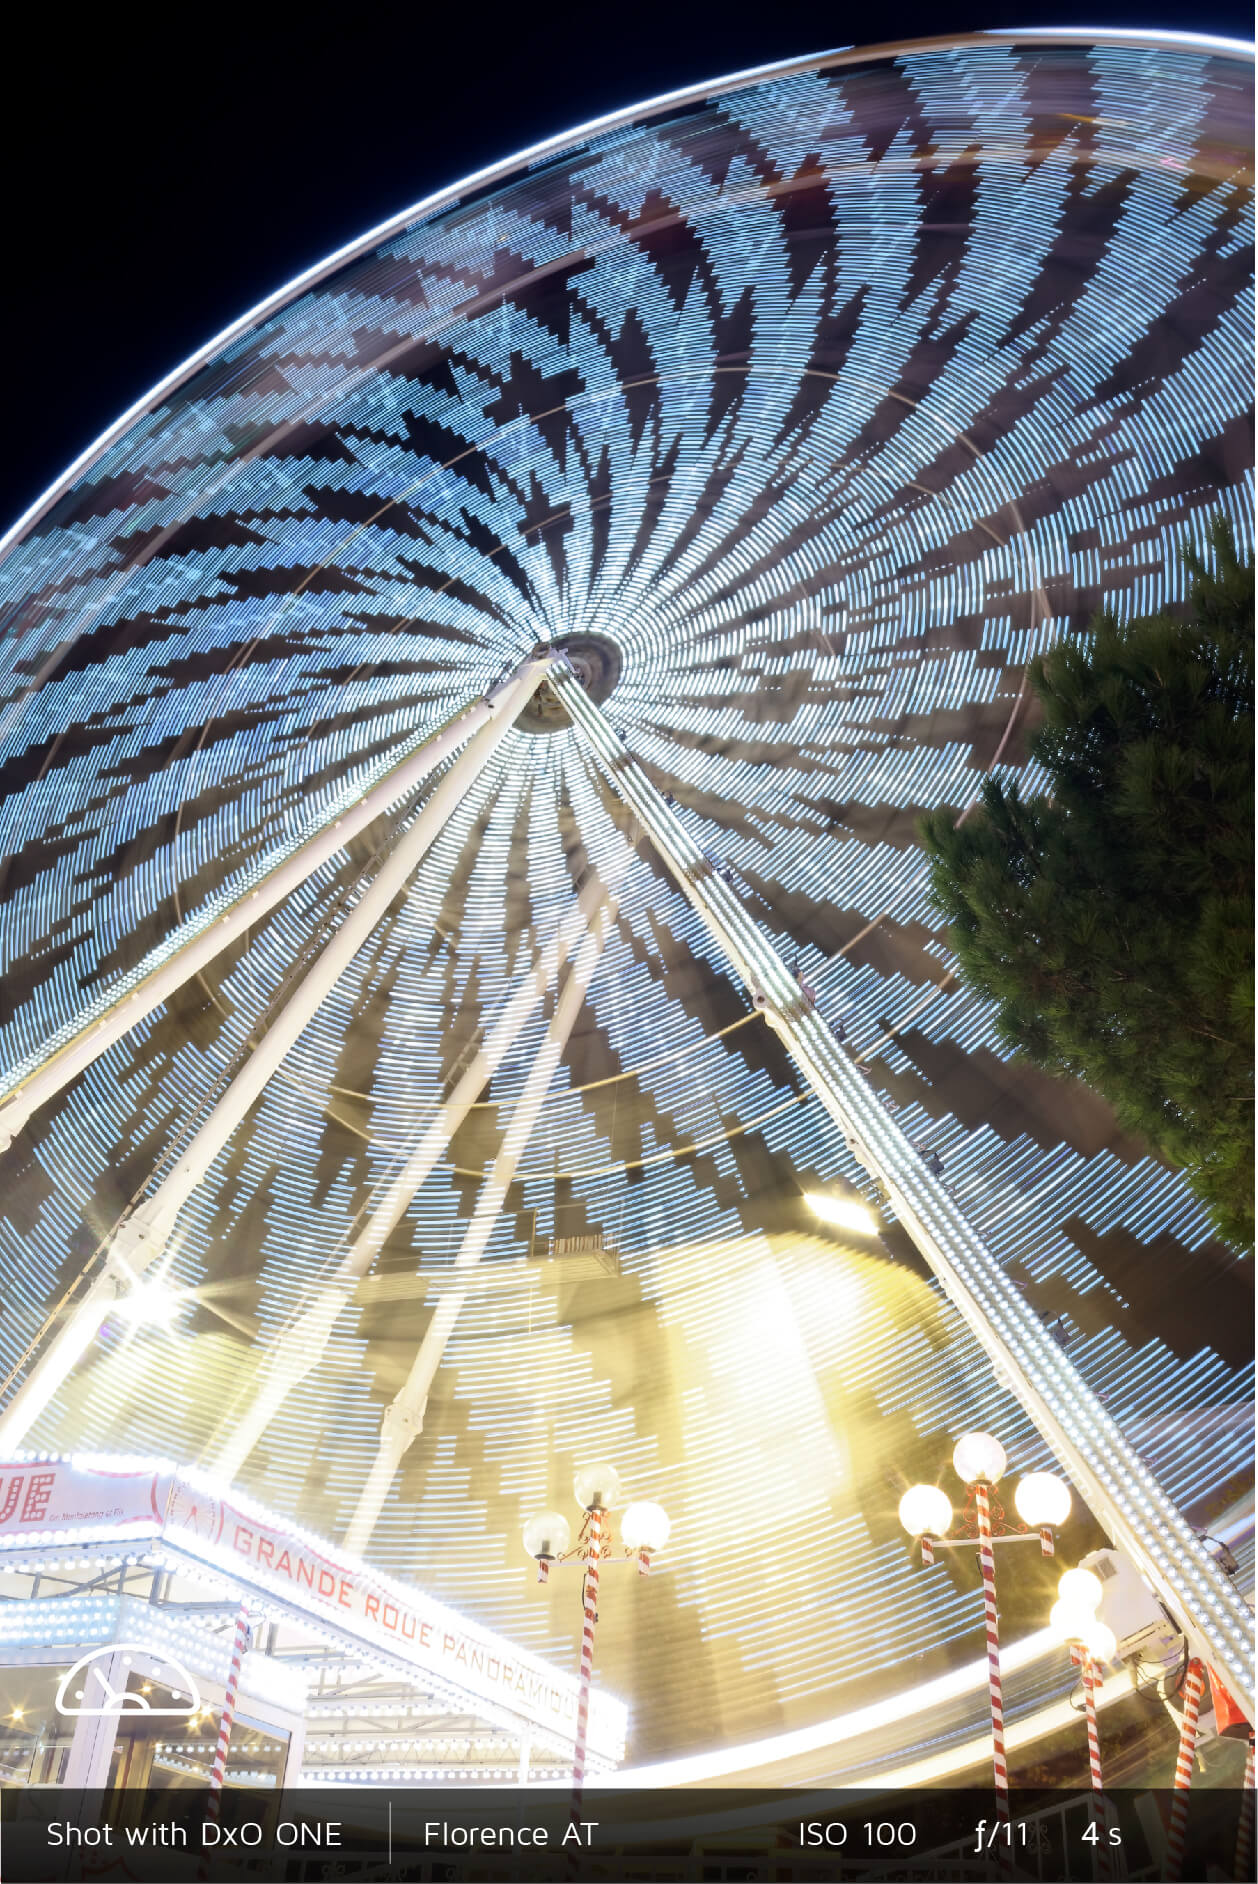
 Shutter speed
measured in whole seconds or in fractions of a second (abbreviated as “s”), lets you set the exposure time, or the amount of time light will be allowed to reach the sensor.
The range of available values on your DxO ONE goes from 30 s (the slowest setting) to 1/20000 s (the fastest setting).
Take your photos in S (speed) mode to adjust this setting.
Depending on the kind of effect you want to achieve, set your shutter speed, and your DxO ONE will automatically adjust the aperture to maintain the correct exposure.
In this mode, a fast shutter speed will let you respond in time when your subject is moving quickly, such as when a sprinter is running on a track. The subject will appear frozen in mid-stride.
In low-light conditions, S mode will also let you photograph using a long exposure time — that is, a shutter speed slower than 1/30 s, which allows the sensor to receive enough light over a “long” period of time to create a beautiful ambiance.

-
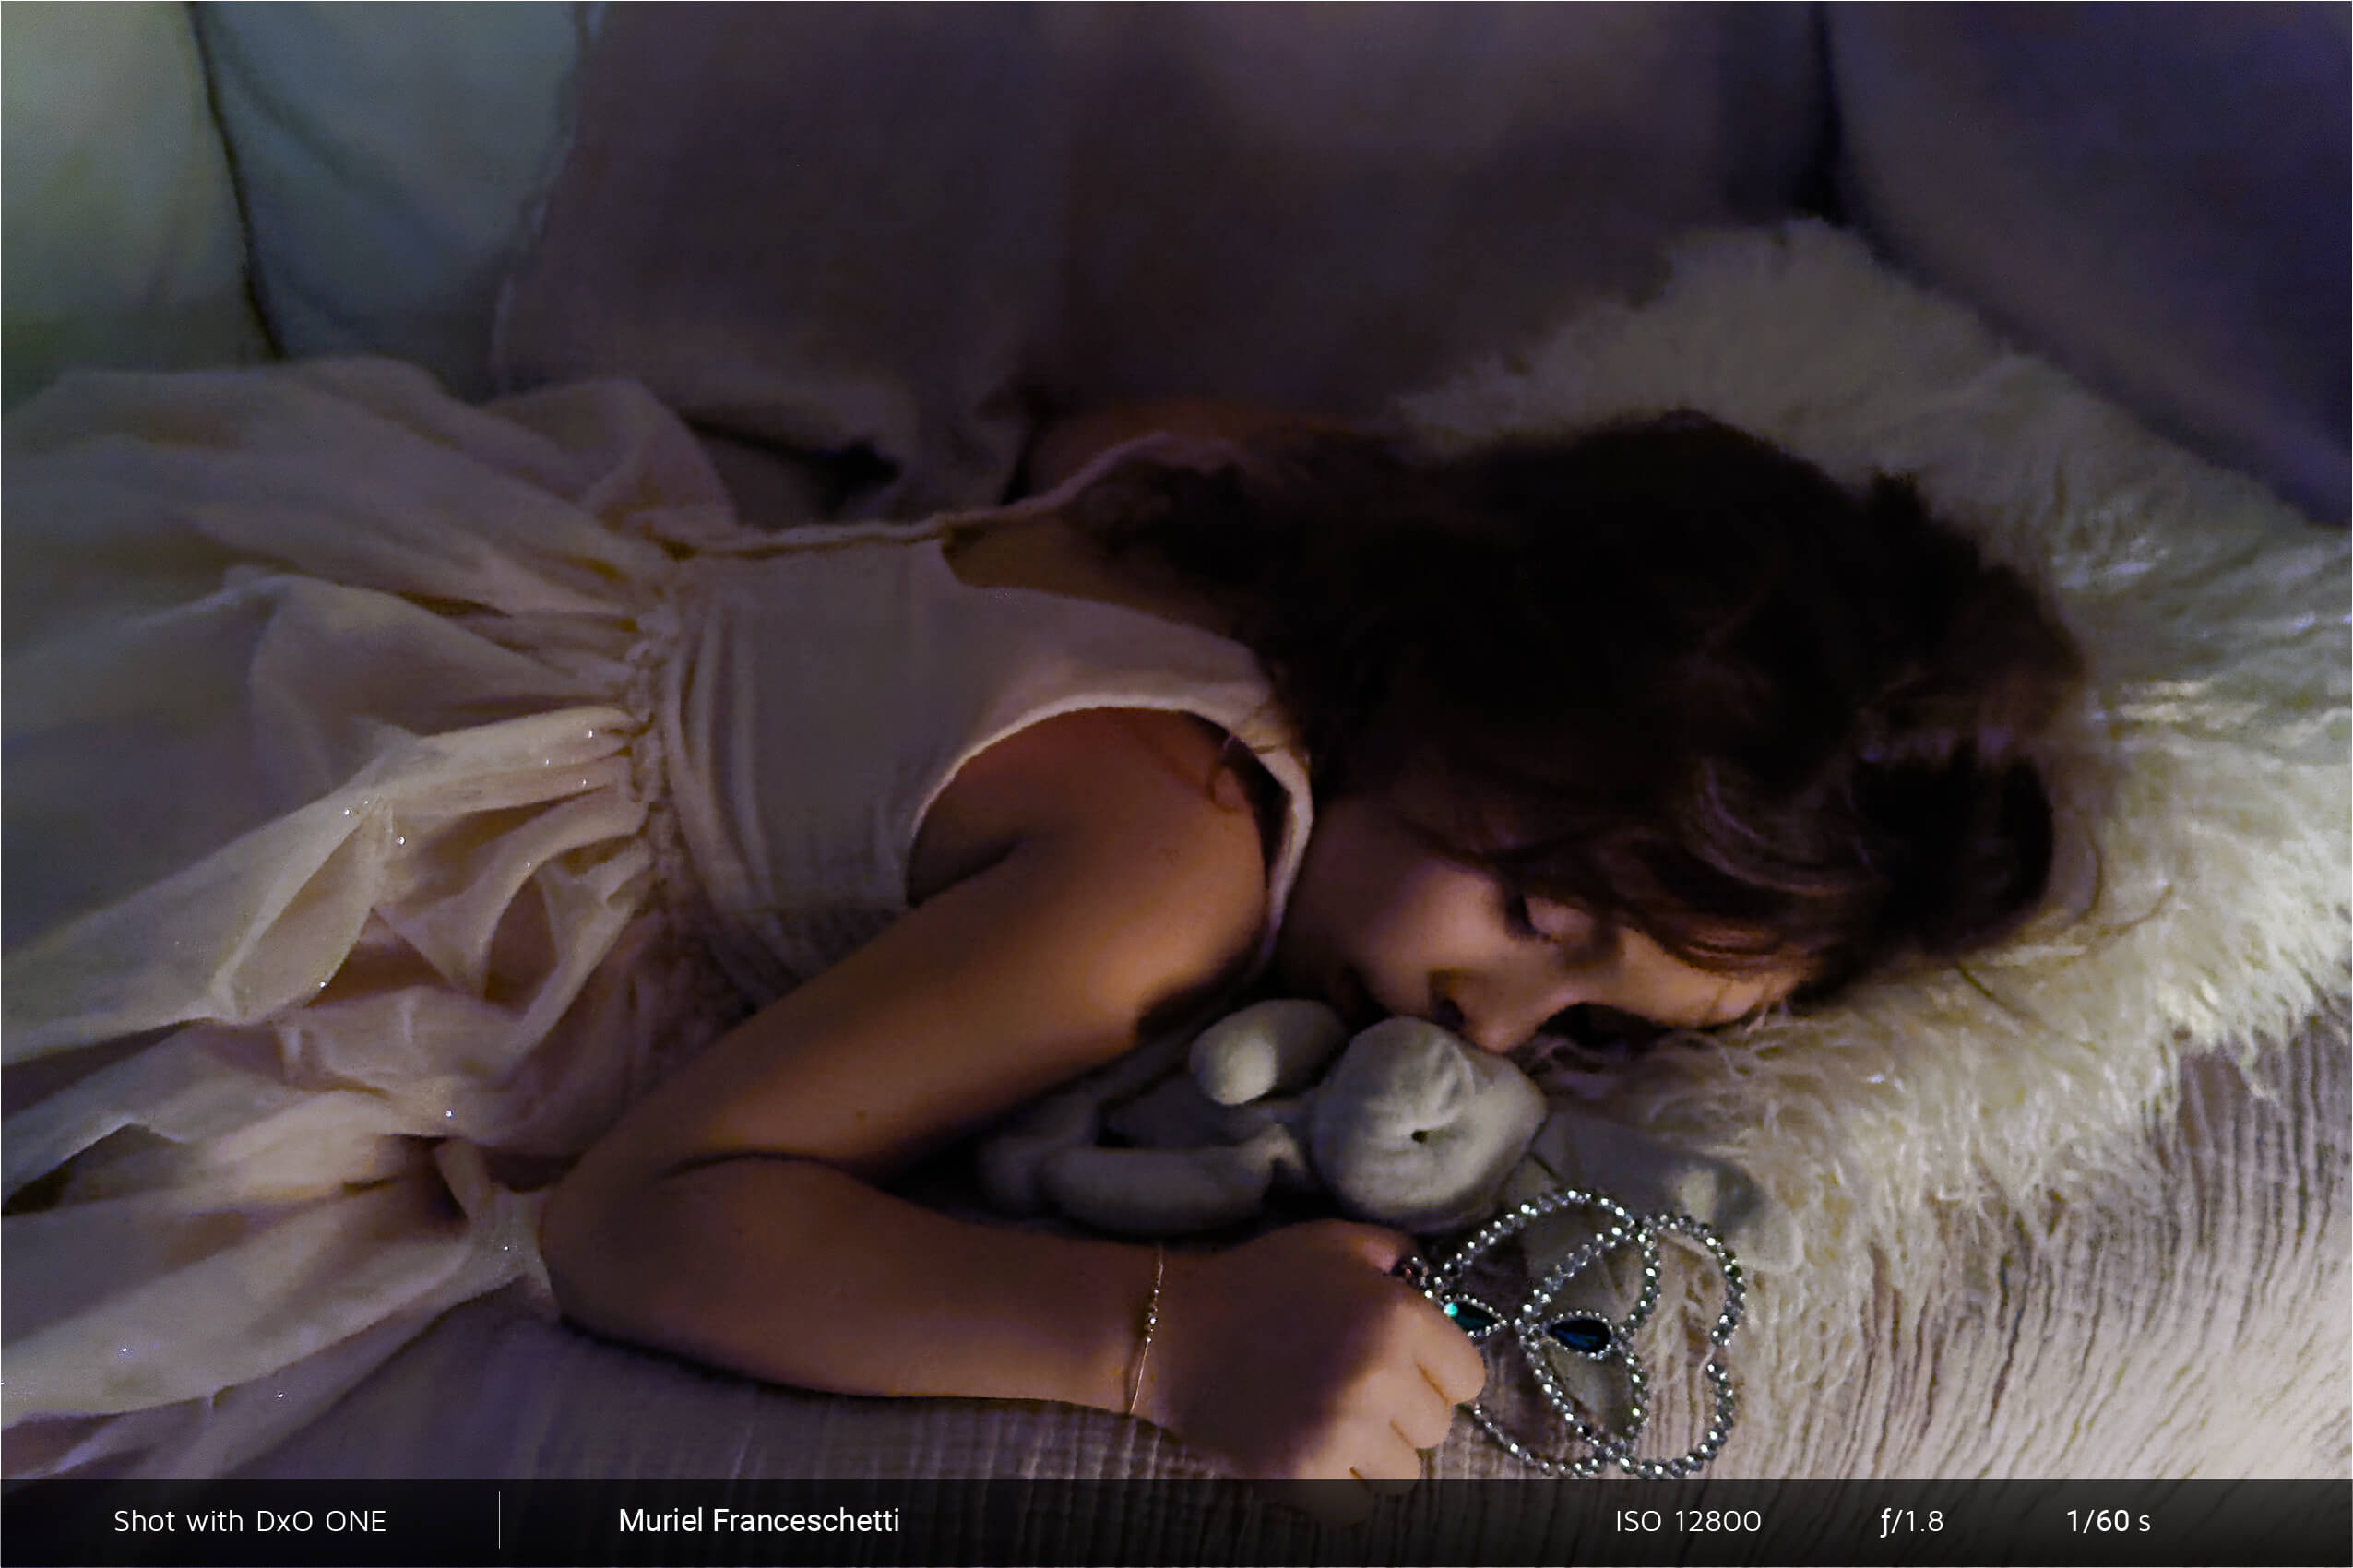
 Sensitivity
is your wild card. You can change it for each photo depending on the lighting.
Using a high sensitivity in low light lets you maintain a shutter speed that’s fast enough to shoot handheld.
Your DxO ONE’s sensitivity values range from 100 to 12800 ISO, and even all the way up to Hi 1 and Hi 2 (25600 and 51200 ISO, respectively).
You can achieve optimal quality by shooting at 100 ISO, but you’ll still get good results at higher ISO values. However, the higher the ISO value, the grainier your images will appear; this grainy effect is called digital noise. Noise can be problematic at extremely high values, but you can also use it to obtain creative effects in black and white photos, for example, or you can make your images grainy on purpose to uncover detail in dark areas.
When documenting a scene and dealing with constantly changing lighting conditions, you can switch the sensitivity setting to Auto mode and let your DxO ONE determine the best value for maintaining a shutter speed that’s fast enough to avoid blurry images.
M (manual) mode lets you change the shutter speed and aperture simultaneously and independently of each other. P (program) mode suggests setting combinations for the DxO ONE; you can shift the suggested values higher or lower.
Experiment by changing only one setting at a time. For example :
-
 Take a photo of a flower and gradually close the aperture to see how that changes the depth of field.
-
Find a carousel that turns at a steady speed and change your camera’s shutter speed. Note the amount of motion blur that appears in the image at different settings.
-
In low-light conditions, gradually increase the sensitivity to see how this setting affects the amount of digital noise in your image.
 Download page