
Night photography
Speed
When photographing at night, try to stabilize the camera as much as possible by using a tripod. Select a slow shutter speed and a low sensitivity value for optimal quality.
Night photography offers a wide range of possibilities and can capture beautiful colors and ambiences. Select the mode and the settings that are best suited for the light you’re trying to photograph.
-
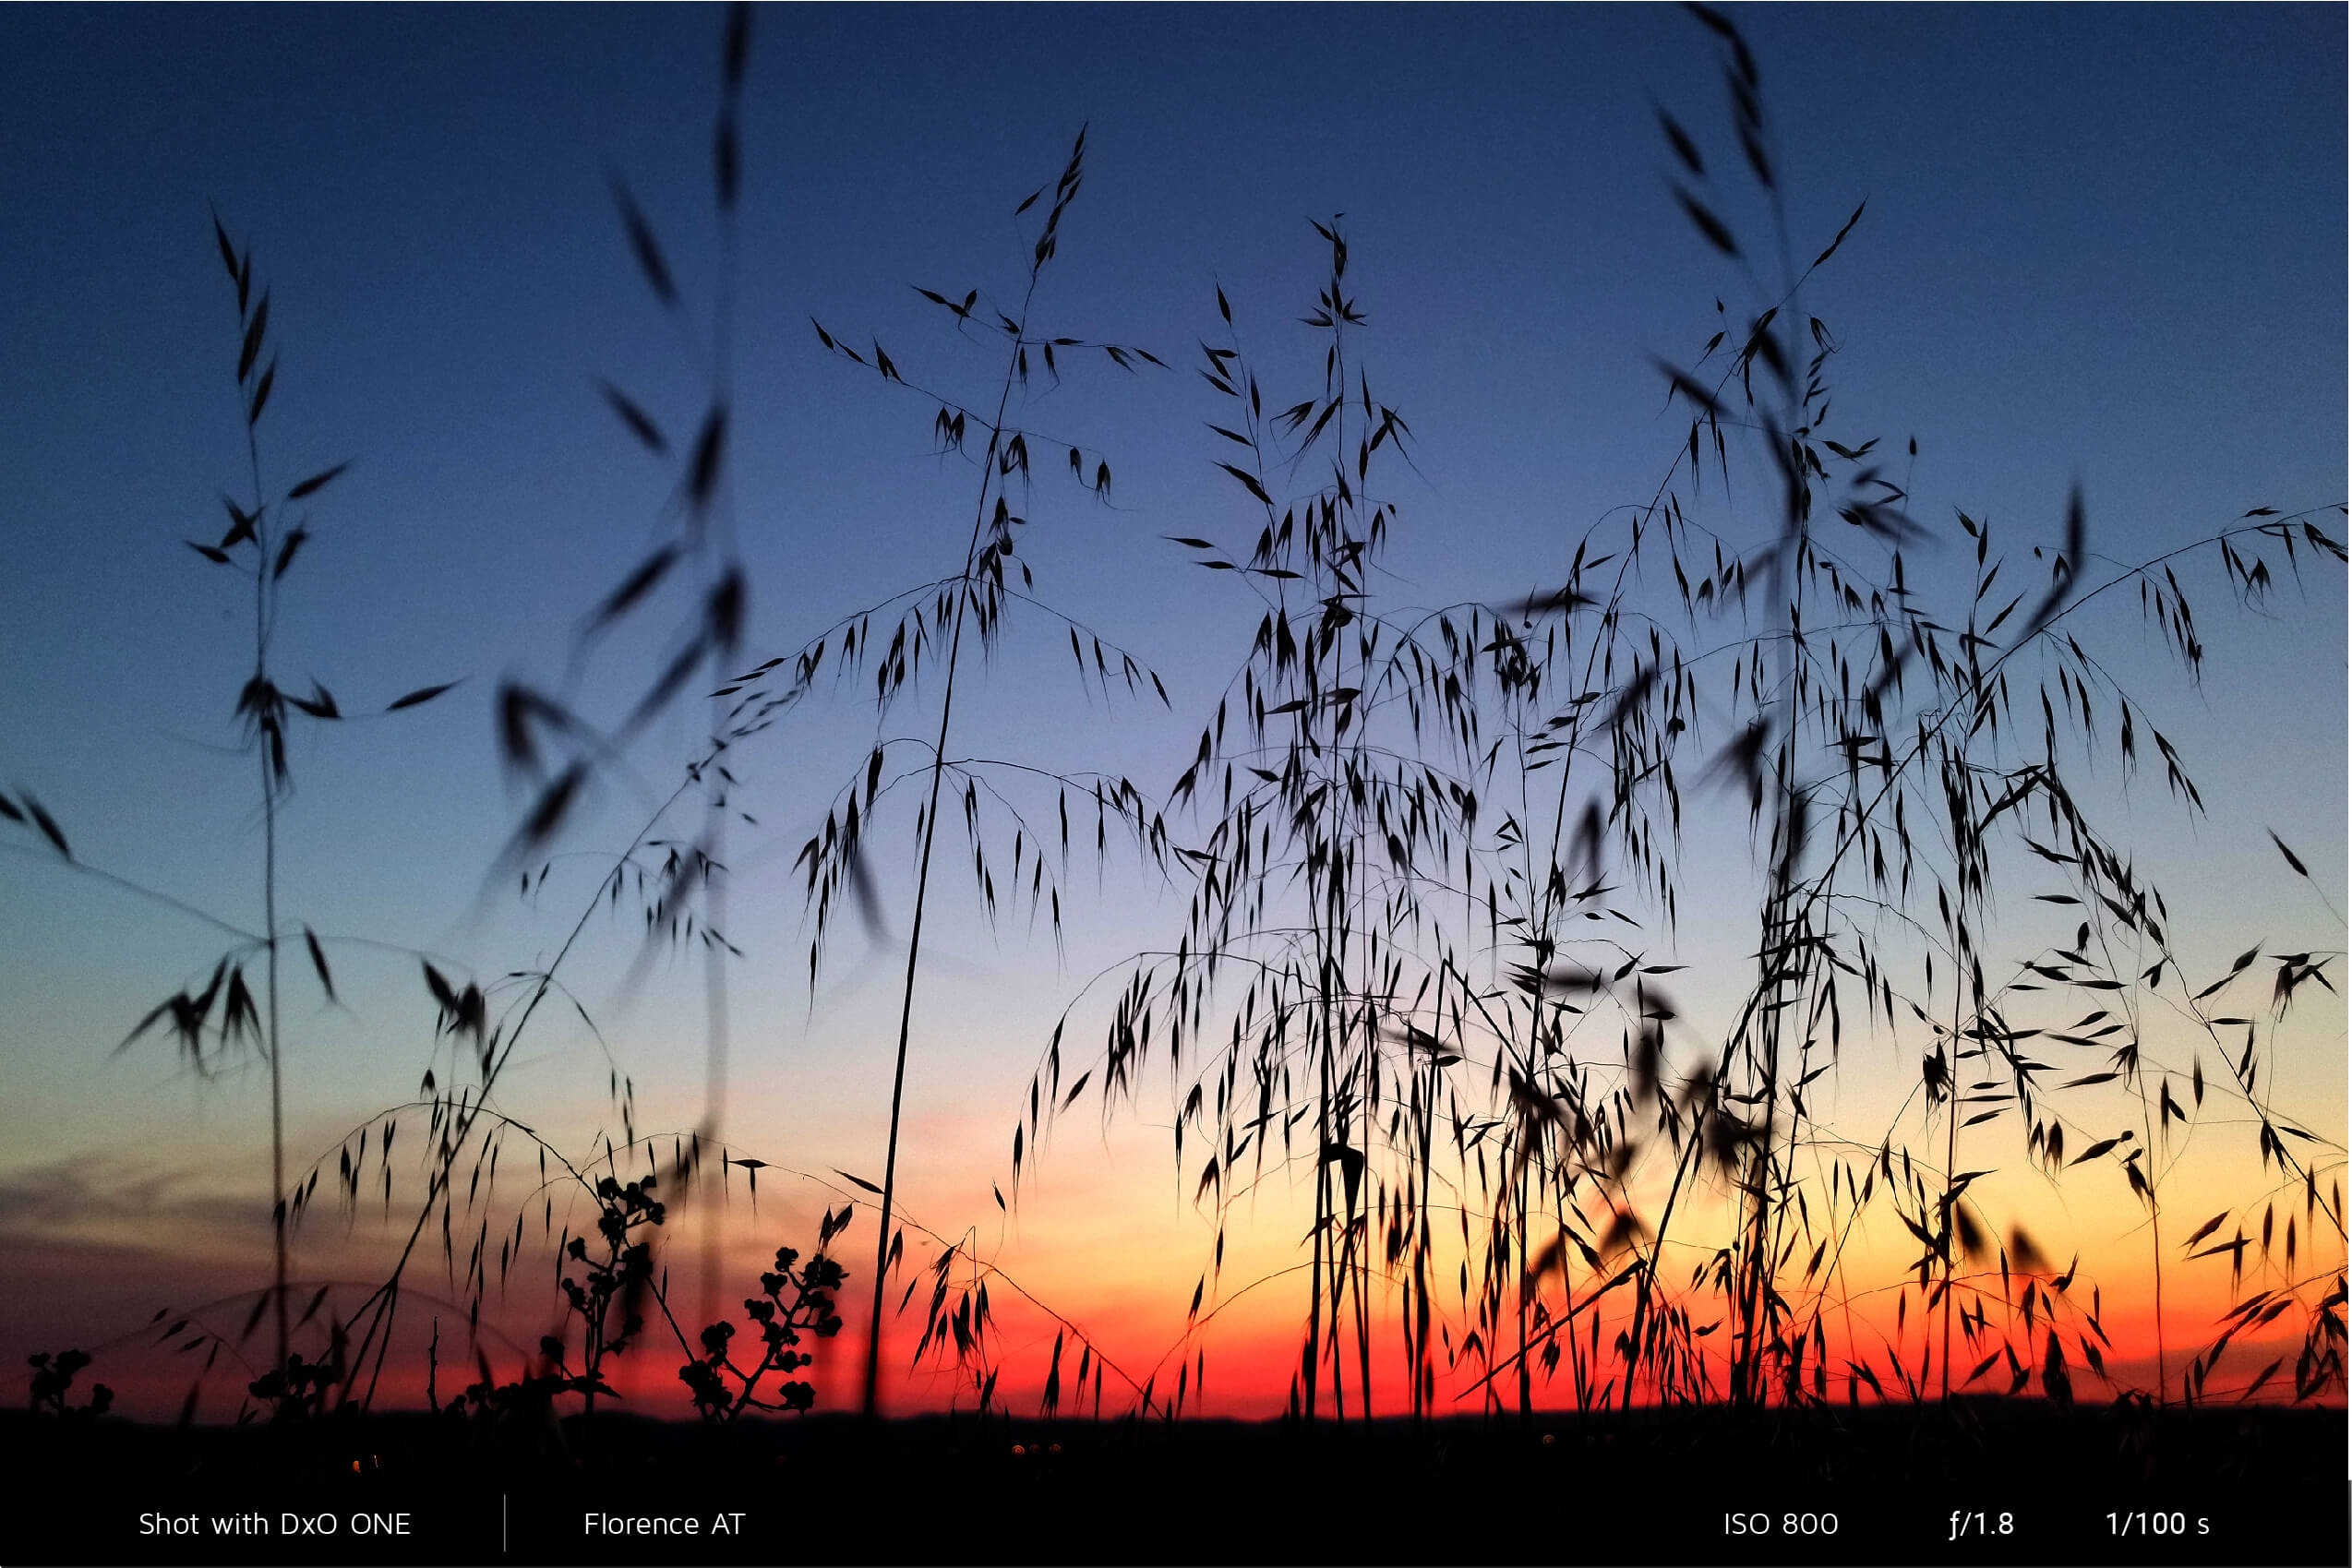
 Shooting handheldNight scene mode is the easiest option for taking pictures with the DxO ONE at night. This mode automatically selects a long exposure time that is nevertheless easy to use when shooting handheld. The image is slightly underexposed to increase the density of dark values. You can change the exposure setting by stopping down (that is, closing the lens diaphragm) if you want a different effect. To do this, just move the exposure correction cursor. Night mode also caps the maximum sensitivity value to avoid digital noise. This mode lets you quickly take a beautiful photograph in nighttime conditions without requiring advanced technical knowledge.
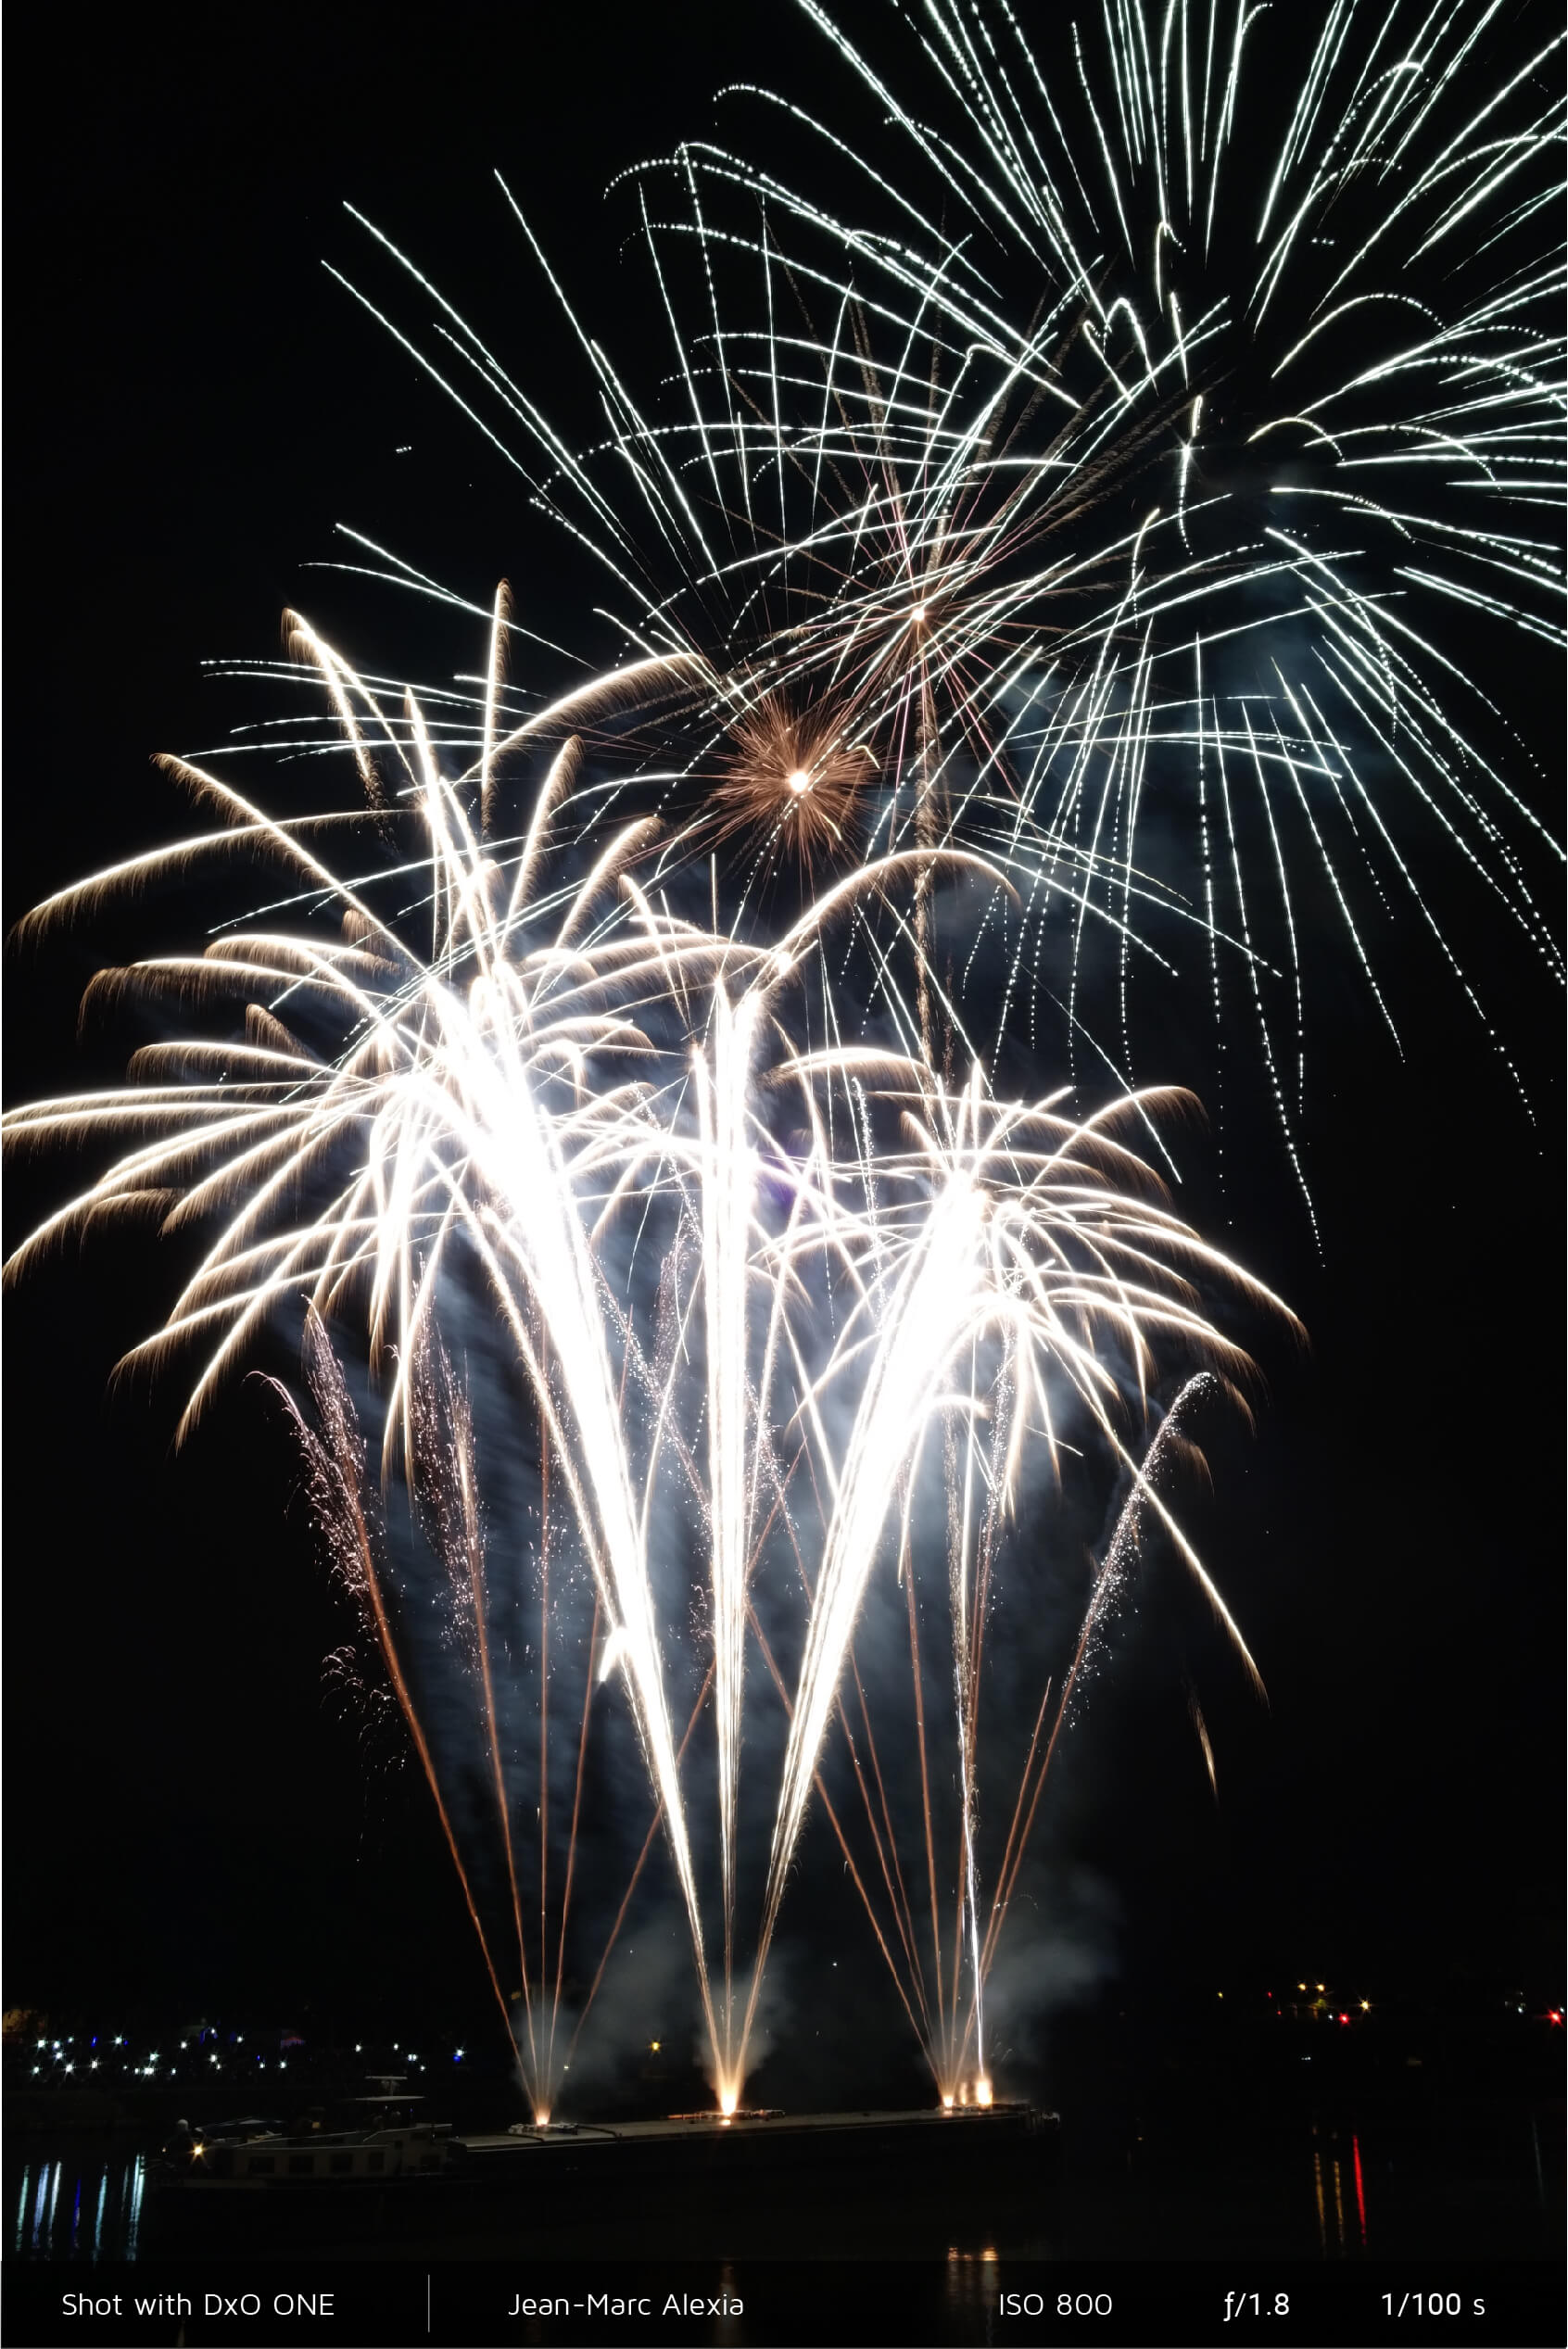
To take things a step further without creating too many technical challenges, use shutter priority (S) mode. This mode places a greater emphasis on exposure time. You as the photographer choose the shutter speed, and the camera automatically selects the aperture. If you have not switched the camera to manual (M) mode, it will also automatically choose the sensitivity setting.
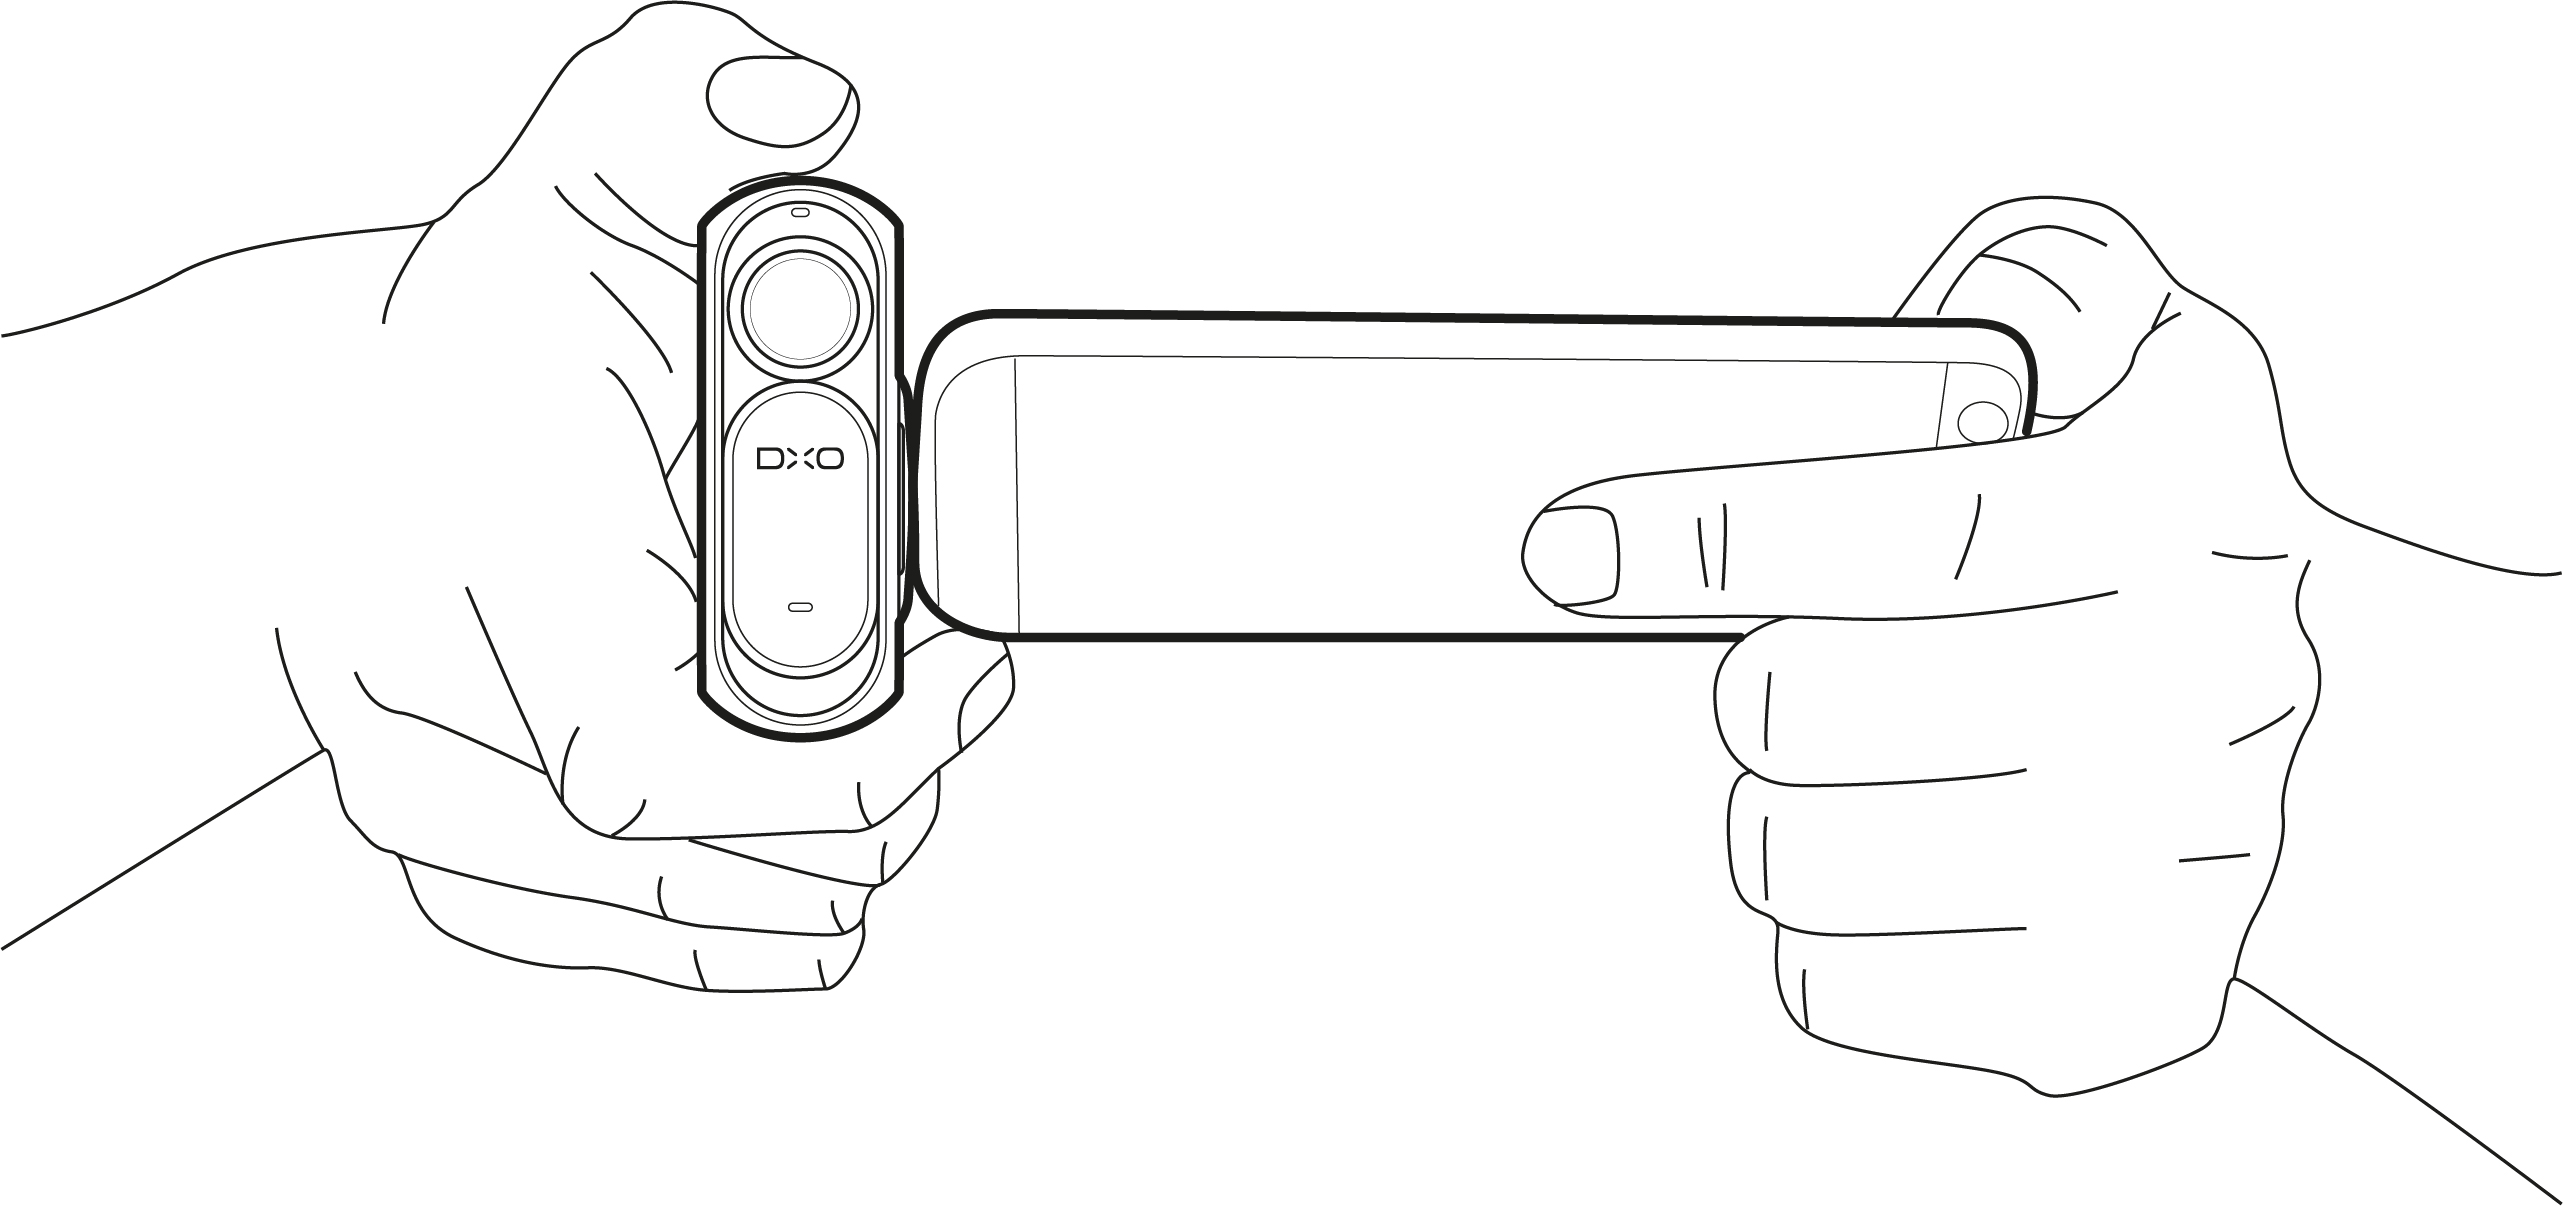
As long as you hold the camera steady and don’t push down on the shutter button too hard, the photo will be sharp. For example, a shutter speed of around 1/40 s is enough to capture the lighting during an evening out with friends. At this shutter speed, you can shoot handheld without creating motion blur.
-
 Setting the camera down or using a tripod
If the exposure time is set to longer than 1/40 s, it’s best to set down your DxO ONE on a stable surface or mount it on a tripod to avoid having to increase the sensitivity, which you will otherwise have to do to have a fast enough shutter speed when shooting handheld.
Full manual (M) mode is useful when photographing a scene with very little light and/or high contrast. When shooting outside at night, this mode lets you select a slow shutter speed that’s suited to the conditions while controlling aperture, and by extension, depth of field. The DxO ONE lets you set long exposure times of up to 30 seconds. This setting is often used in landscape photography to capture beautiful blue tones in the sky after sunset. When using full manual mode, it’s rare to get a good image on the first try. Try different values and look at the results on your smartphone screen, then change the setting(s) you think would work best to showcase your subject and convey your artistic vision (see the tutorial “Low-light conditions”).
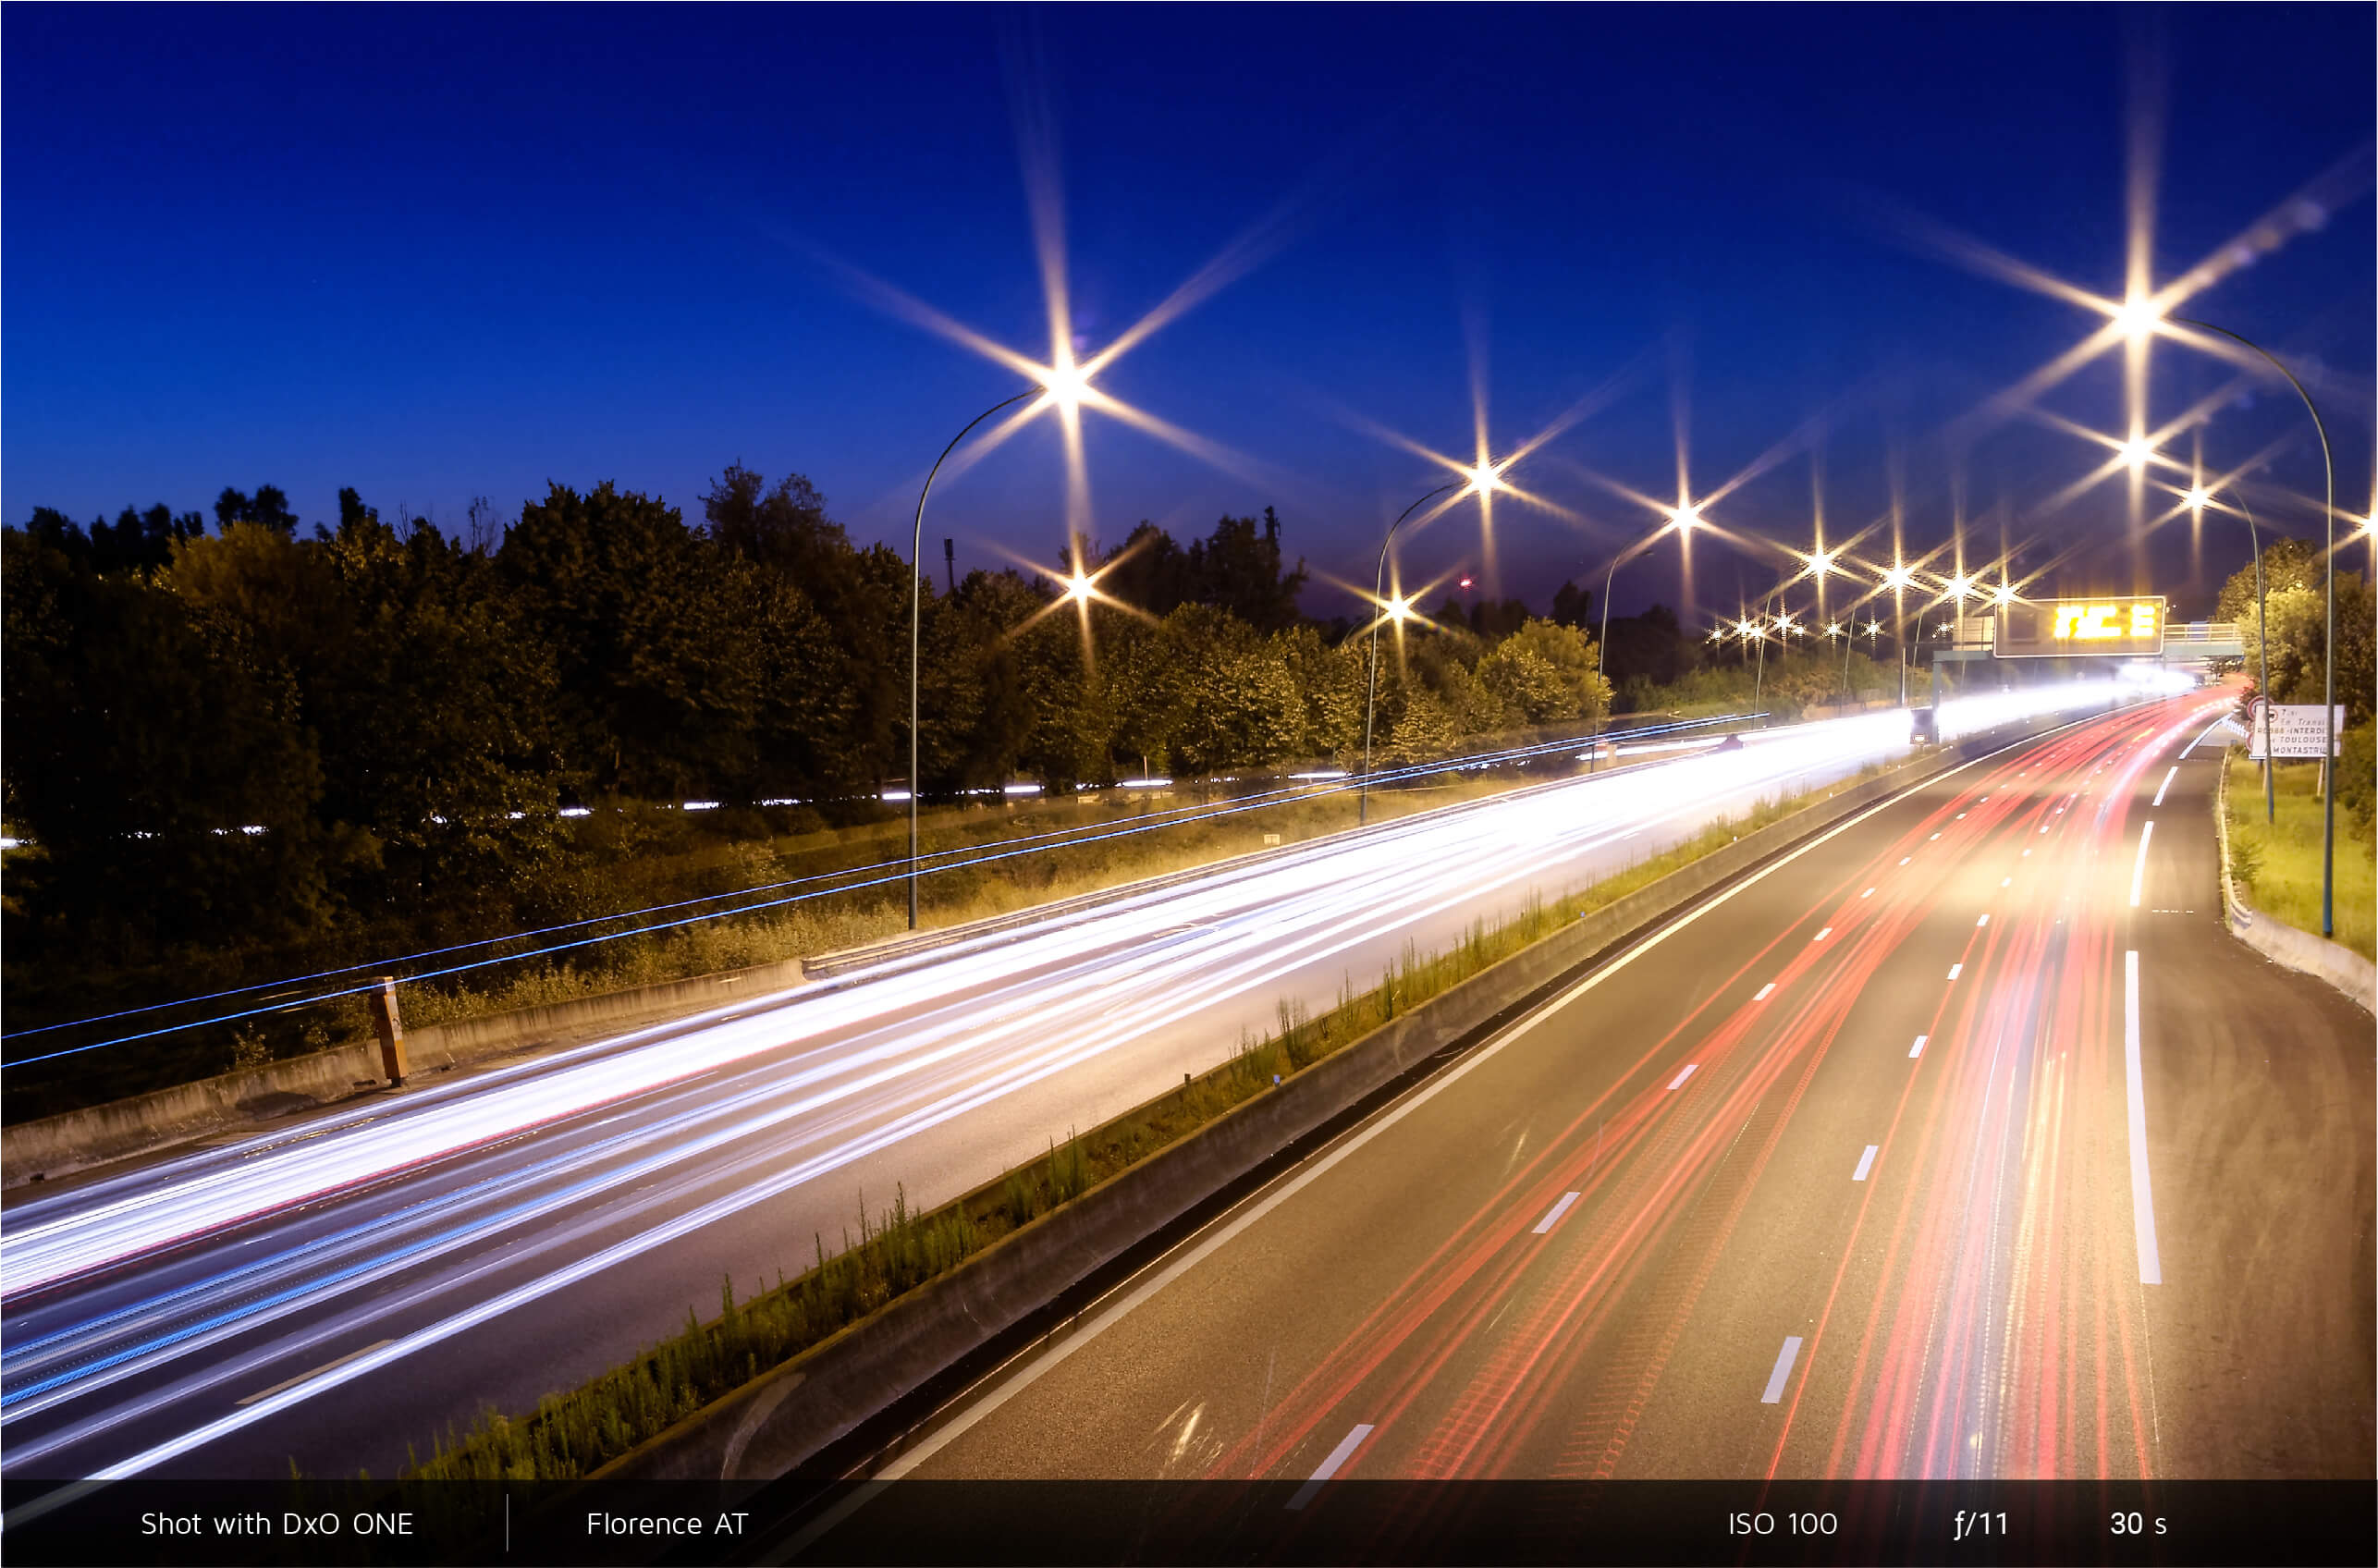
To prevent digital noise in shutter priority (S) mode or full manual (M) mode (two options you can use in night photography), and thereby maintain optimal image quality when photographing a stationary subject, it’s best to lower your sensitivity as much as possible. You’ll need to use a slow shutter speed, so in this case, you’ll need to stabilize your DxO ONE to avoid moving the camera and producing a blurred photo when you press the shutter button.
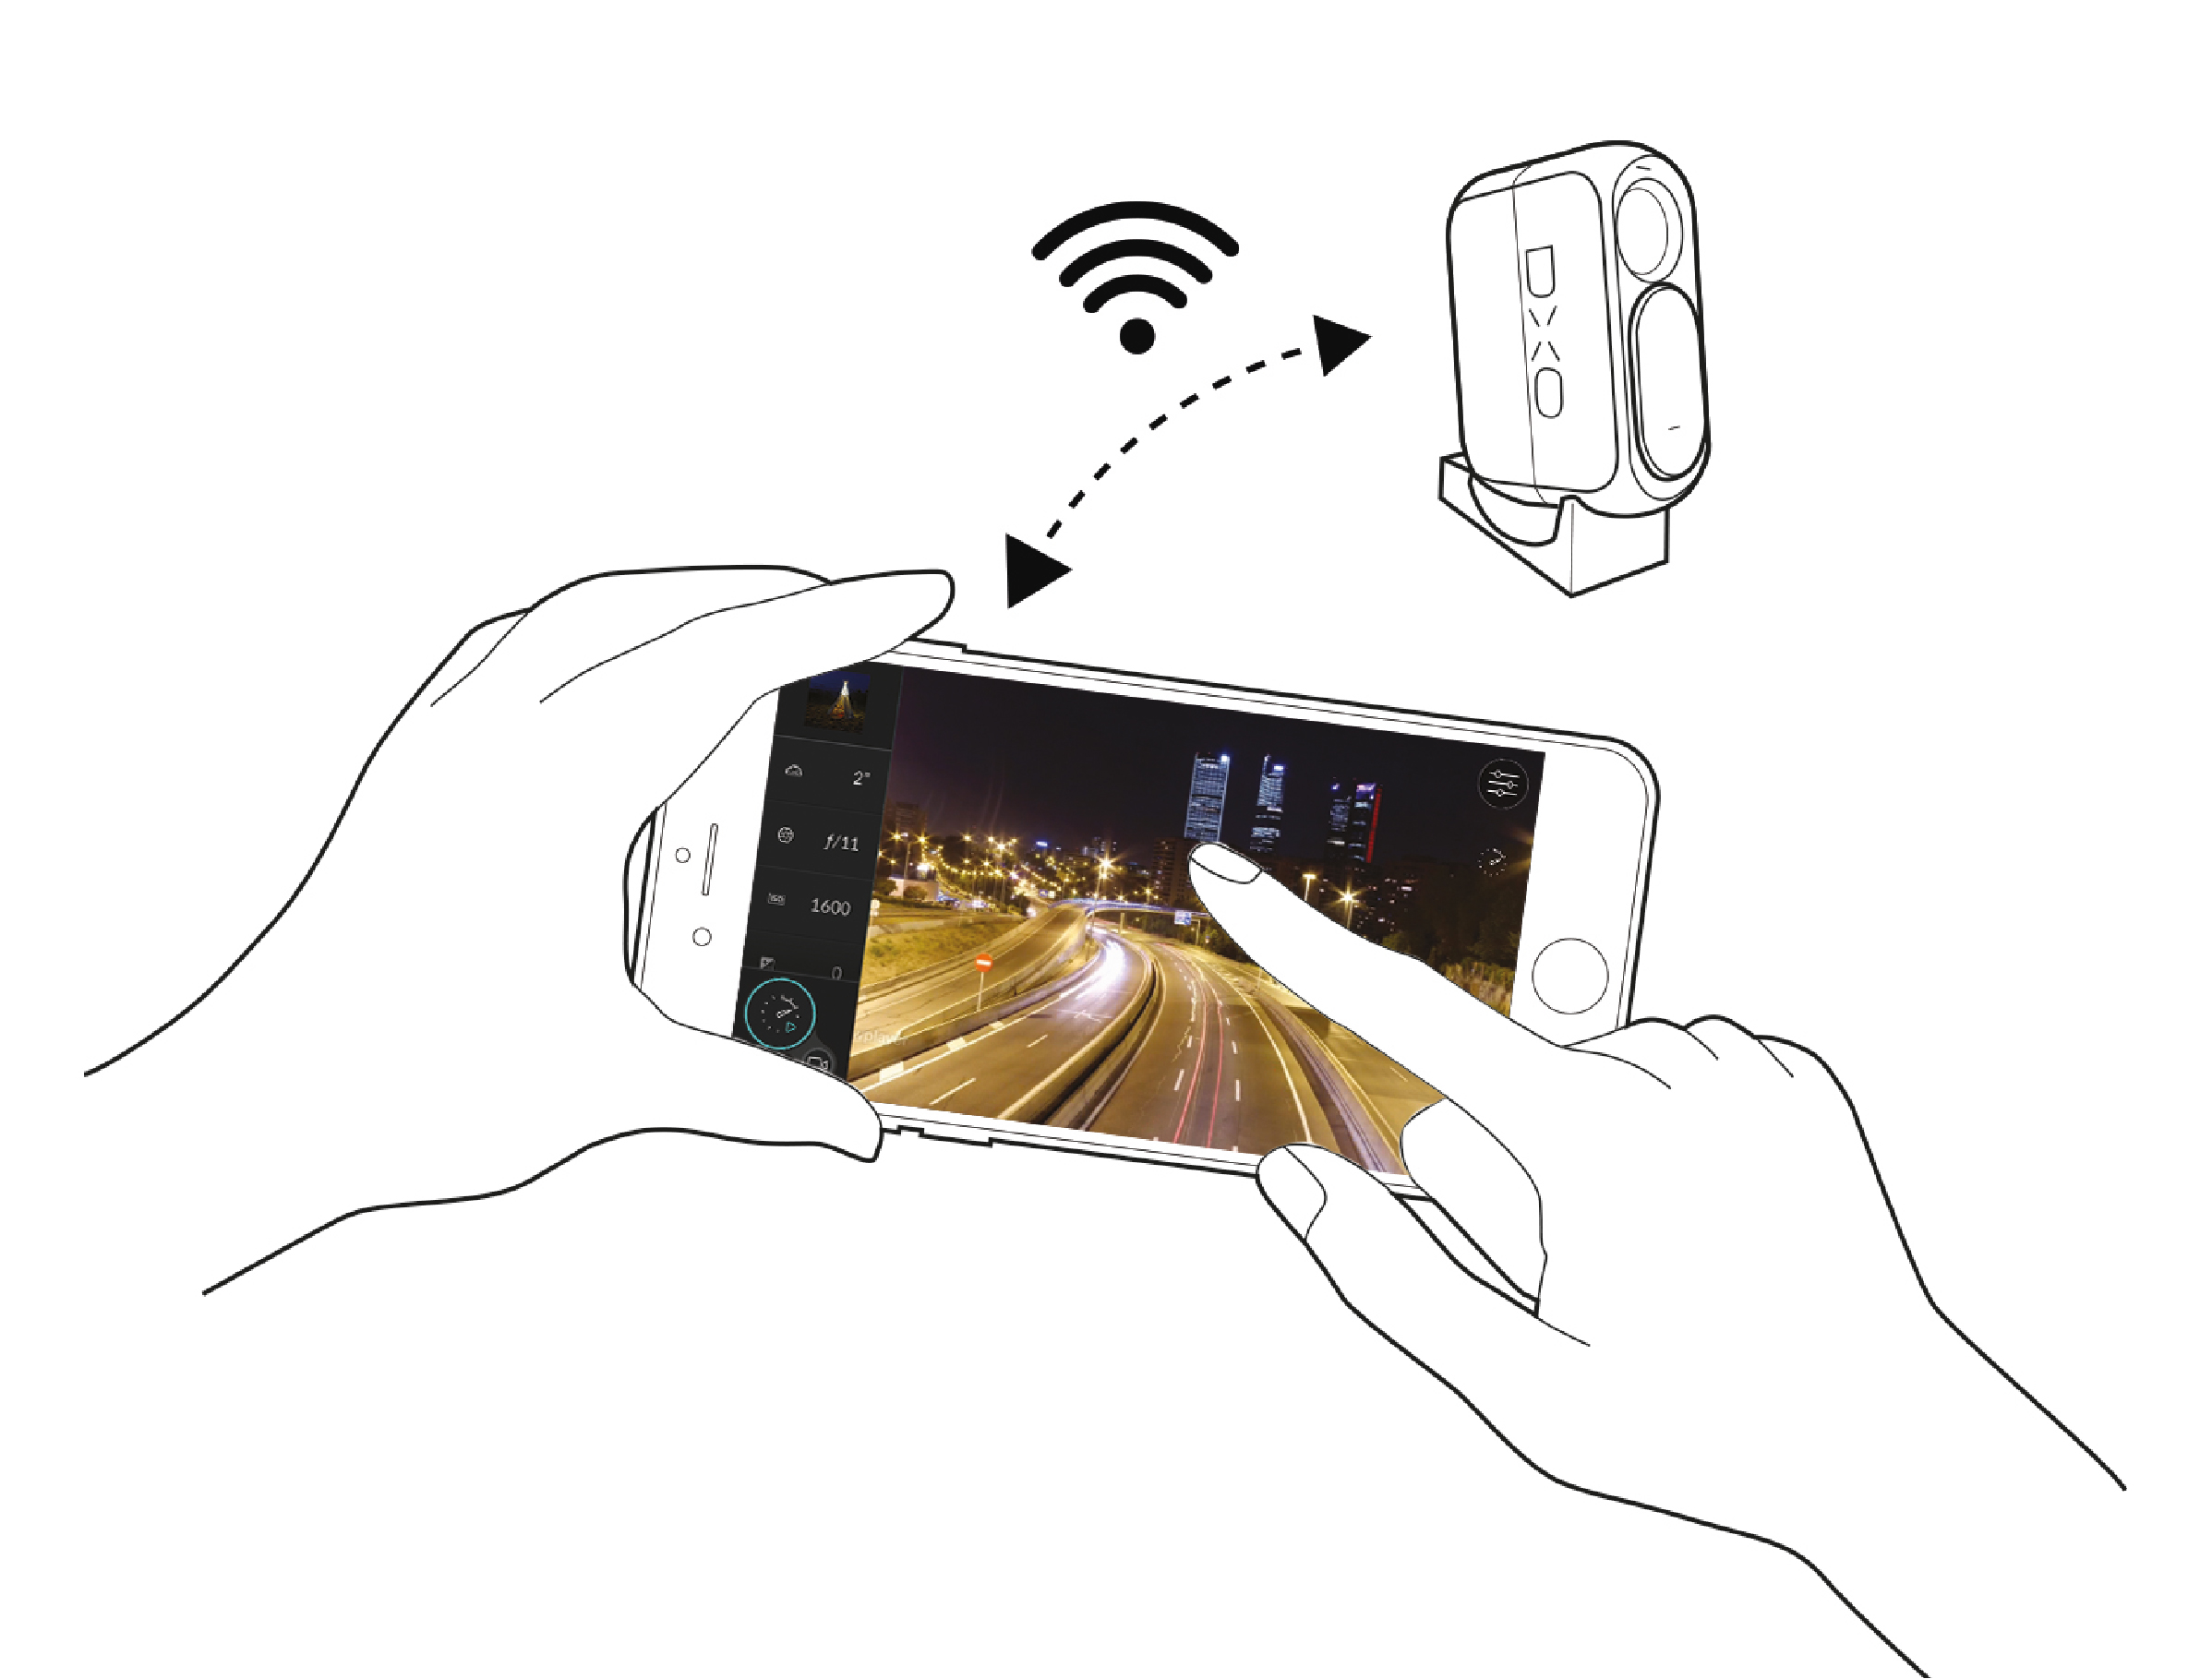
By attaching the Stand to your DxO ONE, you can set down and angle your camera or attach it to a tripod. The Tilt Stand lets you simply set the camera down and angle it. You can also use the two-second timer to avoid moving the camera or you can activate Wi-Fi mode, which eliminates any risk of accidentally jostling the DxO ONE.
If the lighting is very dark, sometimes it can be impossible to focus the camera. Switch to manual focus (MF) mode in the settings menu (see section “Managing focus”). You can use a flashlight to light your subject and see the focal point. Turn off the light before pressing the shutter button. If needed, use your smartphone screen to zoom in on your subject to make sure it’s in focus.
The automatic white balance setting determines a middle point between the various light sources in the scene to produce an image with realistic colors. Using this feature’s preprogramed settings, such as Tungsten mode, for example, you can select the color temperature you want depending on the type of light.
If you save your photos in RAW or SuperRAW, you won’t have to worry about white balance, since you can easily correct this setting using DxO PhotoLab Software. Doing so will also provide a better result in terms of denoising.
 Download page