
Creating a Time-lapse video
Recording videos
![]() Starting the Time-lapse
Starting the Time-lapse
To start the Time-lapse:
-
 Return to the viewfinder screen by clicking the X button in the upper left or by pressing the shutter button halfway.

We recommend completing the following steps from your iPhone while in Wi-Fi mode. This will let you check your framing and prevent you from moving your DxO ONE when disconnecting your smartphone.
-
 Determine your normal camera settings (frame, P, A, S, M, or Scene exposure mode; subject focus; exposure settings, ISO sensitivity, white balance, etc.).
Keep in mind that Auto Ramping mode will lock the focus and aperture settings after the first photo.

If you’re making a Time-lapse video, the frame (in 16/9 format) will be shown on the viewfinder screen in dotted lines. If you are saving RAW files and making a video, the files will be in 3/2 format and will include the grayed-out area outside of the dotted lines.
-
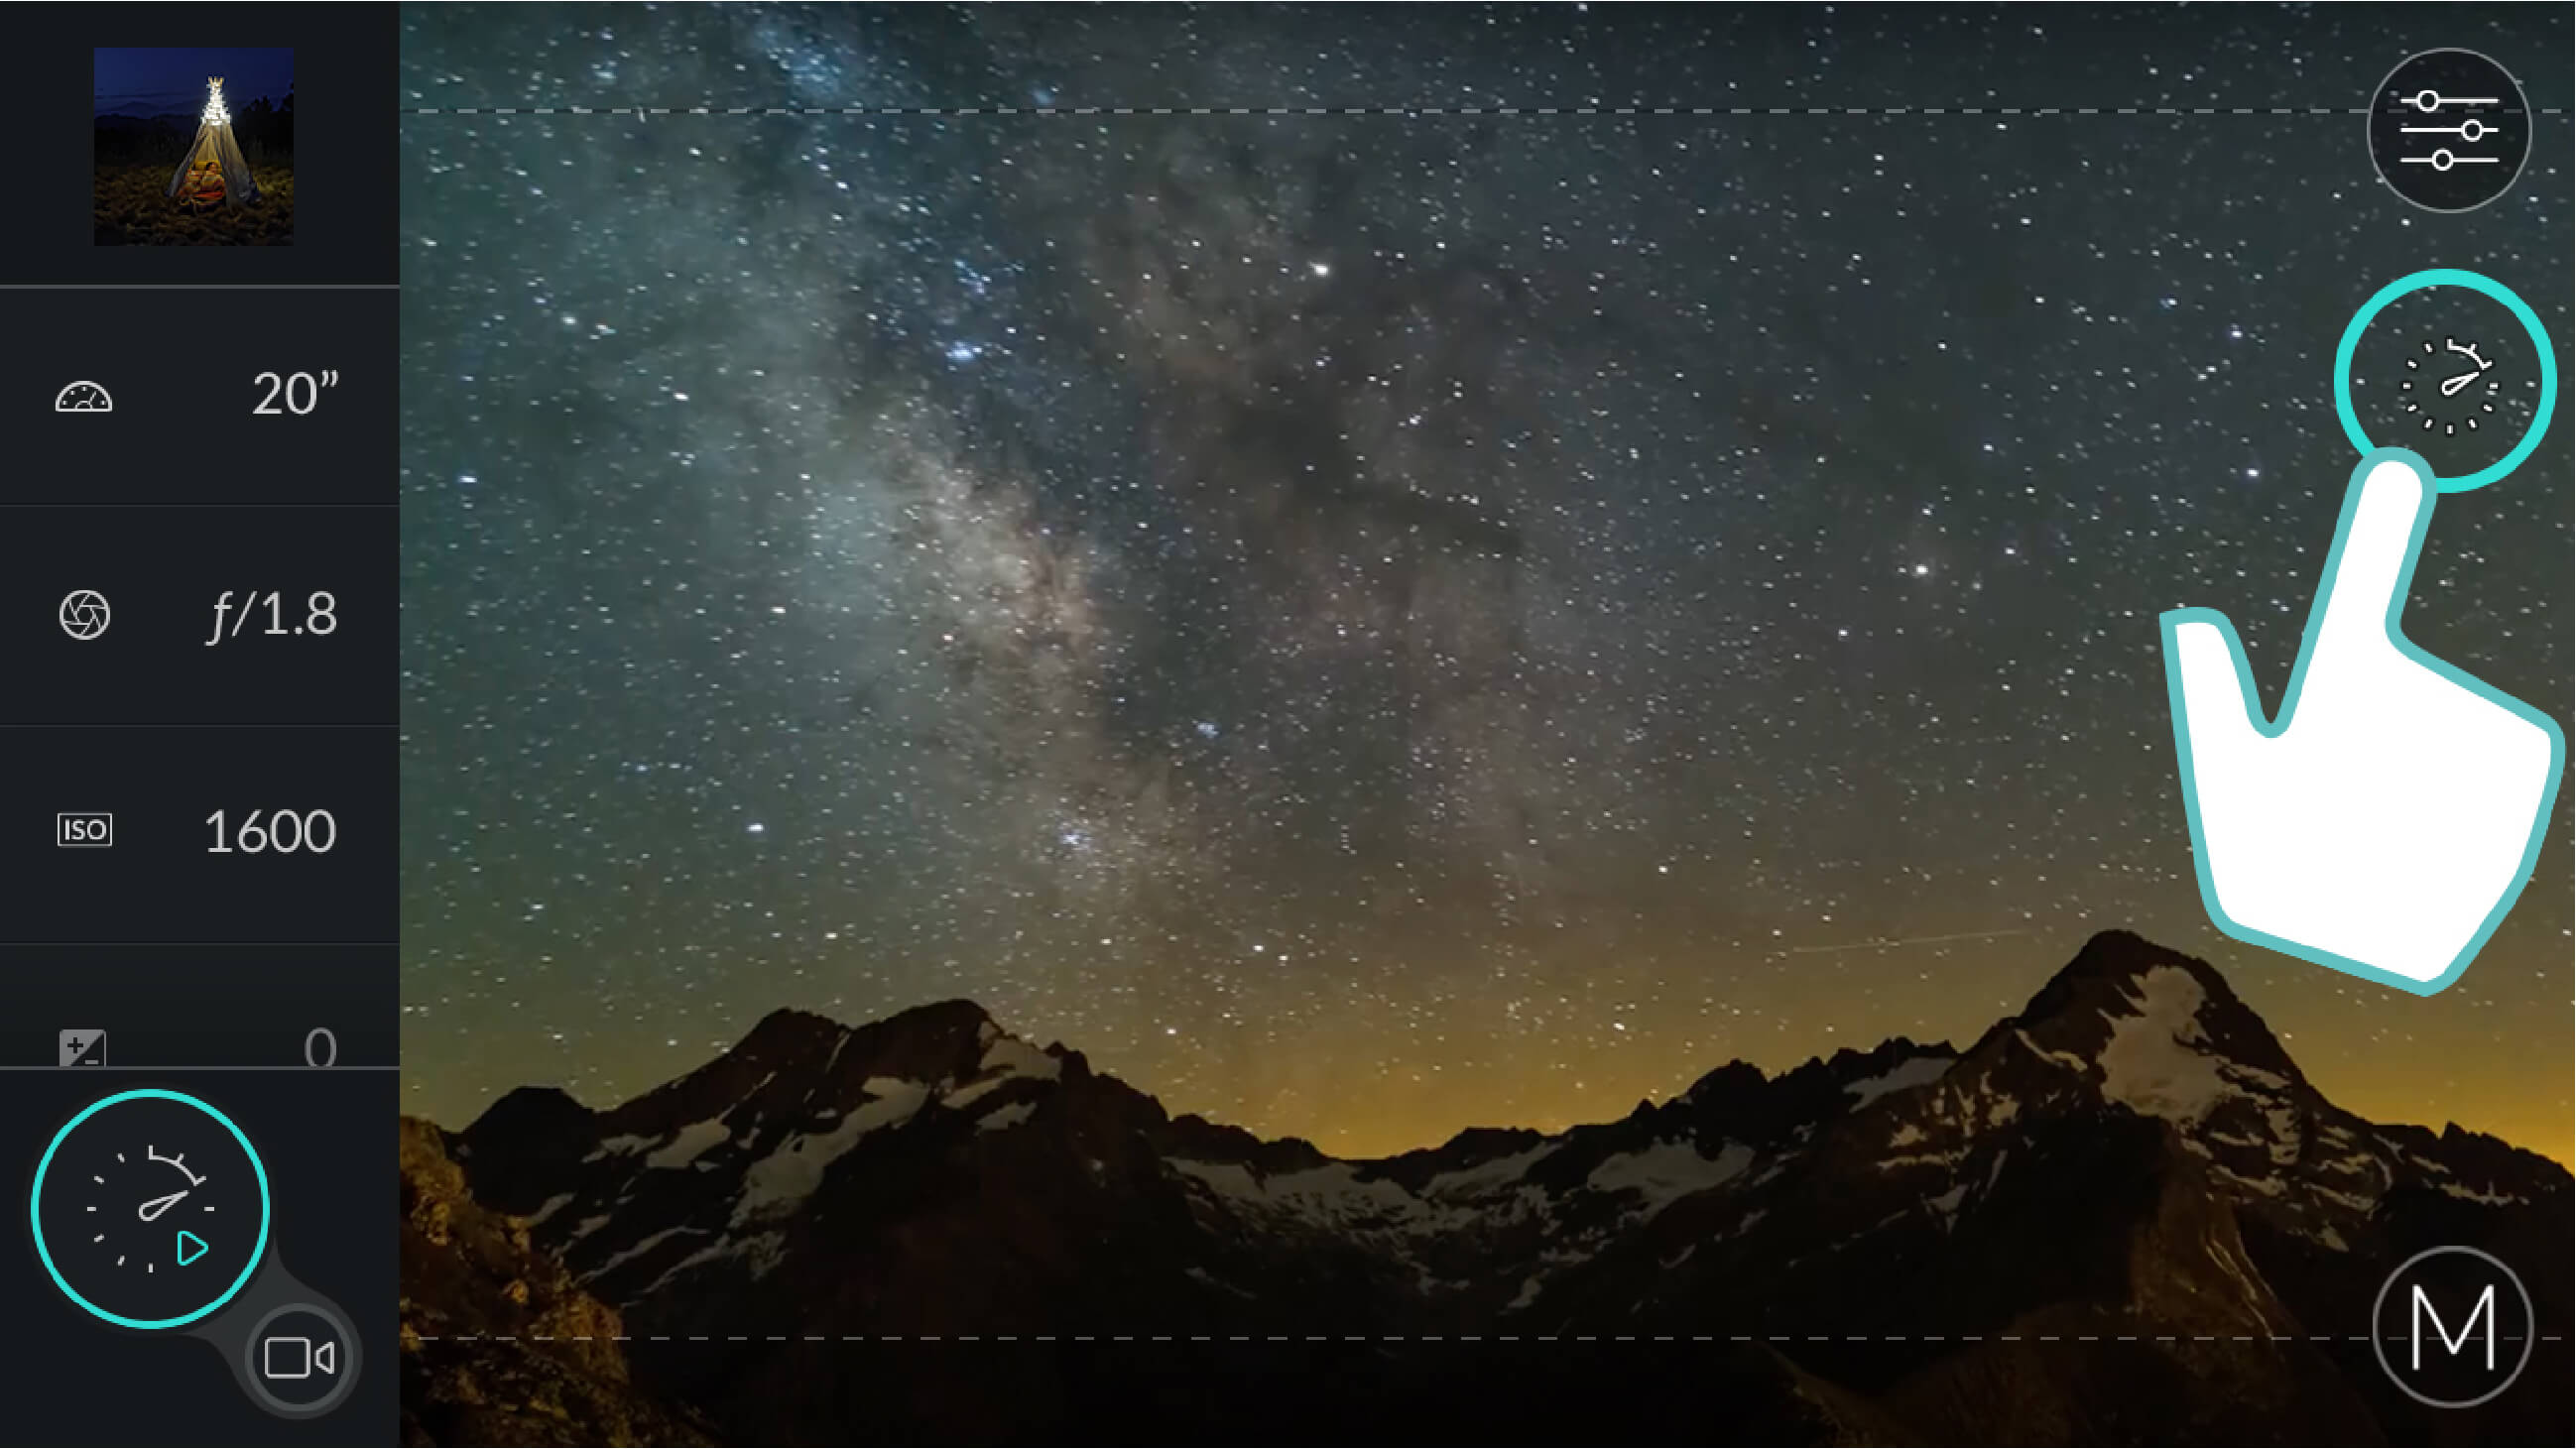
 The shutter button turns into a stop watch.
-
 Click it to start the Time-lapse (the button will display a red square).

-
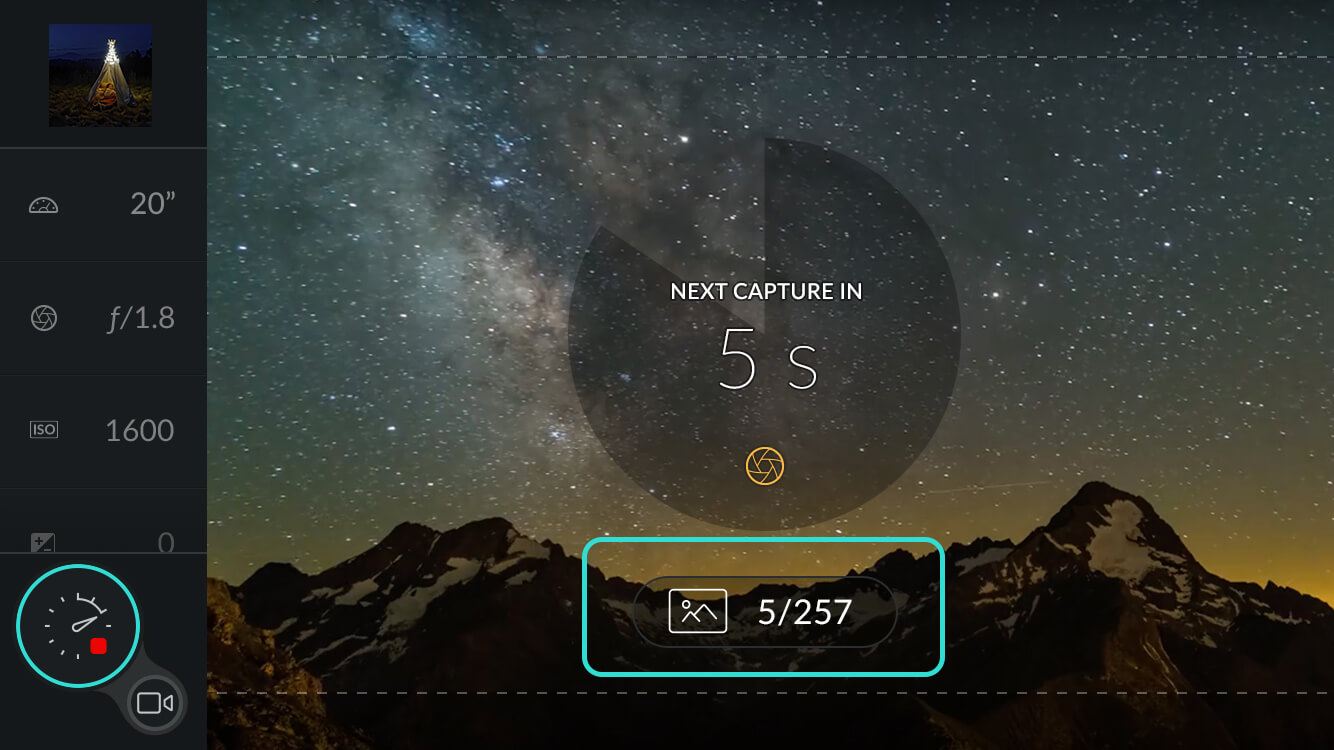
The timer (programed in Step 8 in the previous section) will start to count down.

-
As soon as a photo is taken, the viewfinder screen will display the last image captured and the countdown showing the time left before the next photo is taken.

-
The viewfinder screen also indicates the number of photos remaining out of the total estimated number of photos.
-
The screen at the back of the DxO ONE will display a progress bar as well as the remaining estimated time.

-
When the camera sequence is complete, the shutter will stay in Time-lapse mode and display a blue arrow instead of a red tile.

Reminder: In Wi-Fi mode, you can connect and disconnect from the DxO ONE at any time. This means that you don’t have to stay next to your camera, and you can periodically use your iPhone to check that the video is recording properly.
-
 To interrupt the Time-lapse before the programed end time, press the shutter button on the device or in the app.
If for whatever reason you have to interrupt a Time-lapse before the end, the photos will still be saved and you can view and share the video as is.
-
 You can also restart the Time-lapse with the same settings by pressing the shutter button a second time.
-
 To leave Time-lapse mode and return to photo-by-photo mode, tap the Time-lapse icon in the upper right under the settings access button.
Your programed Time-lapse session is saved even when the DxO ONE switches to stand by or turns off.
 Download page