
Basic functions
Taking photos
-

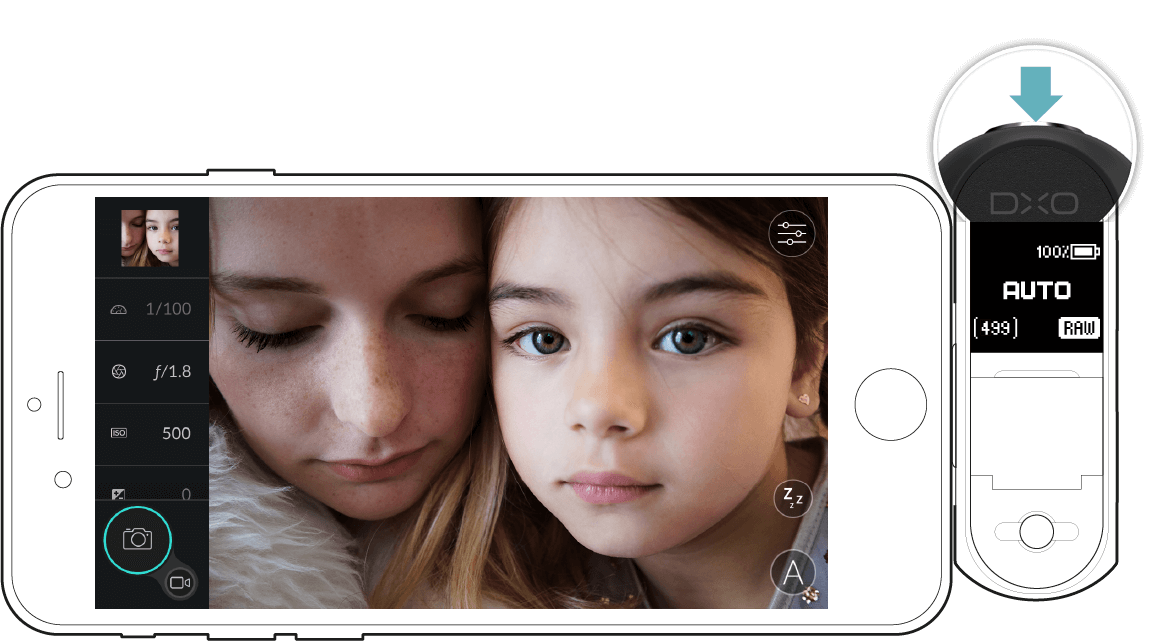
Releasing the shutter using the DxO ONE or capture screen
You can trigger the shutter by fully pressing down on the DxO ONE shutter button or by tapping the shutter button on the bottom left-hand corner of the application.
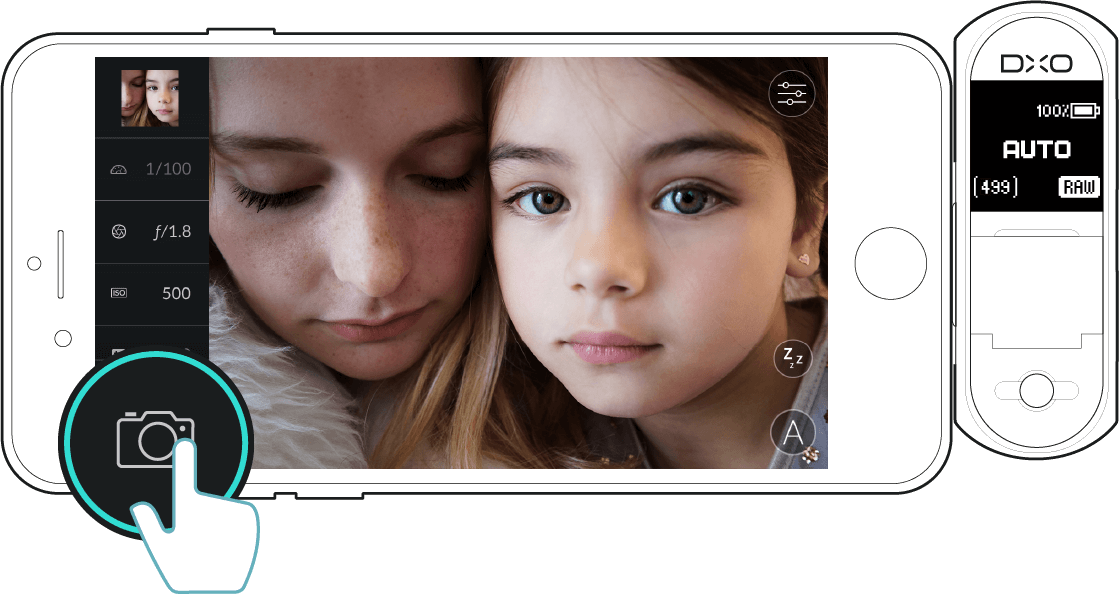
Once you take a photo, it will be displayed on the iPhone for two seconds so you can view and check it. Note that this display time can be modified under shooting settings (see section “Shooting settings” ).
-

Releasing the shutter using the volume buttons
You can also use either of the iPhone’s two volume buttons to trigger the shutter.

-

Exposure adjustment and compensation
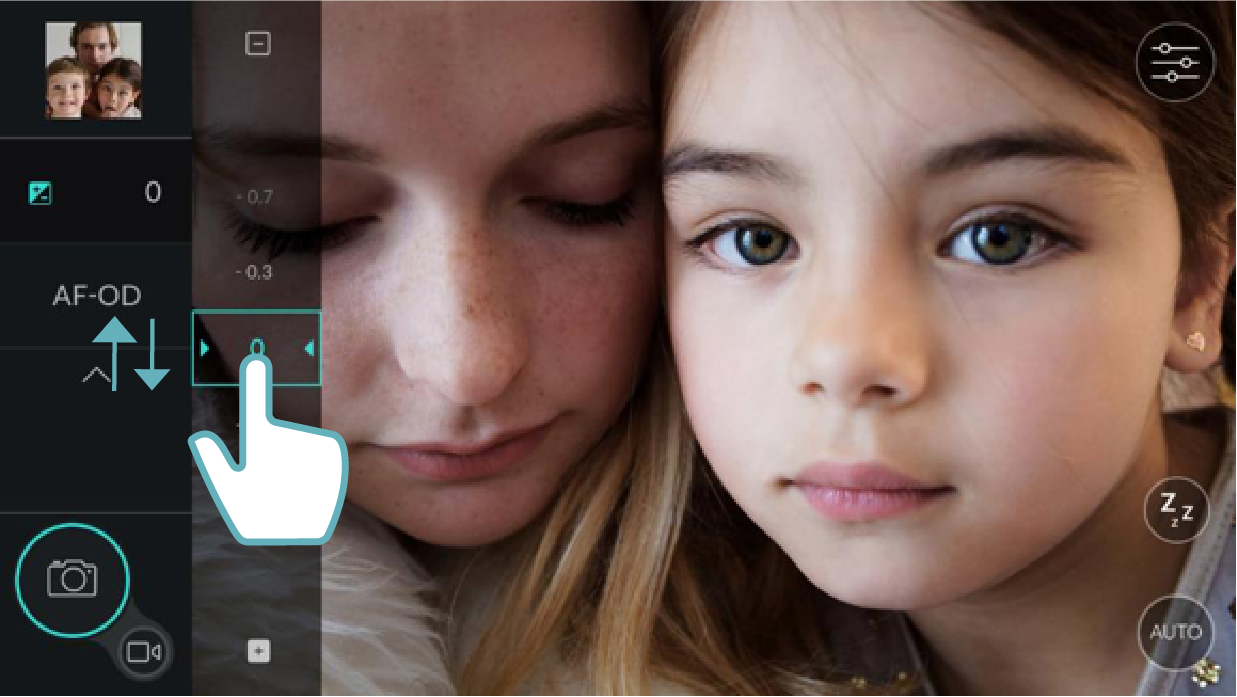
In Auto mode, exposure adjustment is entirely automatic. However, you can make your image a little darker or lighter before taking the shot. In the left bar, tap on the Exposure compensation button to open the picker: drag the button down to darken the photo (negative values) or up to lighten it (positive values).
If you opt to display additional information (as described in section “Composition grid”), a scale at the bottom of the screen will indicate the degree of compensation. It is marked out in EV. Increasing the exposure by 1 EV doubles the amount of light captured by the camera. Reducing it by 1 EV halves the amount of light. You can make adjustments in stops of 0.3 EV.
-

Digital zoom
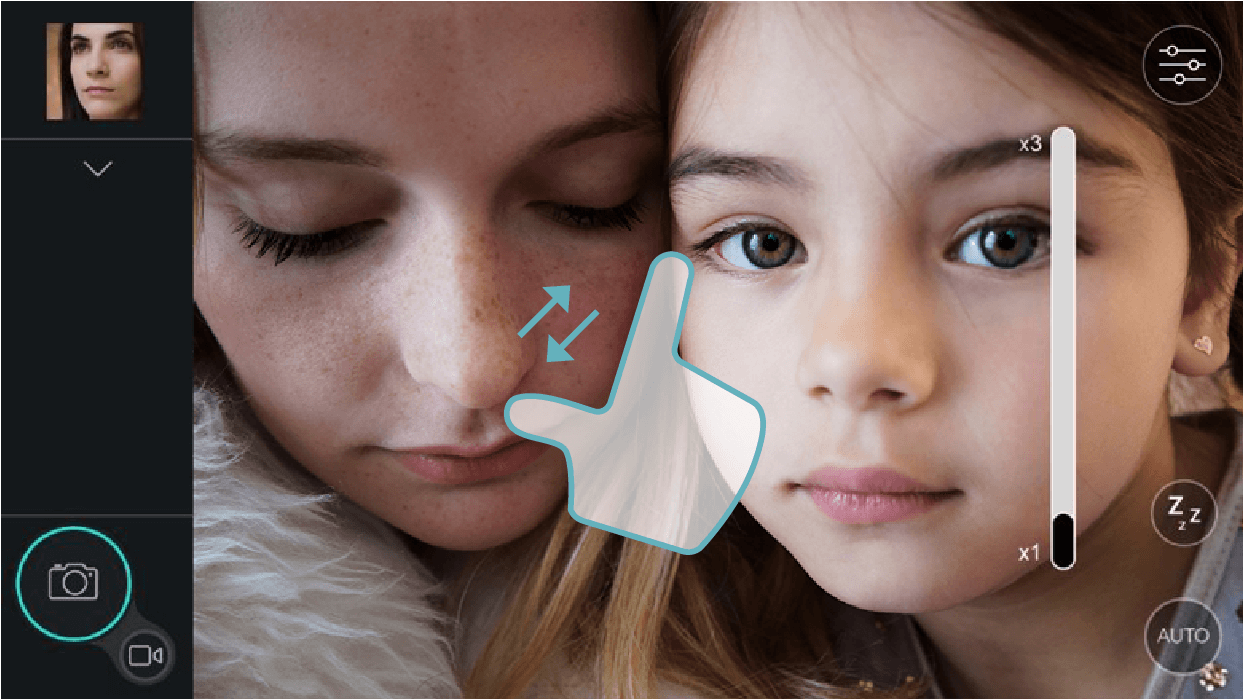
To use the digital zoom, place two fingers on the screen in a pinching motion and move your finger apart. The preview image will become bigger, and a vertical zoom cursor will be displayed on the right. This cursor lets you enlarge the image up to a maximum of 3×.
Please note the use of the digital zoom can reduce image quality, especially if you plan on printing your photos.
-

Focusing
There are two ways to automatically focus your image; either press the DxO ONE shutter button down half-way, or tap the area you wish to bring into focus directly on the screen.

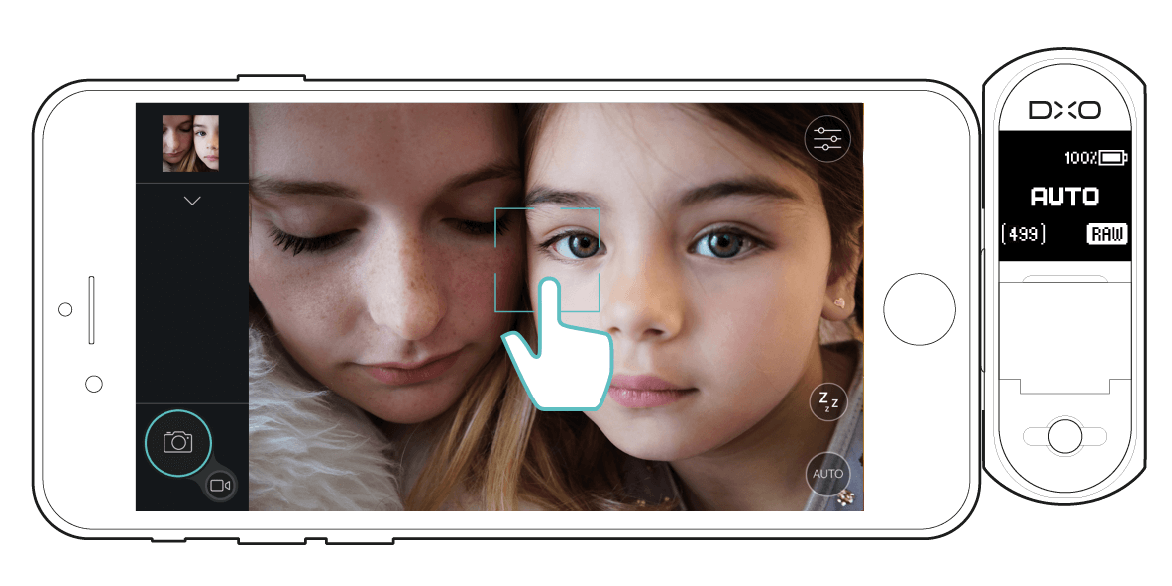
When the image is correctly focused, the focus frame will turn green. Conversely, if the camera is unable to focus, the frame will not be displayed.
Note that if the scene being photographed includes a face, the DxO ONE will automatically focus on it. If there is no face in the scene, the camera will focus on the center of the image by default.
For more information about the various focusing modes, especially manual focusing, see section “Managing focus”.
-

Camera shake and flicker indicators
When the camera is unstable and likely to take blurry images, the DxO ONE application will display a warning icon in the top left corner of the screen.
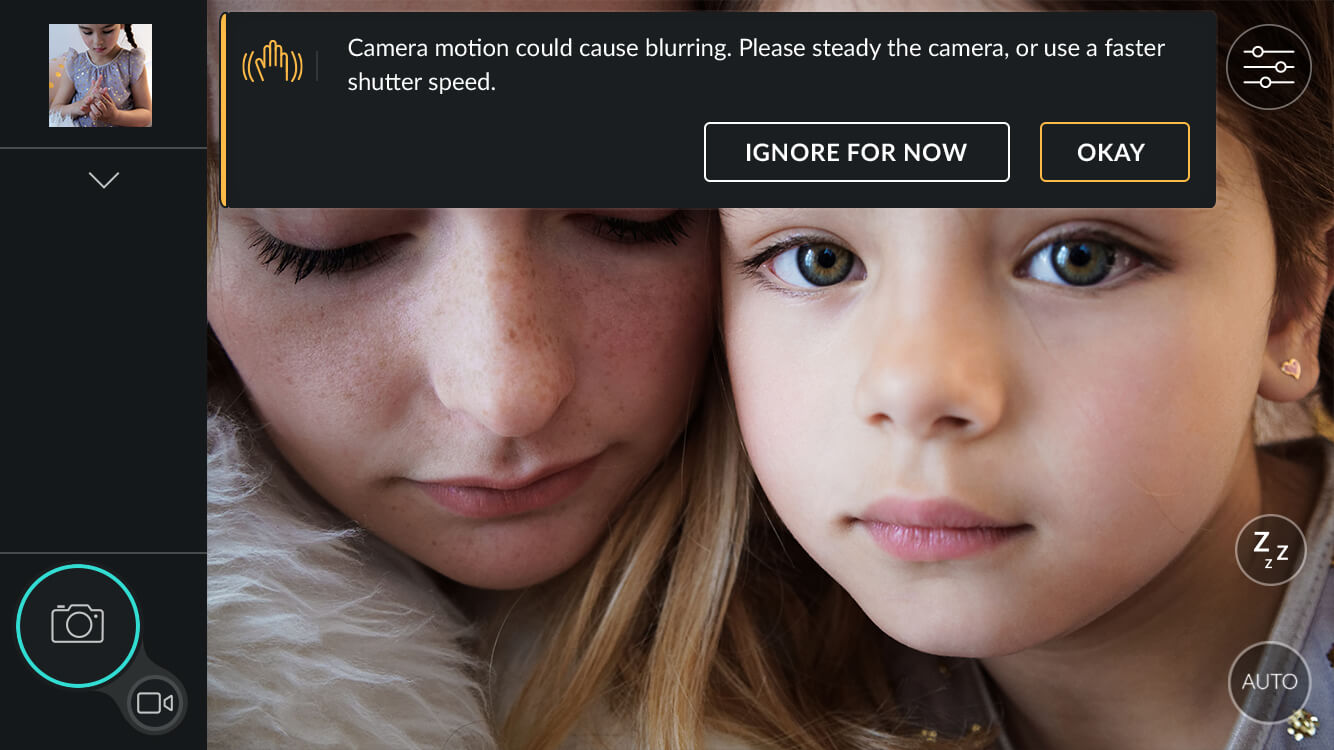
This indication appears when:
- – The camera’s internal gyroscope detects that the camera is unsteady and/or moving too much.
- – The shutter speed is 1/40 s or slower.
If you tap on the camera shake icon, a message will ask you to stabilize the camera or increase the shutter speed. The icon will disappear as soon as the camera is stabilized.
Shooting in artificial light with a high shutter speed can lead to flickering, which appears as dark bands across your photos.
When flickering might occur, the application displays a warning icon in the top left of the screen. When you tap it, a message will suggest you increase the exposure time.

 Download page