
Time-lapse
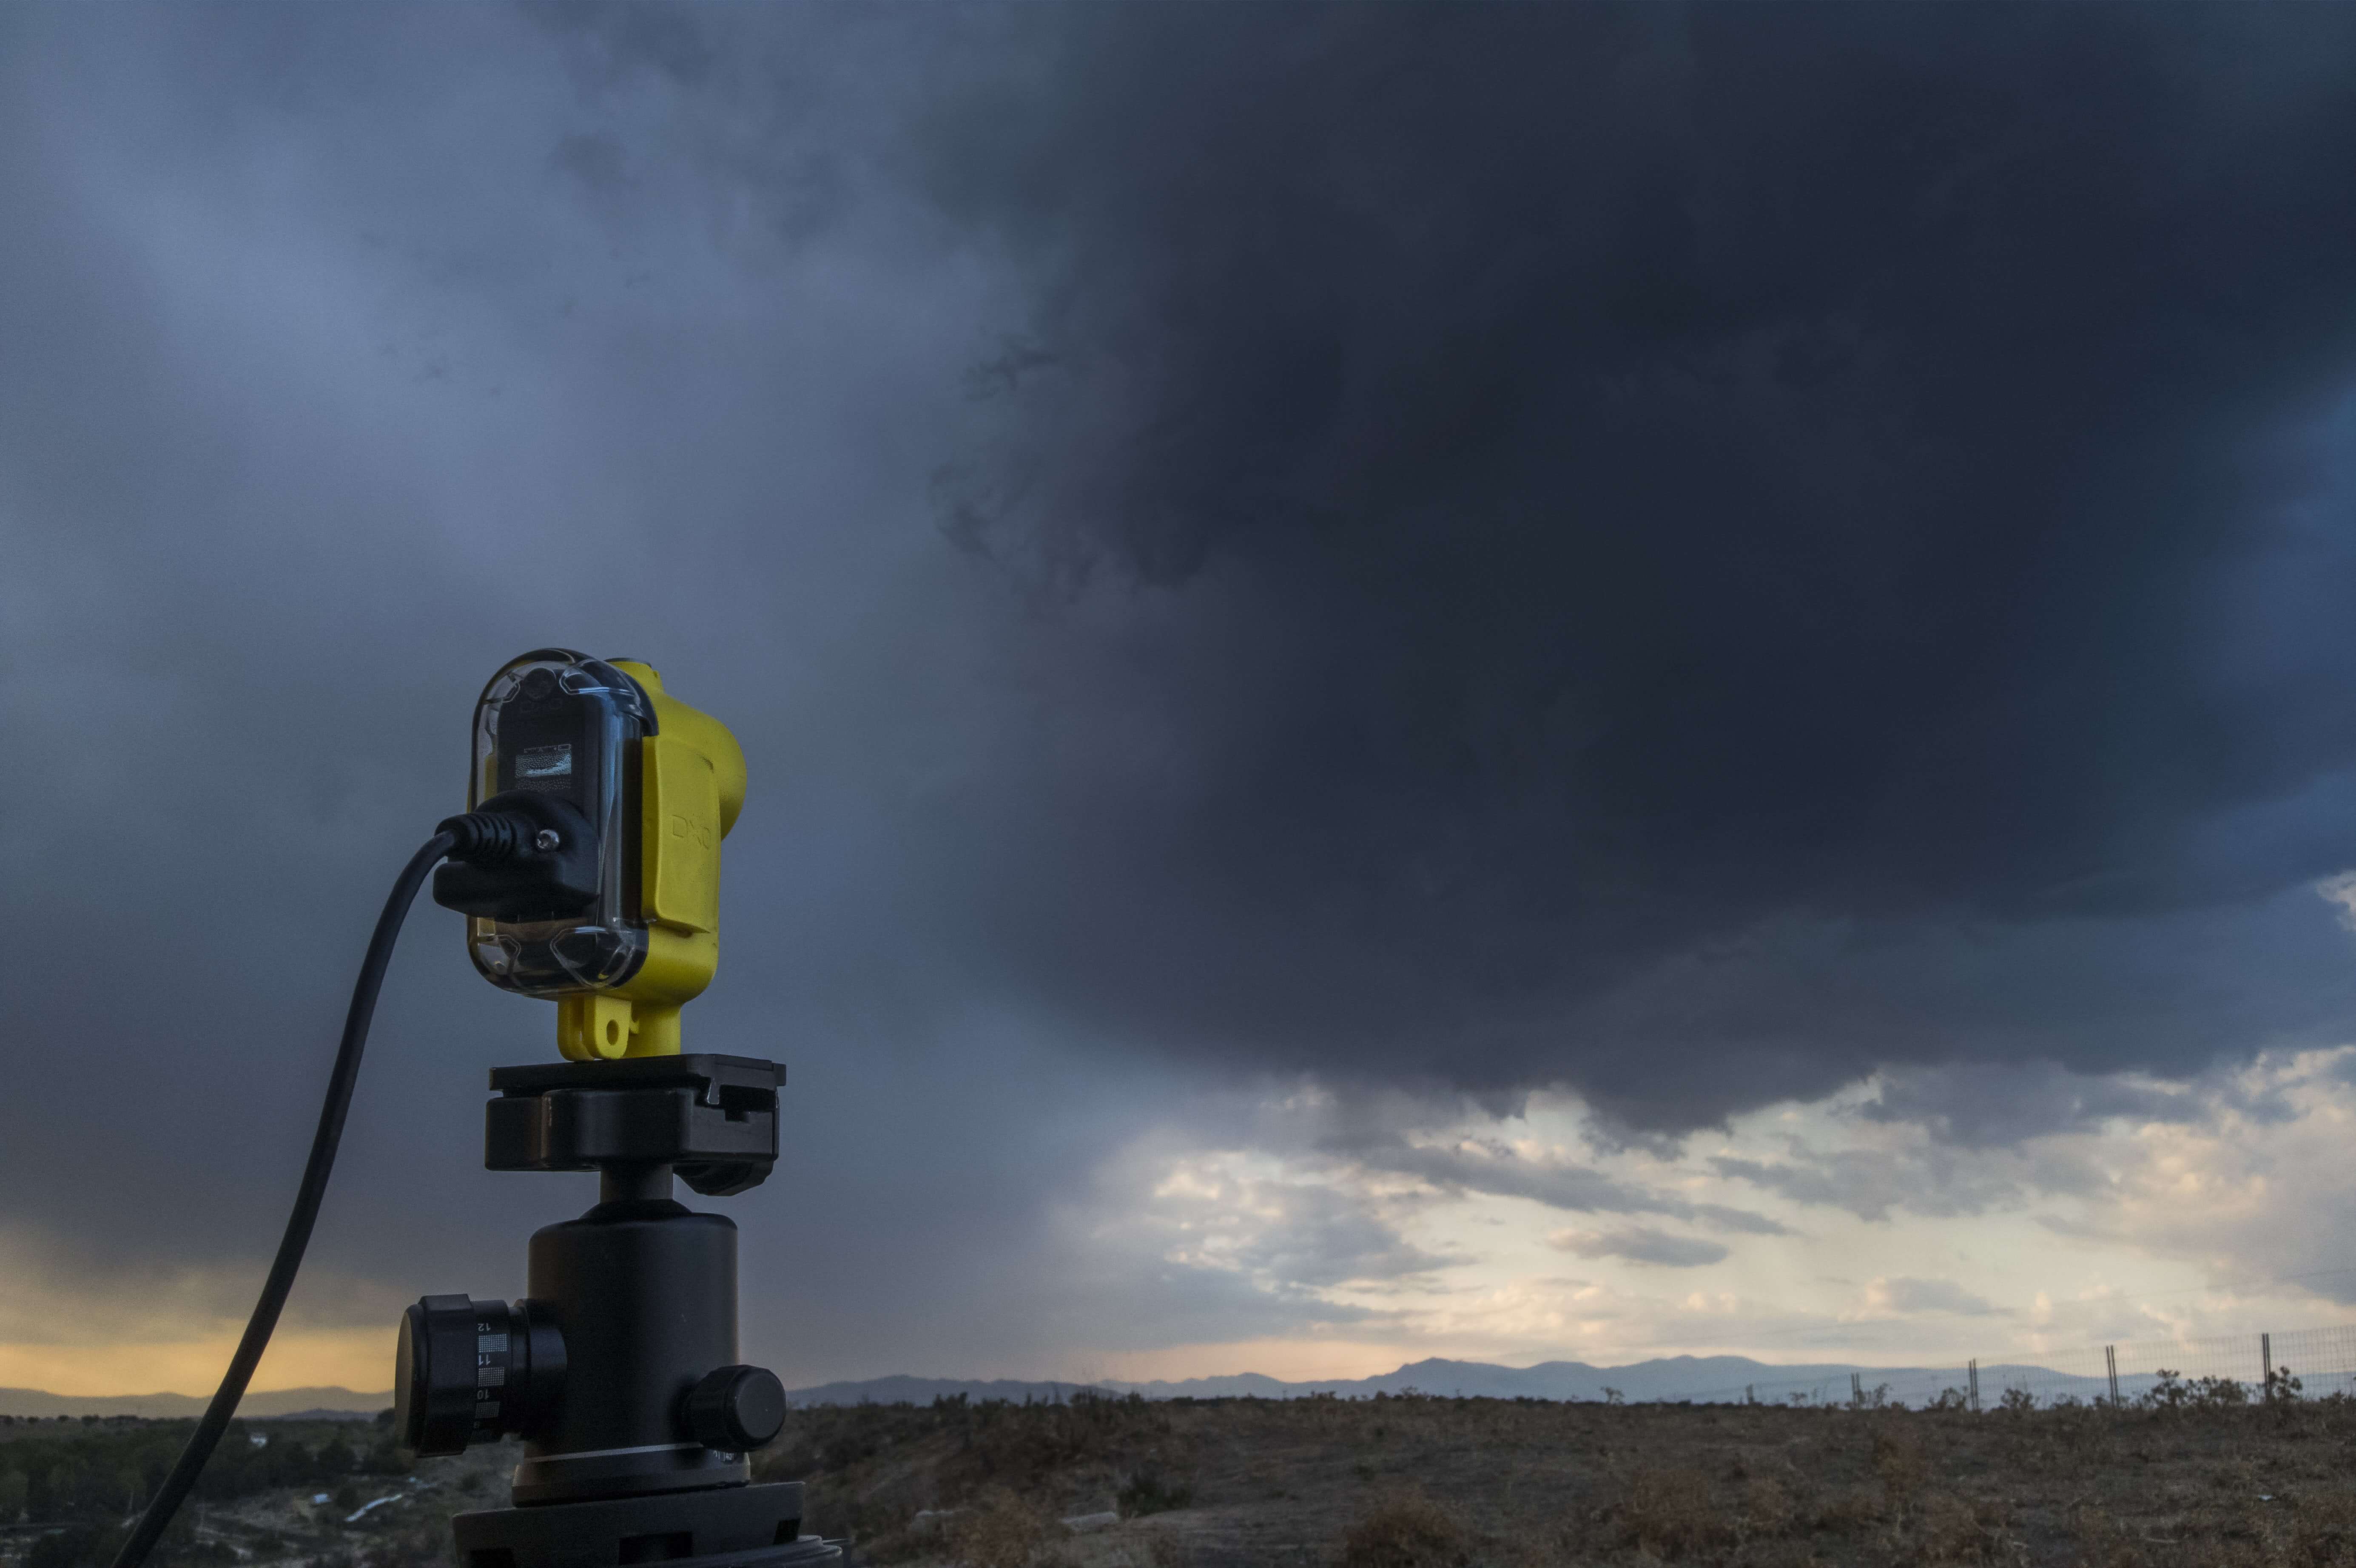
Storms
What you need for this tutorial
To progress
Settings used in this tutorial
– M mode, adapt aperture (preferred: ƒ/2.8 to ƒ/4) and ISO to obtain long exposure time (around 10s), or mode S with equivalent slow speed
– Manual focus on infinite

Introduction
Lightning, thunder, rain, and wind are some of the key elements of a storm. While most people run away or seek shelter from them, for the photographer and even more so for the timelapser, a storm is a unique opportunity to capture spectacular images.
In this tutorial, we will see how to use the DxO ONE to get the best results from the difficult task of photographing storms.

Before shooting
The first thing to do before going out storm-hunting, is to gather information about the weather, such as storm activity, wind direction, etc.
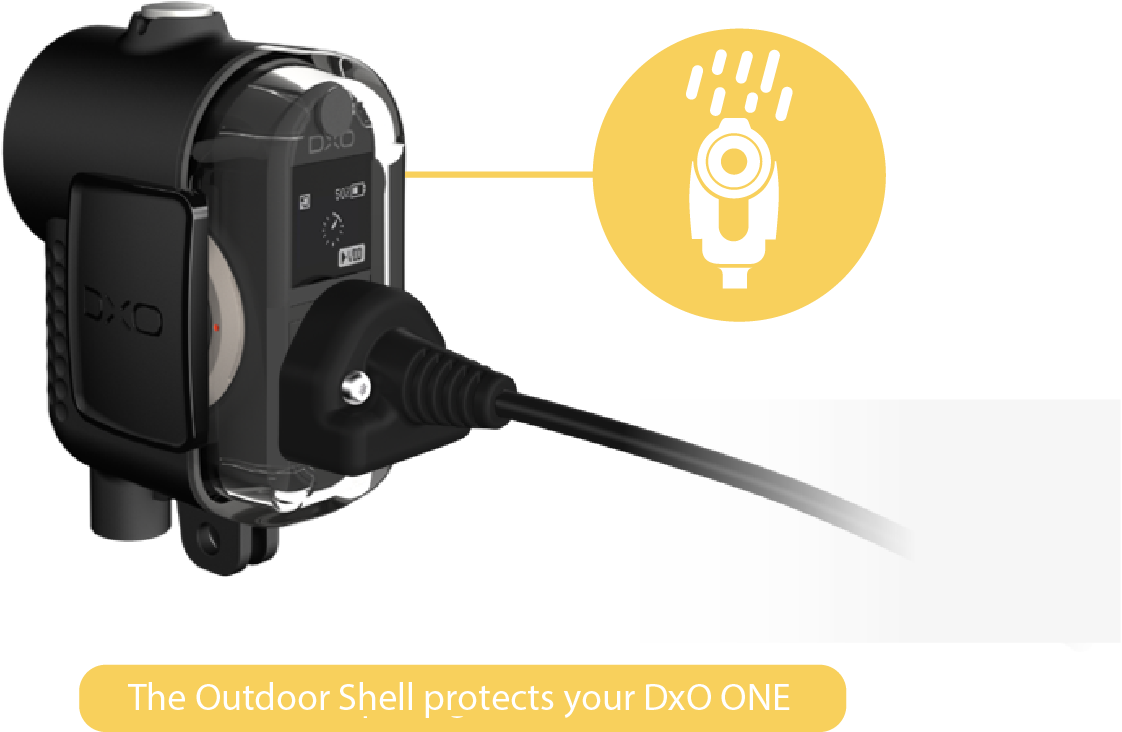
One recommended app, “Windy,” can provide all the information we need. We must also bring waterproof clothing, the Outdoor Shell protective case for the DxO ONE, and a travel towel to dry our equipment if necessary.
As always, we will take our charged up external battery to power the DxO ONE for a long period of time.

Exposure setup
Storms obviously show up at any time of day, but photographically speaking, the most attractive are those that appear at night, because we can see the lightning much more clearly.
Since we don’t know when a lightning bolt is going to strike, we need to set up the camera to capture images at all times. This means that we must take long exposures of at least 10 seconds, for example, which sometimes will pick up even more than one flash of lightning.
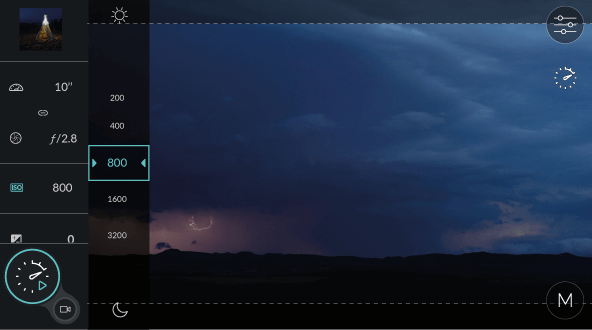
A moderate sensitivity of about 800 ISO and an aperture of ƒ/2.8 will be enough in most cases.
This exposure may seem insufficient for a night situation, and if we take a test shot, our image will be a bit dark; but remember that when the lightning strikes, the sky will light up considerably.
If we choose a longer exposure — something suitable for a night scene, for example — the lightning strike will overexpose the frame that we really want to get right. So do some testing and choose a suitable exposure.

Interval setup
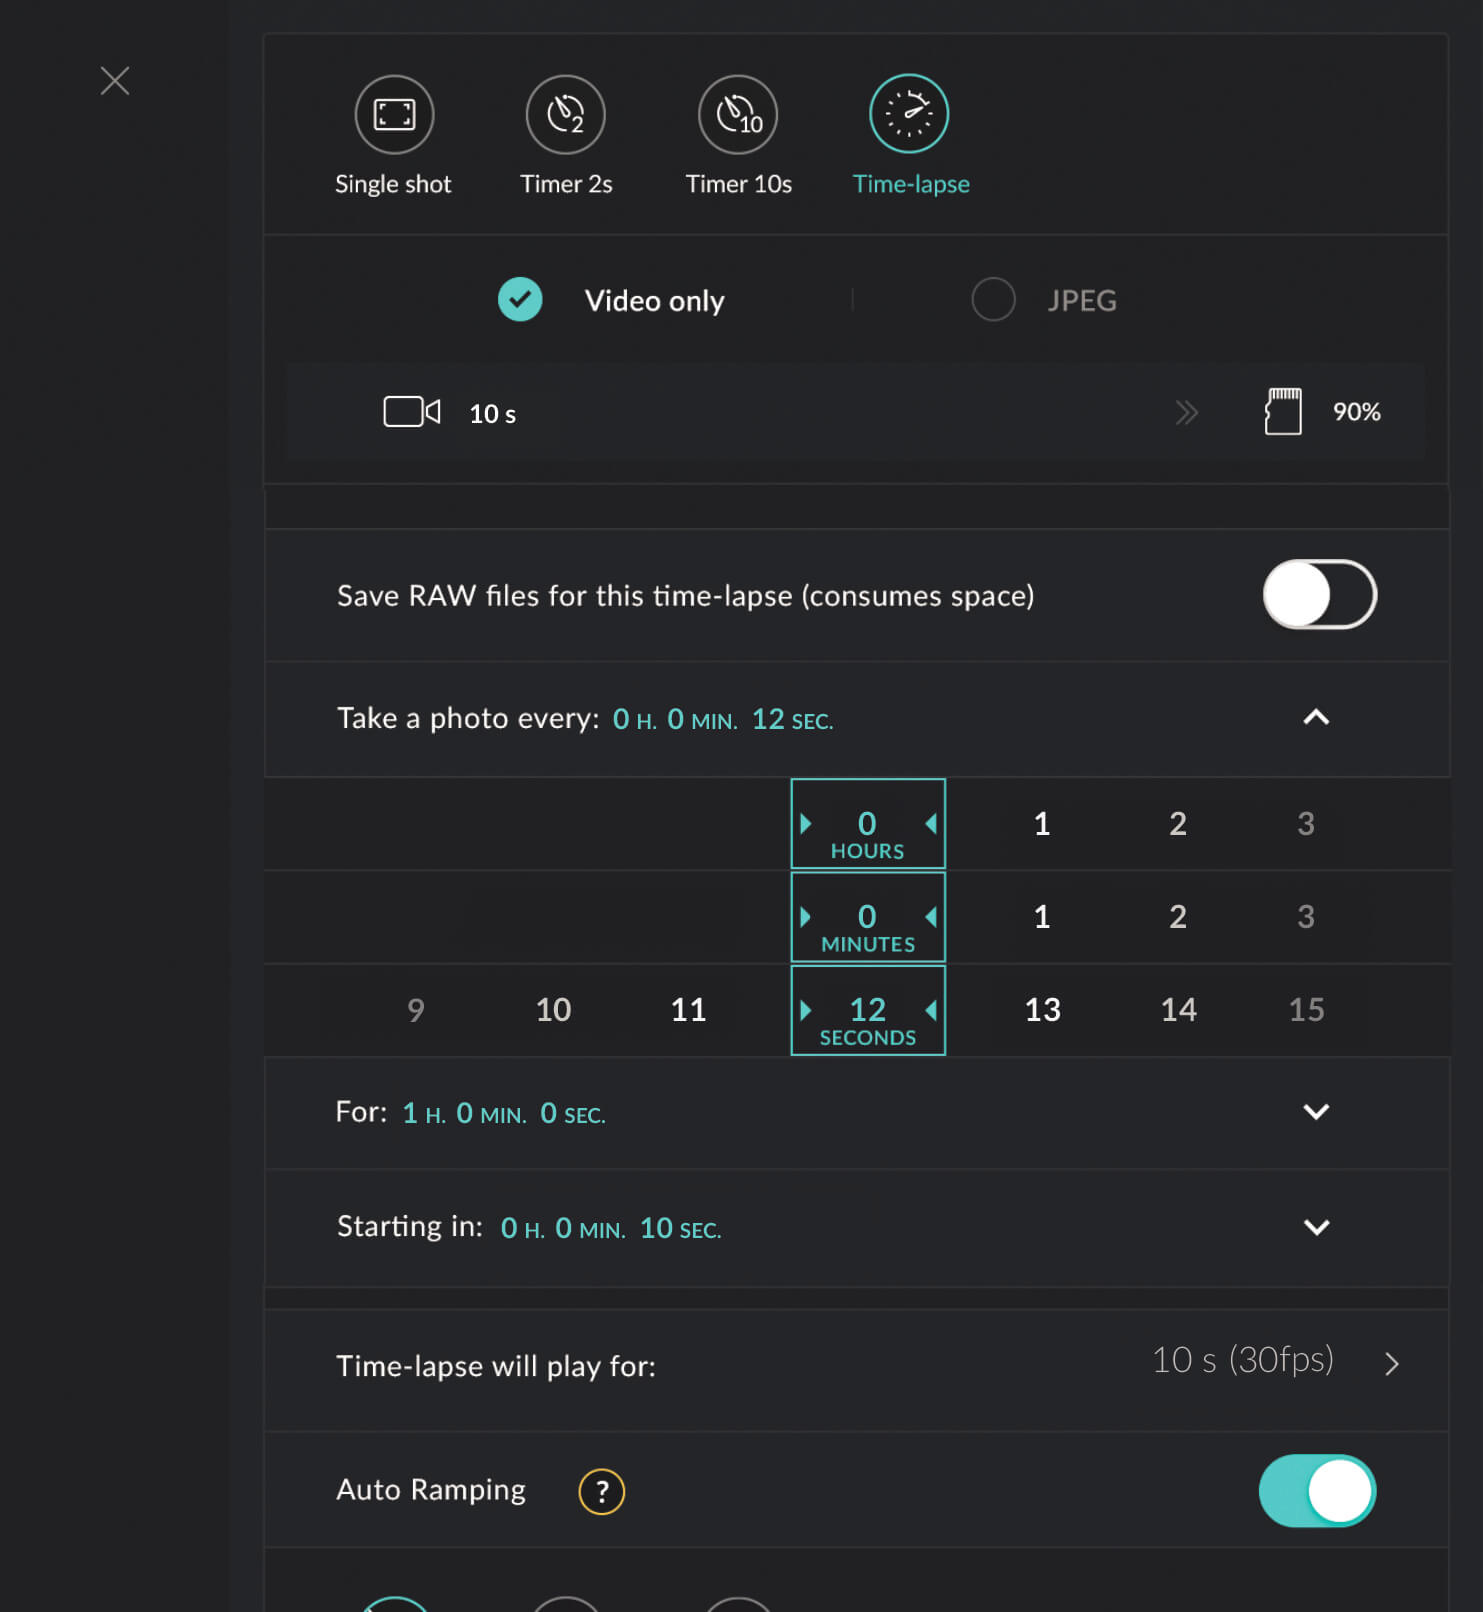
As we said before, we want the DxO ONE to capture images as long as possible, so it doesn’t miss any lightning, so the interval time between shots should be the lowest possible.
Setting the shutter speed to an interval of 12 or 13s will be the most appropriate — that way we give the ONE enough time to write the photo rather than to fill the buffer, but don’t lose much time between shots.
Remember that we need 30 shots to create 1s of video, so choose at least 10 or 15 seconds of footage and then calculate how long you will have to be at the scene.

Evaluating results
If you have been lucky and the storm has provided you with a good electrical activity, your images will be stunning.
If you have used the “video + raw” option on the DxO ONE, you can watch the clip on your iPhone to check that the rain or wind has not interfered with your shot. (Sometimes there’s water on the lens, and the wind can produce vibrations if your tripod is not sturdy enough.) Make sure that you have manually focused to infinity and that you have used the DxO ONE exposure meter to select a good exposure. If you have followed all these tips, your sequence should be awesome!
If you missed something or if you discover some problems, check out our tutorial on “how to fix my shot” for good information on how to improve your sequences using more advance software.

Enrique Pacheco
Travel cinematographer
& time-lapse specialist
enriquepacheco.com
 Download page