
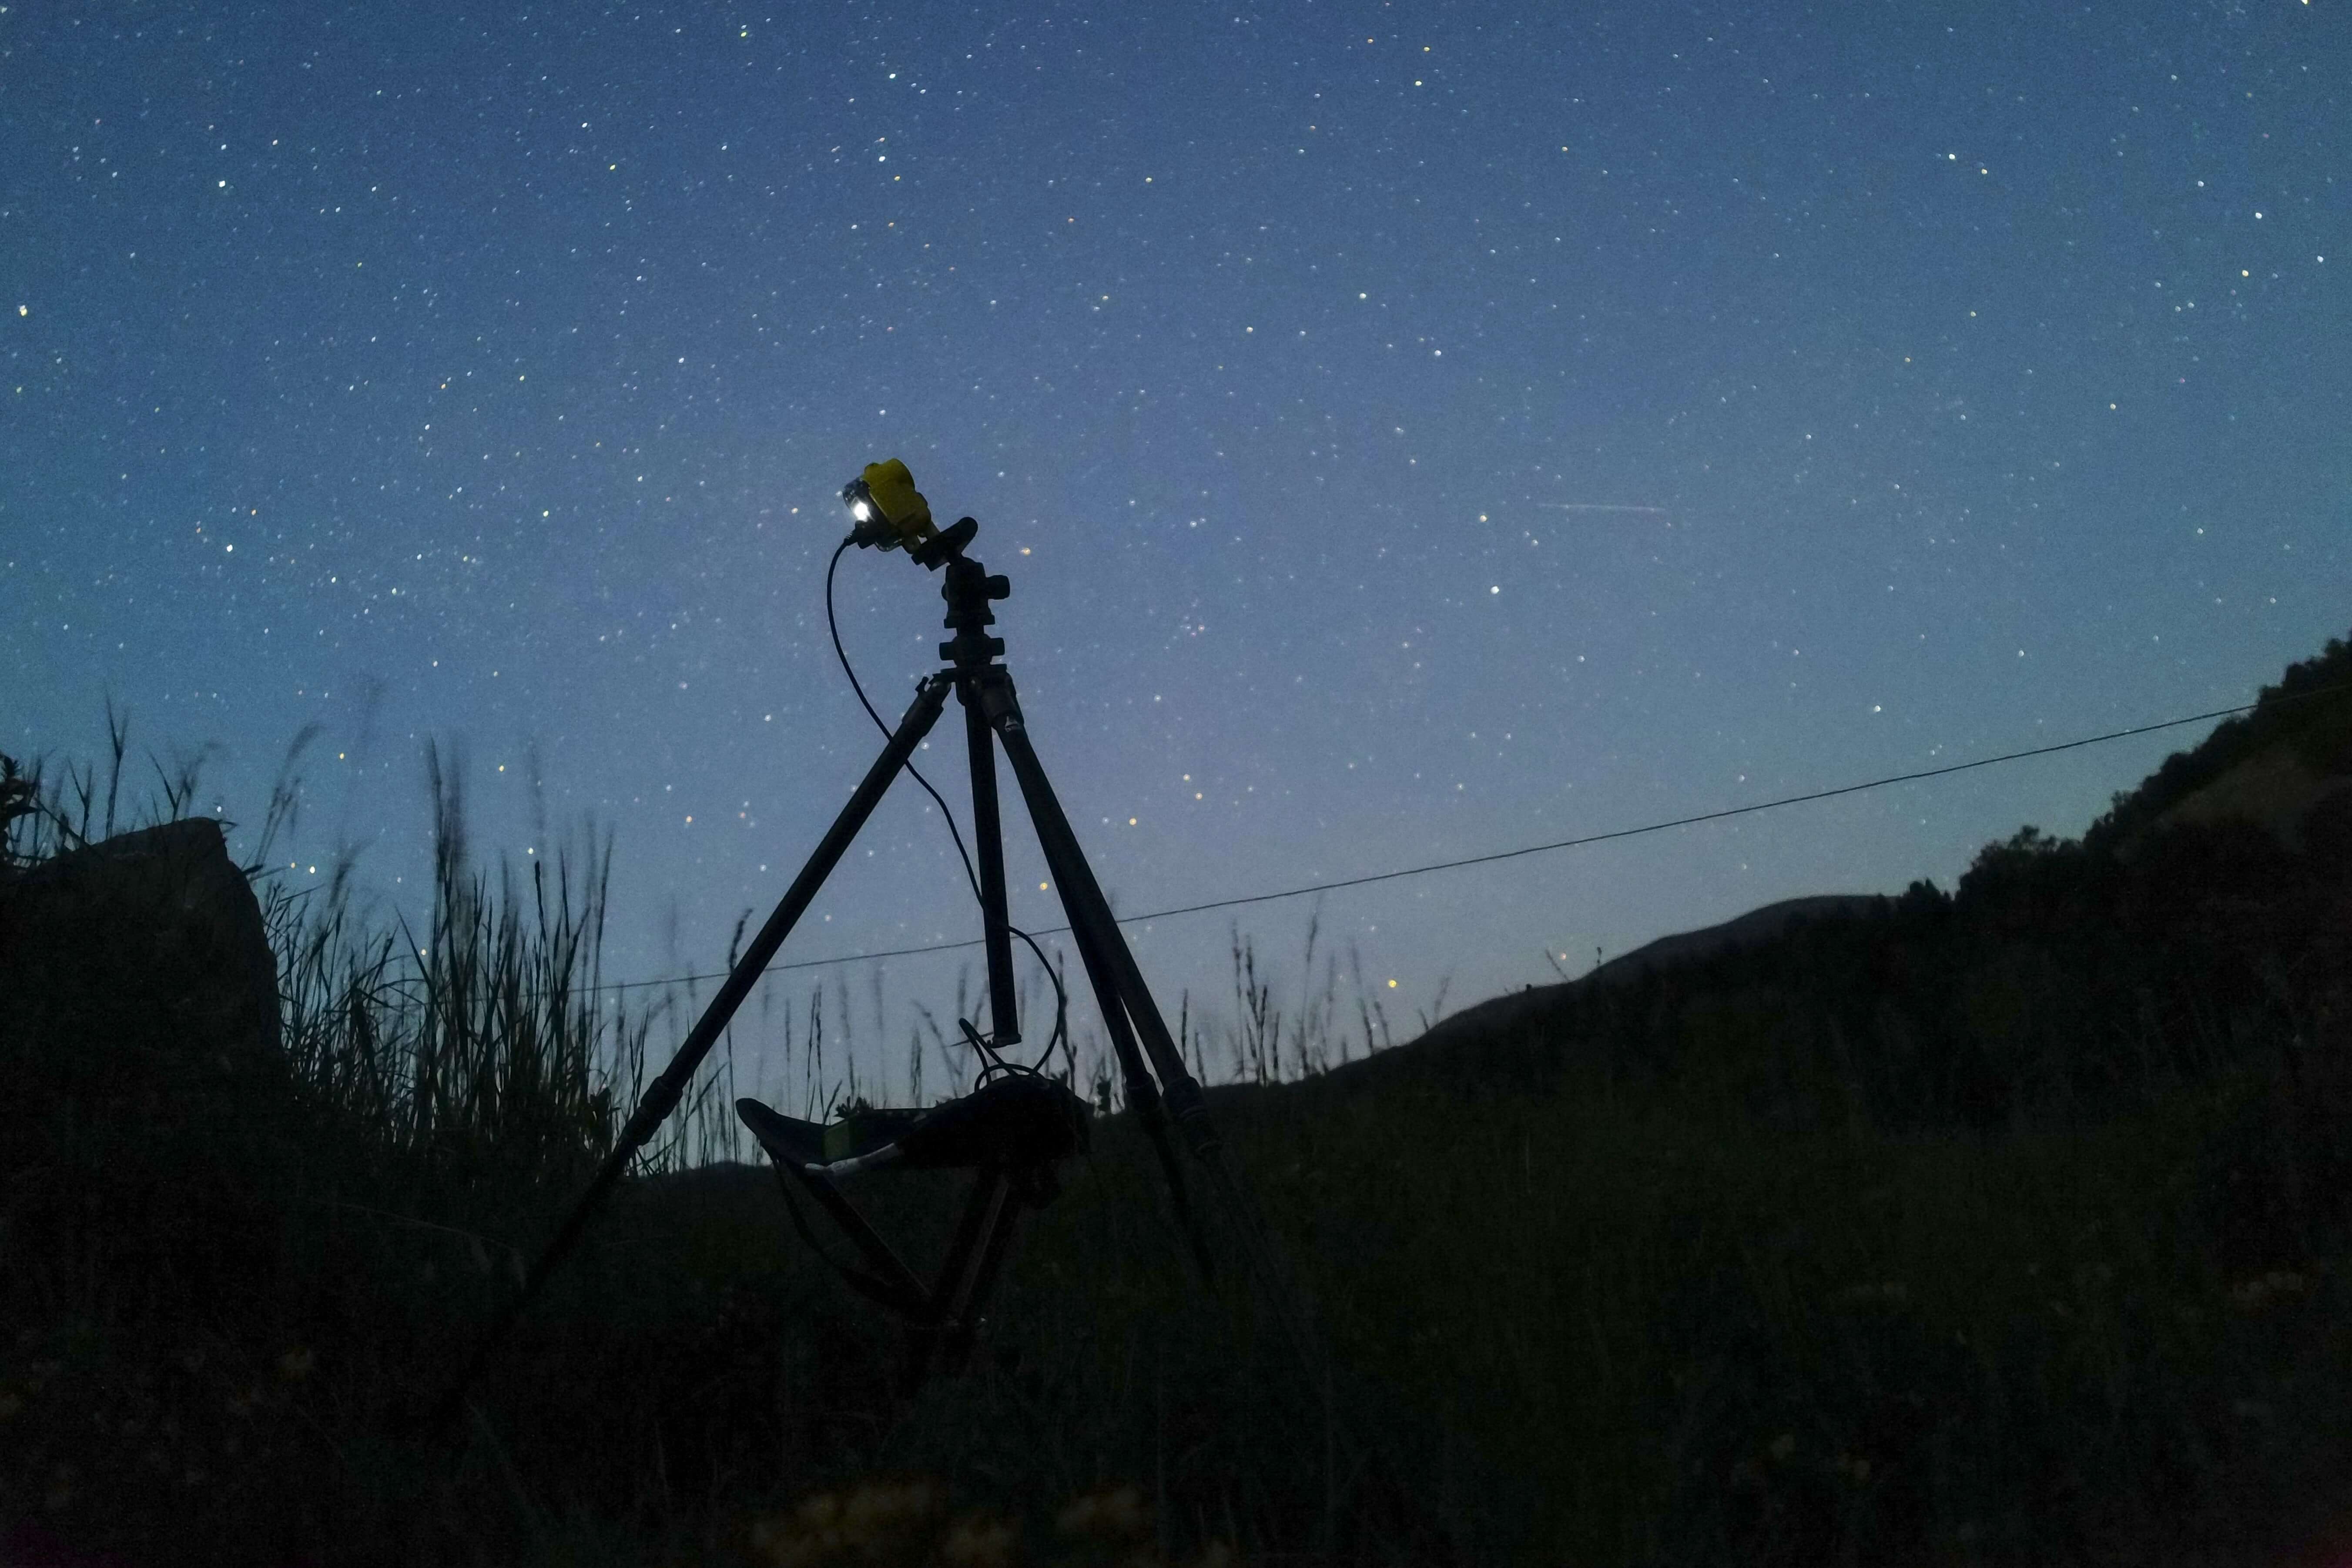
Time-lapse
Transitions:Night/Day
What you need for this tutorial
To progress
Settings used in this tutorial
– Urban or cloudy: 10 s interval, 2h duration
– Dark or no cloud: 30 s interval, > 5h duration
Output video + RAW
Auto-ramping activated
Auto ISO
Manual focus on infinite finite

Introduction
Probably the most complex but at the same time satisfying effects in the time-lapse world are transitions, no matter if it is day to night or night to day. Being able to see the passage of time and the drastic change of light is perhaps what most attracts anyone who starts shooting time-lapse. Compressing the sunset, the moonrise, or the movement of stars in a few seconds is something wonderful, but at the same time is one of the most difficult time-lapse techniques to master.

Before shooting
Preparing to shoot a transition is of vital importance, since we will be shooting for many hours, with all the problems that this entails.
We must check that we have enough battery power and space on the memory card, as well as water and food in case we are going to be present during the shoot.
In addition, we must choose a day with few or no clouds, since we are going to use a long interval and the cloud motion would not be fluid and smooth.
As for the location, we must take into account where the sun and moon will set or rise, choosing the best option for our shot. In this sense, it is essential to use an application such as PhotoPills to properly plan our transition by taking into consideration the movement and direction of celestial bodies.

Exposure setup
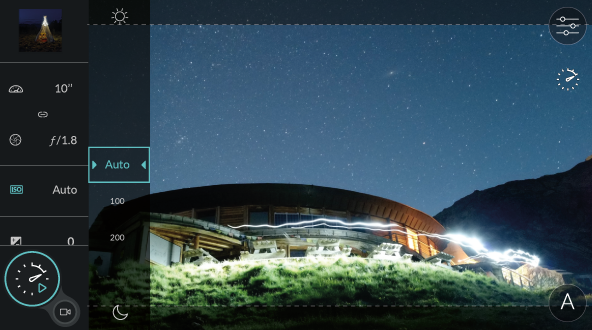
Contrary to most situations in which manual mode is strongly recommended, for a transition, we must let the camera gradually change the exposure while the sun sets or rises.
For this task, the DxO ONE has a feature called “Auto-ramping” which can progressively modify the shutter speed and the ISO to adapt the exposure to the amount of light at every moment.
We must also select the auto ISO, since at night we need a higher ISO than in the day, in order to keep the shutter speeds below the interval. And don’t forget to choose the aperture priority mode with a wide aperture for the night period. Select the manual focus mode and set it to infinity.
The DxO ONE can vary the exposure in tenths of a second between shots, so the more shots you take, the more accurate the ramp will be, thus avoiding unwanted flickering.

Interval setup

For transitions, whether day to night or night to day, we will use the longest intervals, since we want to capture an event that will last for many hours. Considering that we need 30 photos to make one second of video, this means that if we take a shot every minute, every hour of shooting will become two seconds of video.
So, if we shoot a transition over 8 hours, for example, we will have 16 seconds of final video, with the indicated interval of one minute. On the other hand, if we want a slightly shorter transition, say 4 or 5 hours, we can select an interval of 30 seconds to have enough footage.

Evaluating results
Finally, after so many hours of shooting, the magical moment arrives when you can see the final result. The DxO ONE will generate a video file after the sequence if you have selected the “Raw+video” option, so you can see the result immediately. Ideally, our clip should have a clean and fluid transition, with no steps on the light changes and no flicker.
If we have chosen a clear day with no clouds, and if we have correctly adjusted the camera (interval, exposure, etc.), this should be the case, but if is not, don’t give up. Just try again and remember that mastering any technique requires a lot of practice.

Enrique Pacheco
Travel cinematographer
& time-lapse specialist
enriquepacheco.com
 Download page