
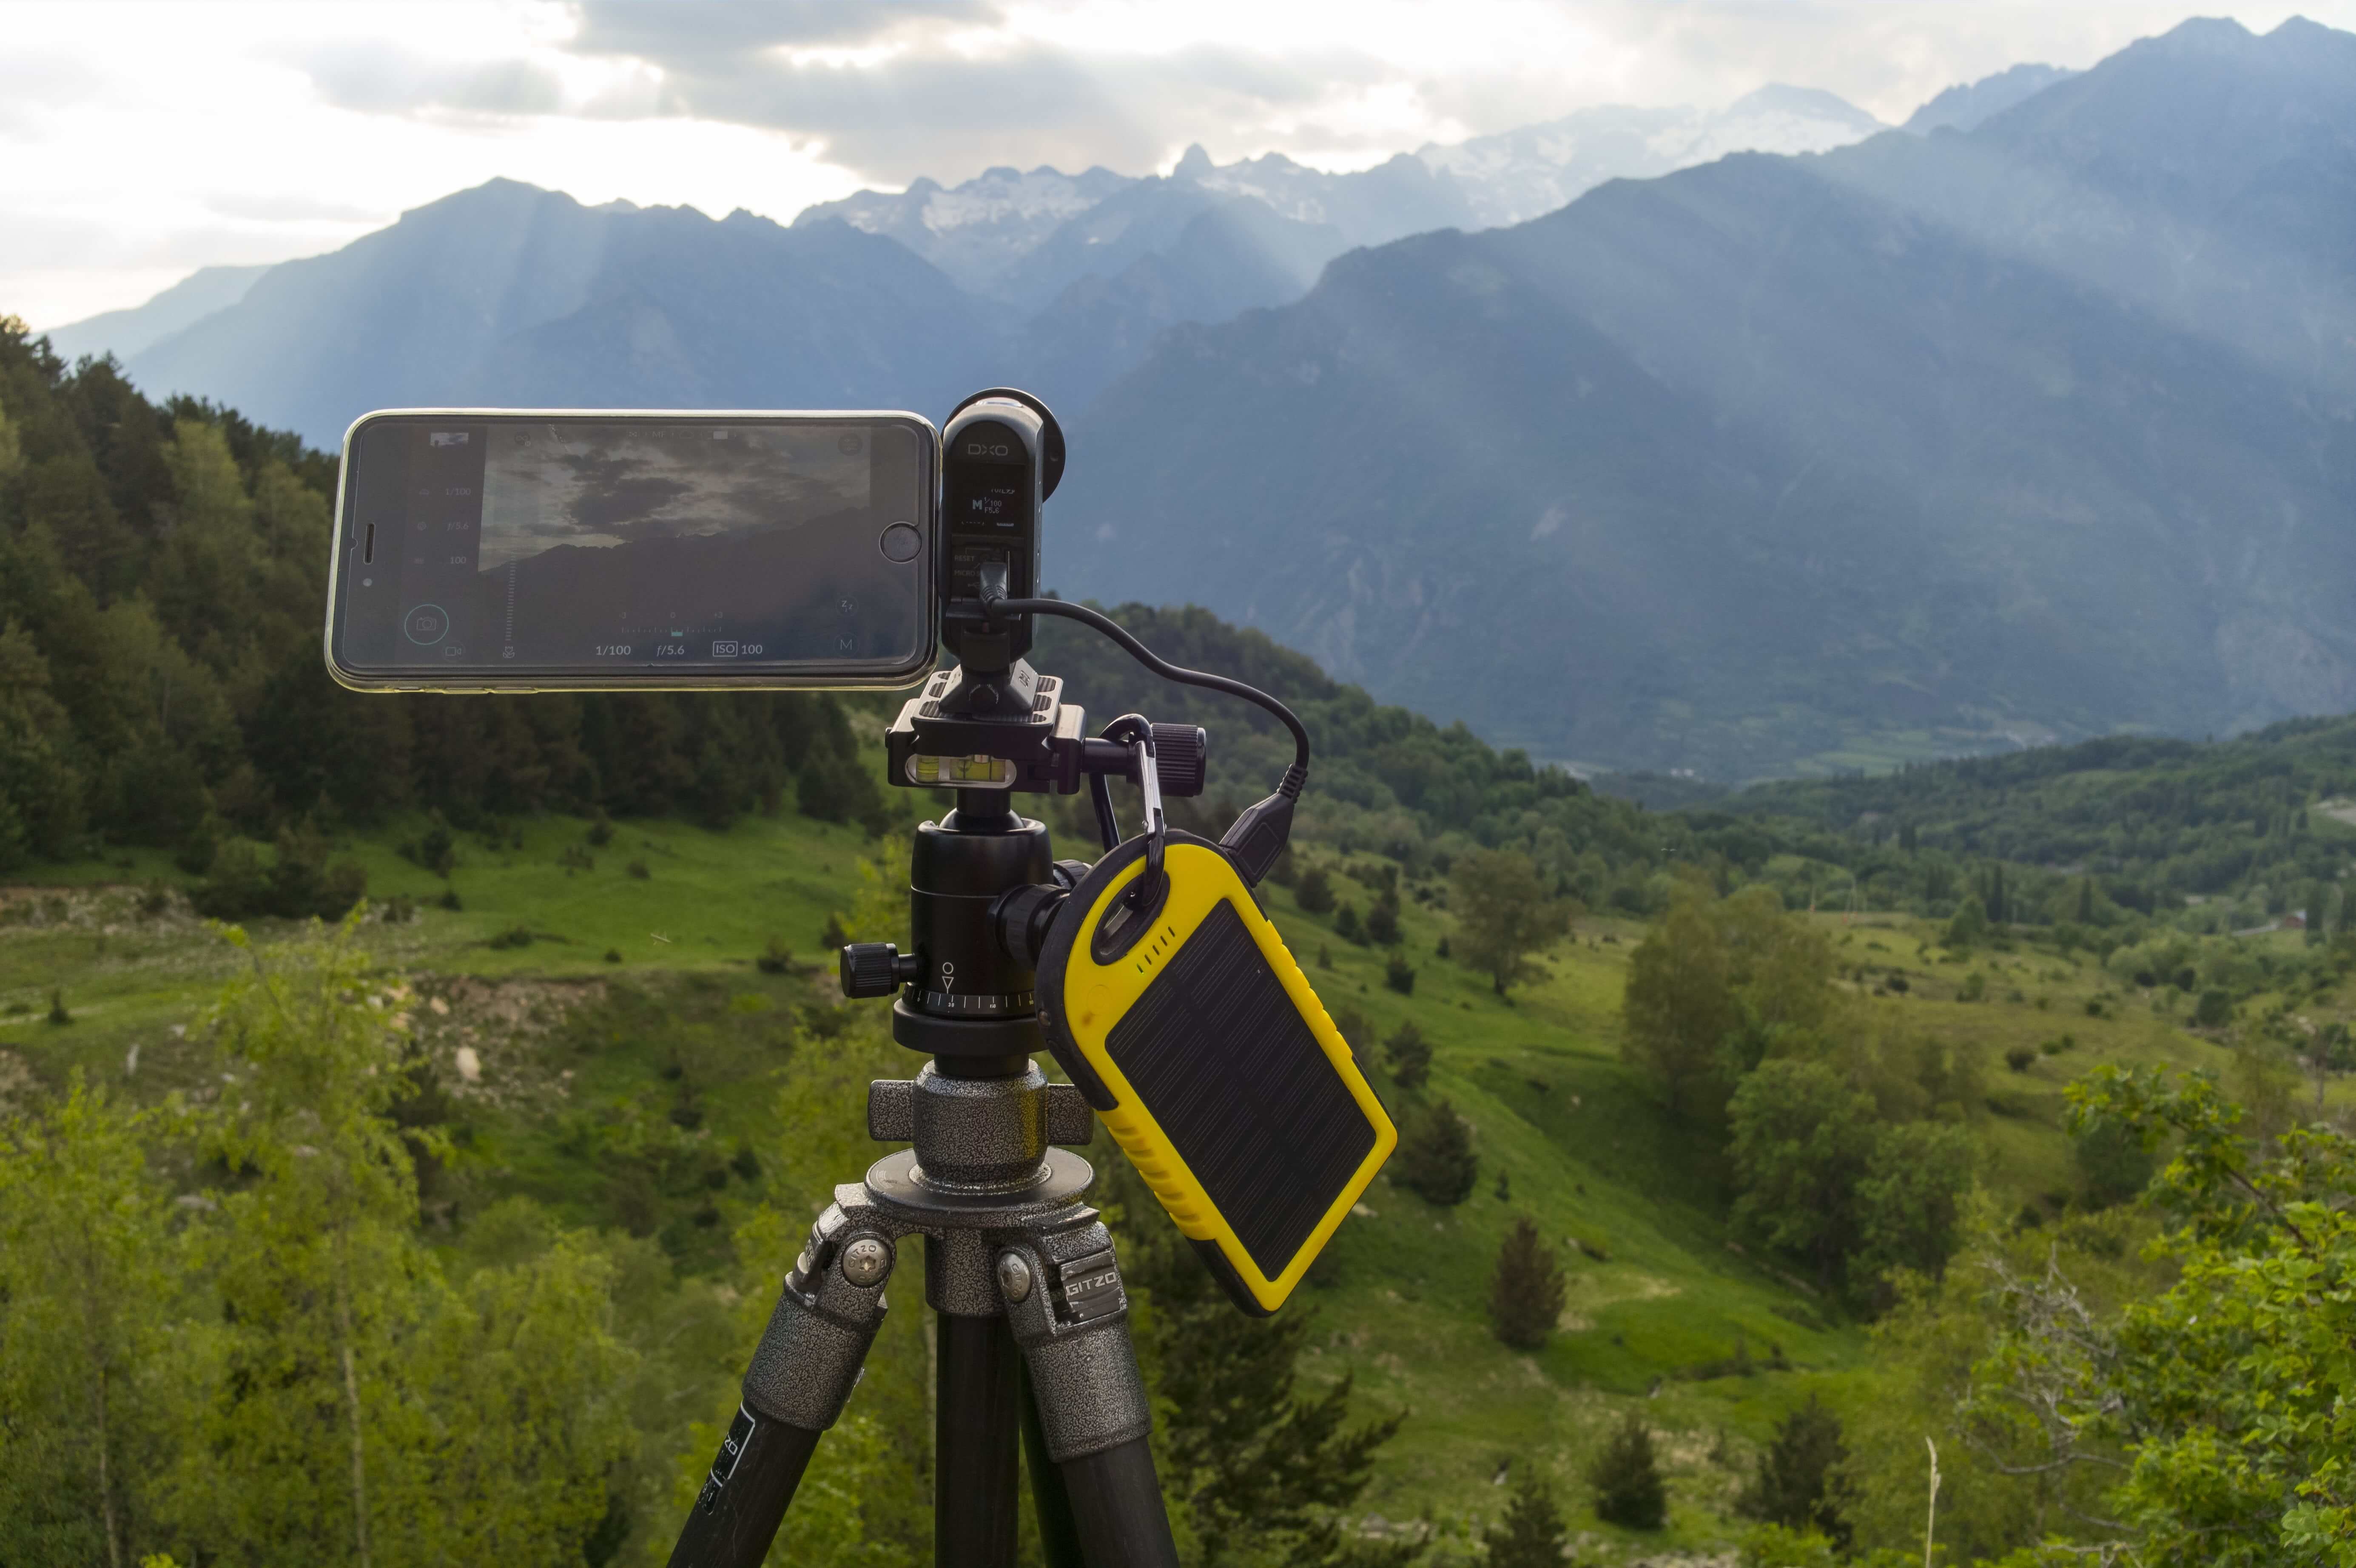
Time-lapse
Atmospheric: Clouds
What you need for this tutorial
To progress
Settings used in this tutorial
– Strong wind: 2 s interval, 10 min duration, output in JPEG for video only (too fast for RAW)
Fog: 30 s interval, 3 h duration
Auto-ramping activated
Prefer A if you expect strong light variation
– Manual ISO 100
– Manual focus on infinite

Introduction
When we think about time-lapse photography, probably the first thing that comes to mind is a beautiful landscape with elegantly-moving clouds. Clouds and other meteorological phenomena such as fog or storms have the starring role in many time-lapse movies we see today.
In this tutorial, we will explain how to achieve the best possible result when capturing clouds and other weather phenomena. Because weather and clouds can vary widely both in speed and evolution, we must adapt our exposure and interval to get the right result.

Before shooting
Before we even start to set up our camera, we should visually analyze the scene and evaluate all the elements that are going to come into play. Are the clouds moving slowly or fast? If there is fog, is it building up or dispersing? If it is a storm, is it approaching us or moving away?
It is important not only to analyze the current situation, but to try to predict the evolution of the elements, since in most cases we will shoot for a long period of time, and that evolution is going to impact the resulting video.
So first carefully study the weather forecast, both for clouds and wind, as well as for the position of the sun and its direction.

Exposure setup
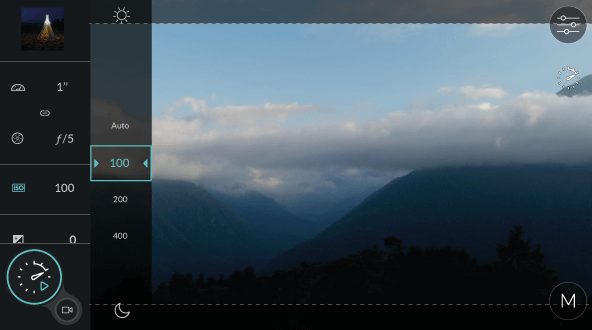
Selecting the right exposure is one of the keys for getting a good result in time-lapse, in addition to choosing the right mode.
In the case of this tutorial, as a general rule, we will use the manual mode (M), and we will choose a fairly closed aperture, between ƒ/5 and ƒ/6.3. This way we will achieve a homogeneous exposure, without flickering or undesired variations, and at the same time obtain a wide depth of field and good sharpness.
As for shutter speed, for a pleasant and fluid movement of our video, we must use long exposures, between 0.5 and 2s. This can be difficult to achieve if the scene is very bright, so using a neutral density (“ND”) filter is highly recommended.
If you don’t have such a filter, you should select the DxO ONE’s smallest aperture, which is ƒ/11. Lower the ISO to 100 in manual mode to slow down the shutter as much as possible. Finally, choose the manual focus mode, with the distance set to infinity.

Interval setup
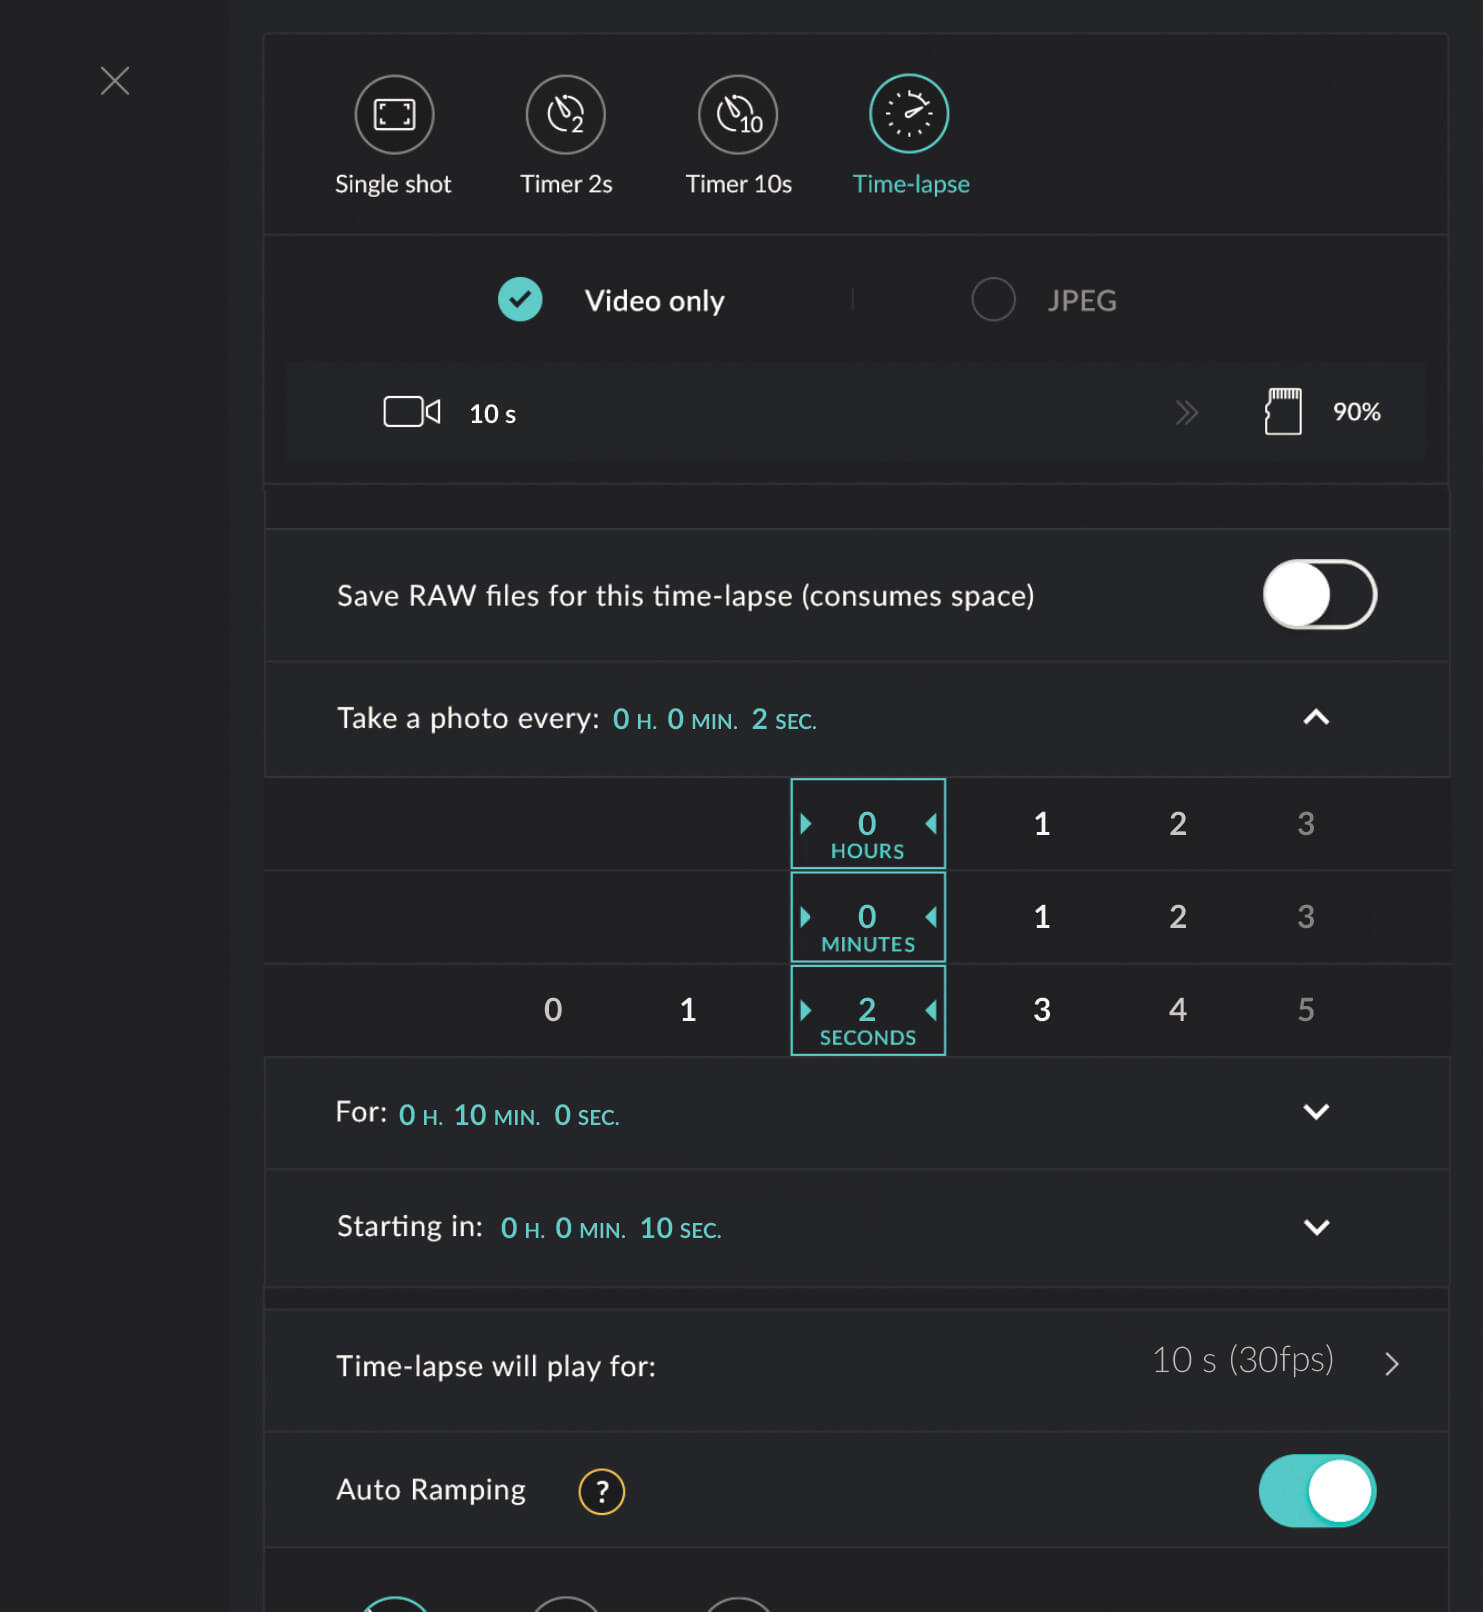
The choice of interval is the most important part of our setup. This is the factor that most controls the final result of our time-lapse, so we must do it carefully. A good rule to keep in mind is that the faster the speed of movement of our scene, the lower the interval must be.
For example, in a cityscape, with fast movement of cars and people, we should use a very short interval, 1s or 2s, while in a desert at sunset, where the only movement is of the sun, we must select a much longer interval, about 30 or 40s.
Clouds, storms, and fog exist in a medium range of movement which varies depending on the speed of the wind. Therefore, a good starting point would be 3s for clouds that move very fast, or 5s for somewhat slower clouds or fog.
These are approximate examples, so you should experiment with different choices. When in doubt, choose a shorter interval, since you can always accelerate the final video if it’s too slow, whereas if you chose a too long an interval, you will not be able to slow down the video.

Evaluating results
One of the best ways to learn and grow, not only in terms of time-lapse technique, but in life generally, is by trial and error. Practice as much as you can and carefully analyze the final result to see which mistakes you made and to figure out how to solve them in later shoots.
If you have followed the above tips, you should obtain a time-lapse with smooth, flicker-free movement and adequate speed. If on the contrary you get an image with sudden changes of exposure, with excessive movement and little fluidity, try choosing a smaller interval and a longer shutter speed.

Enrique Pacheco
Travel cinematographer
& time-lapse specialist
enriquepacheco.com
 Download page