
Scene modes
Taking photos
Four modes are available:


-

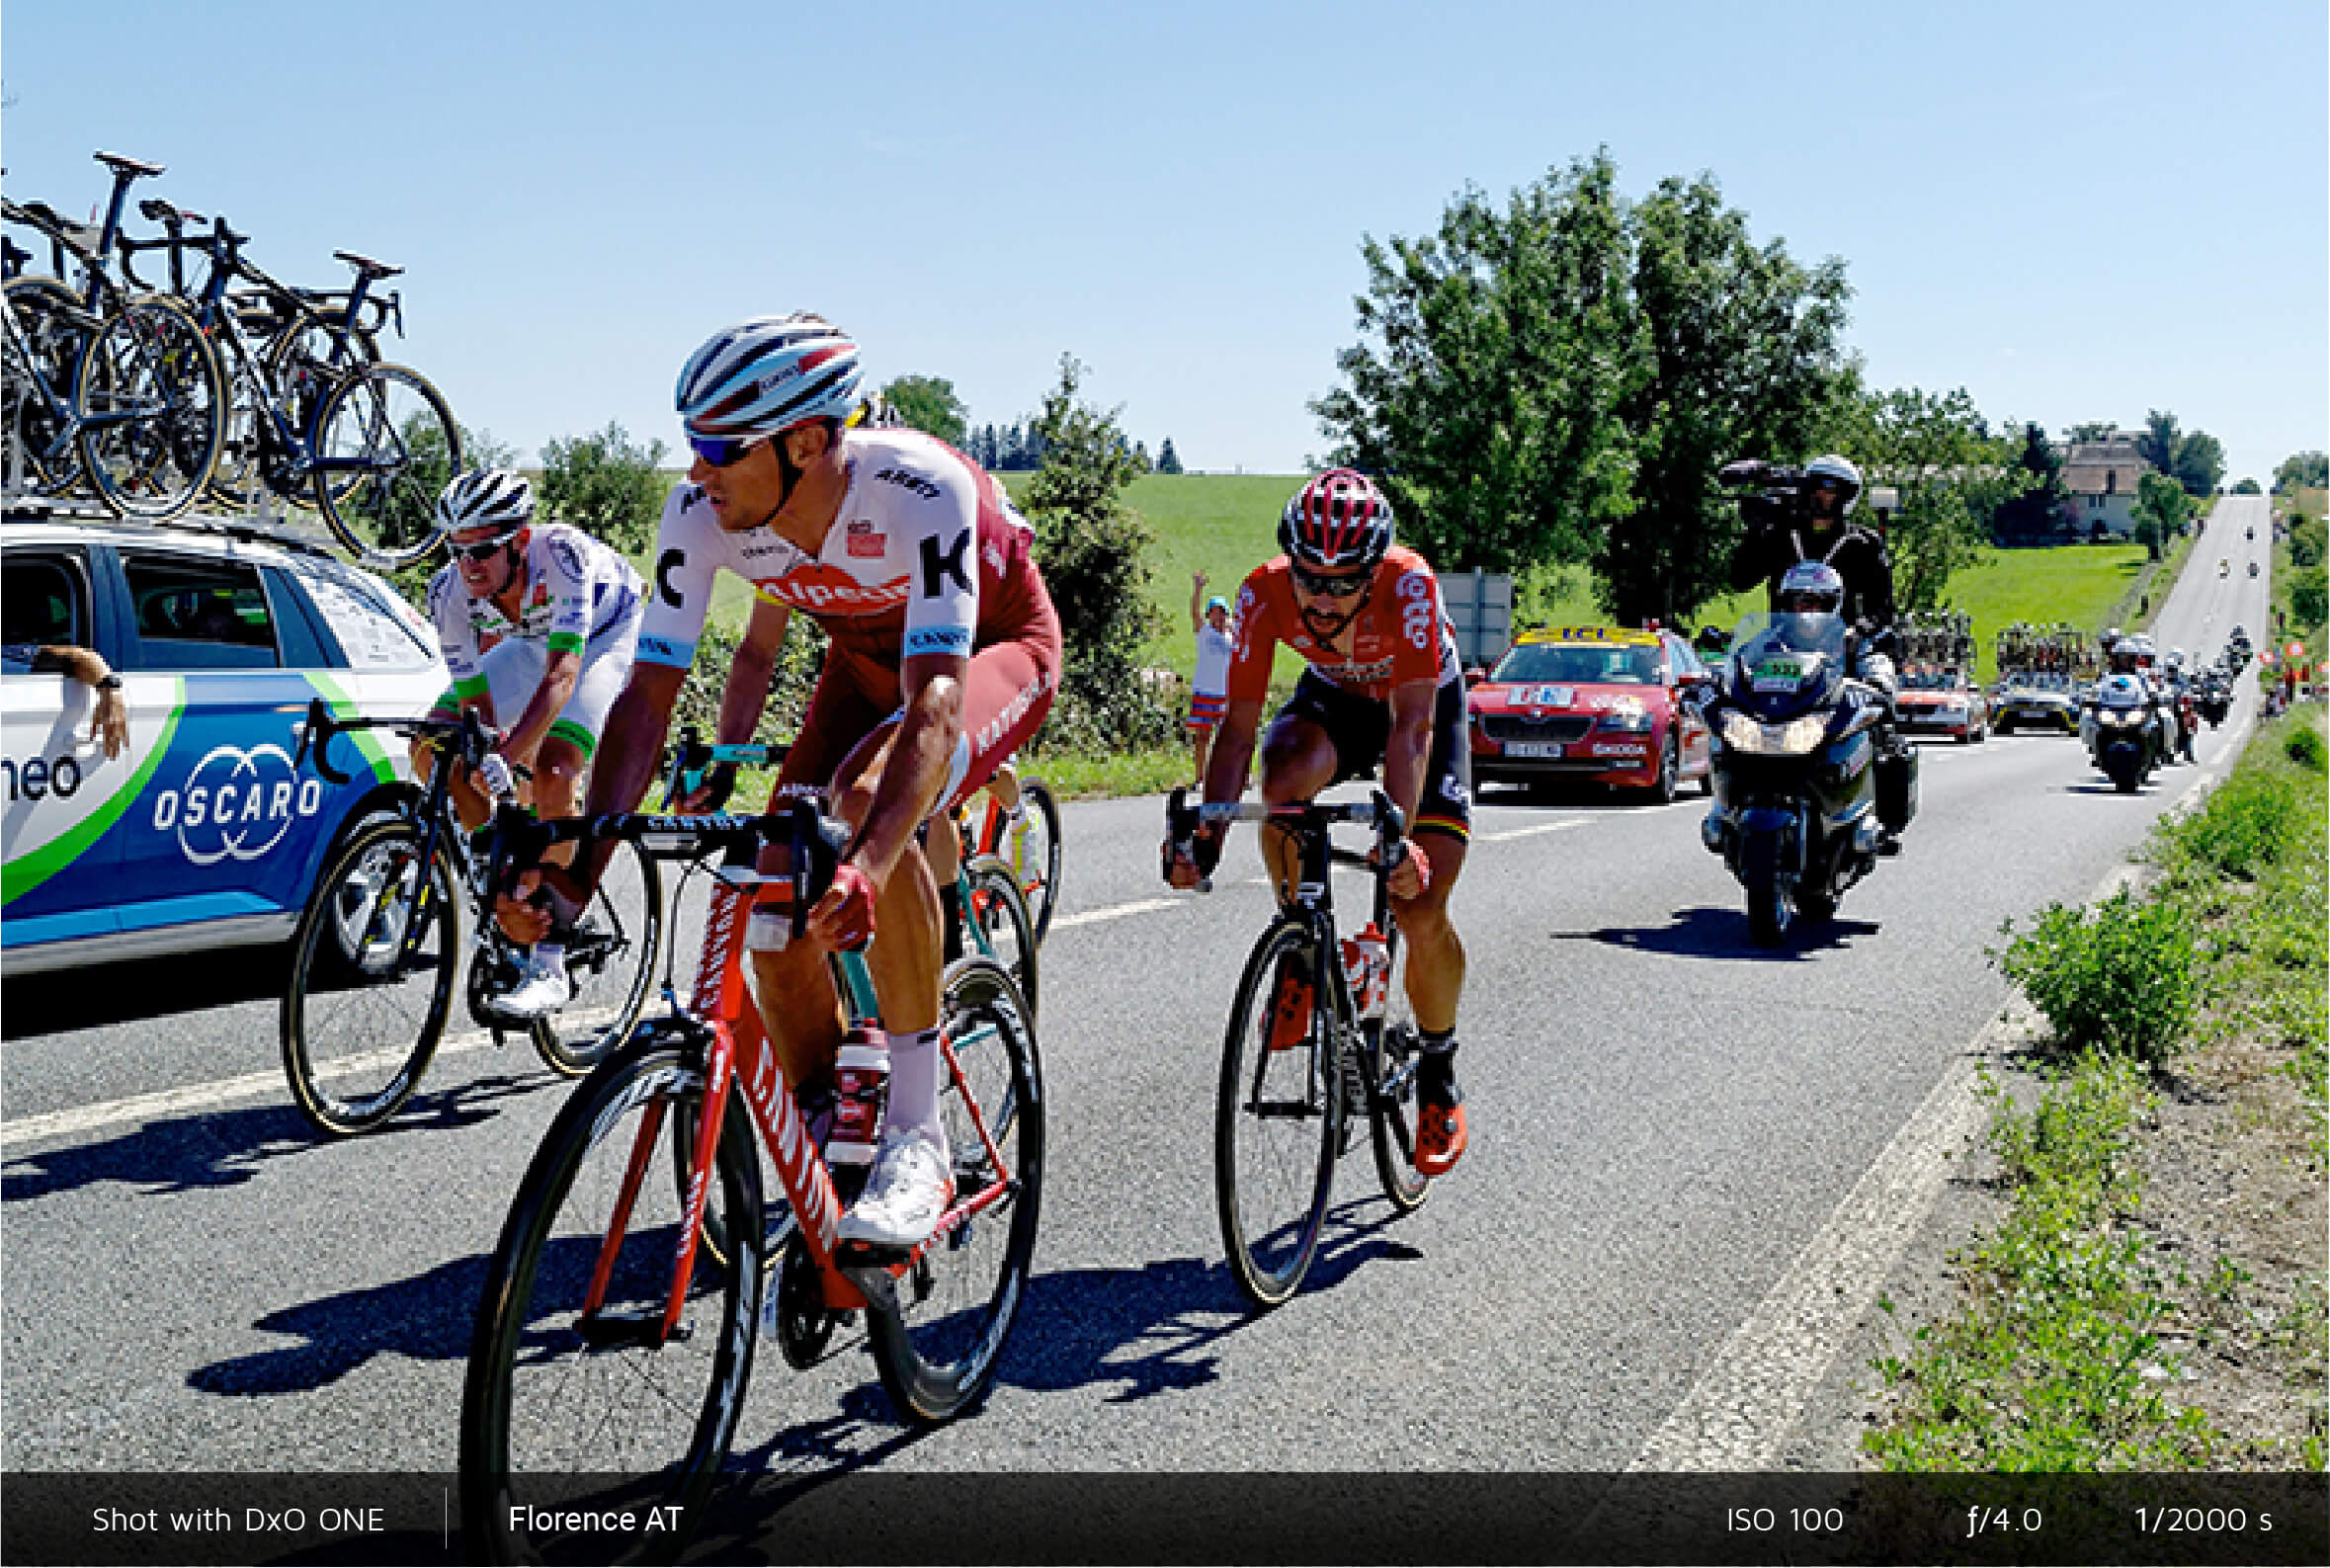
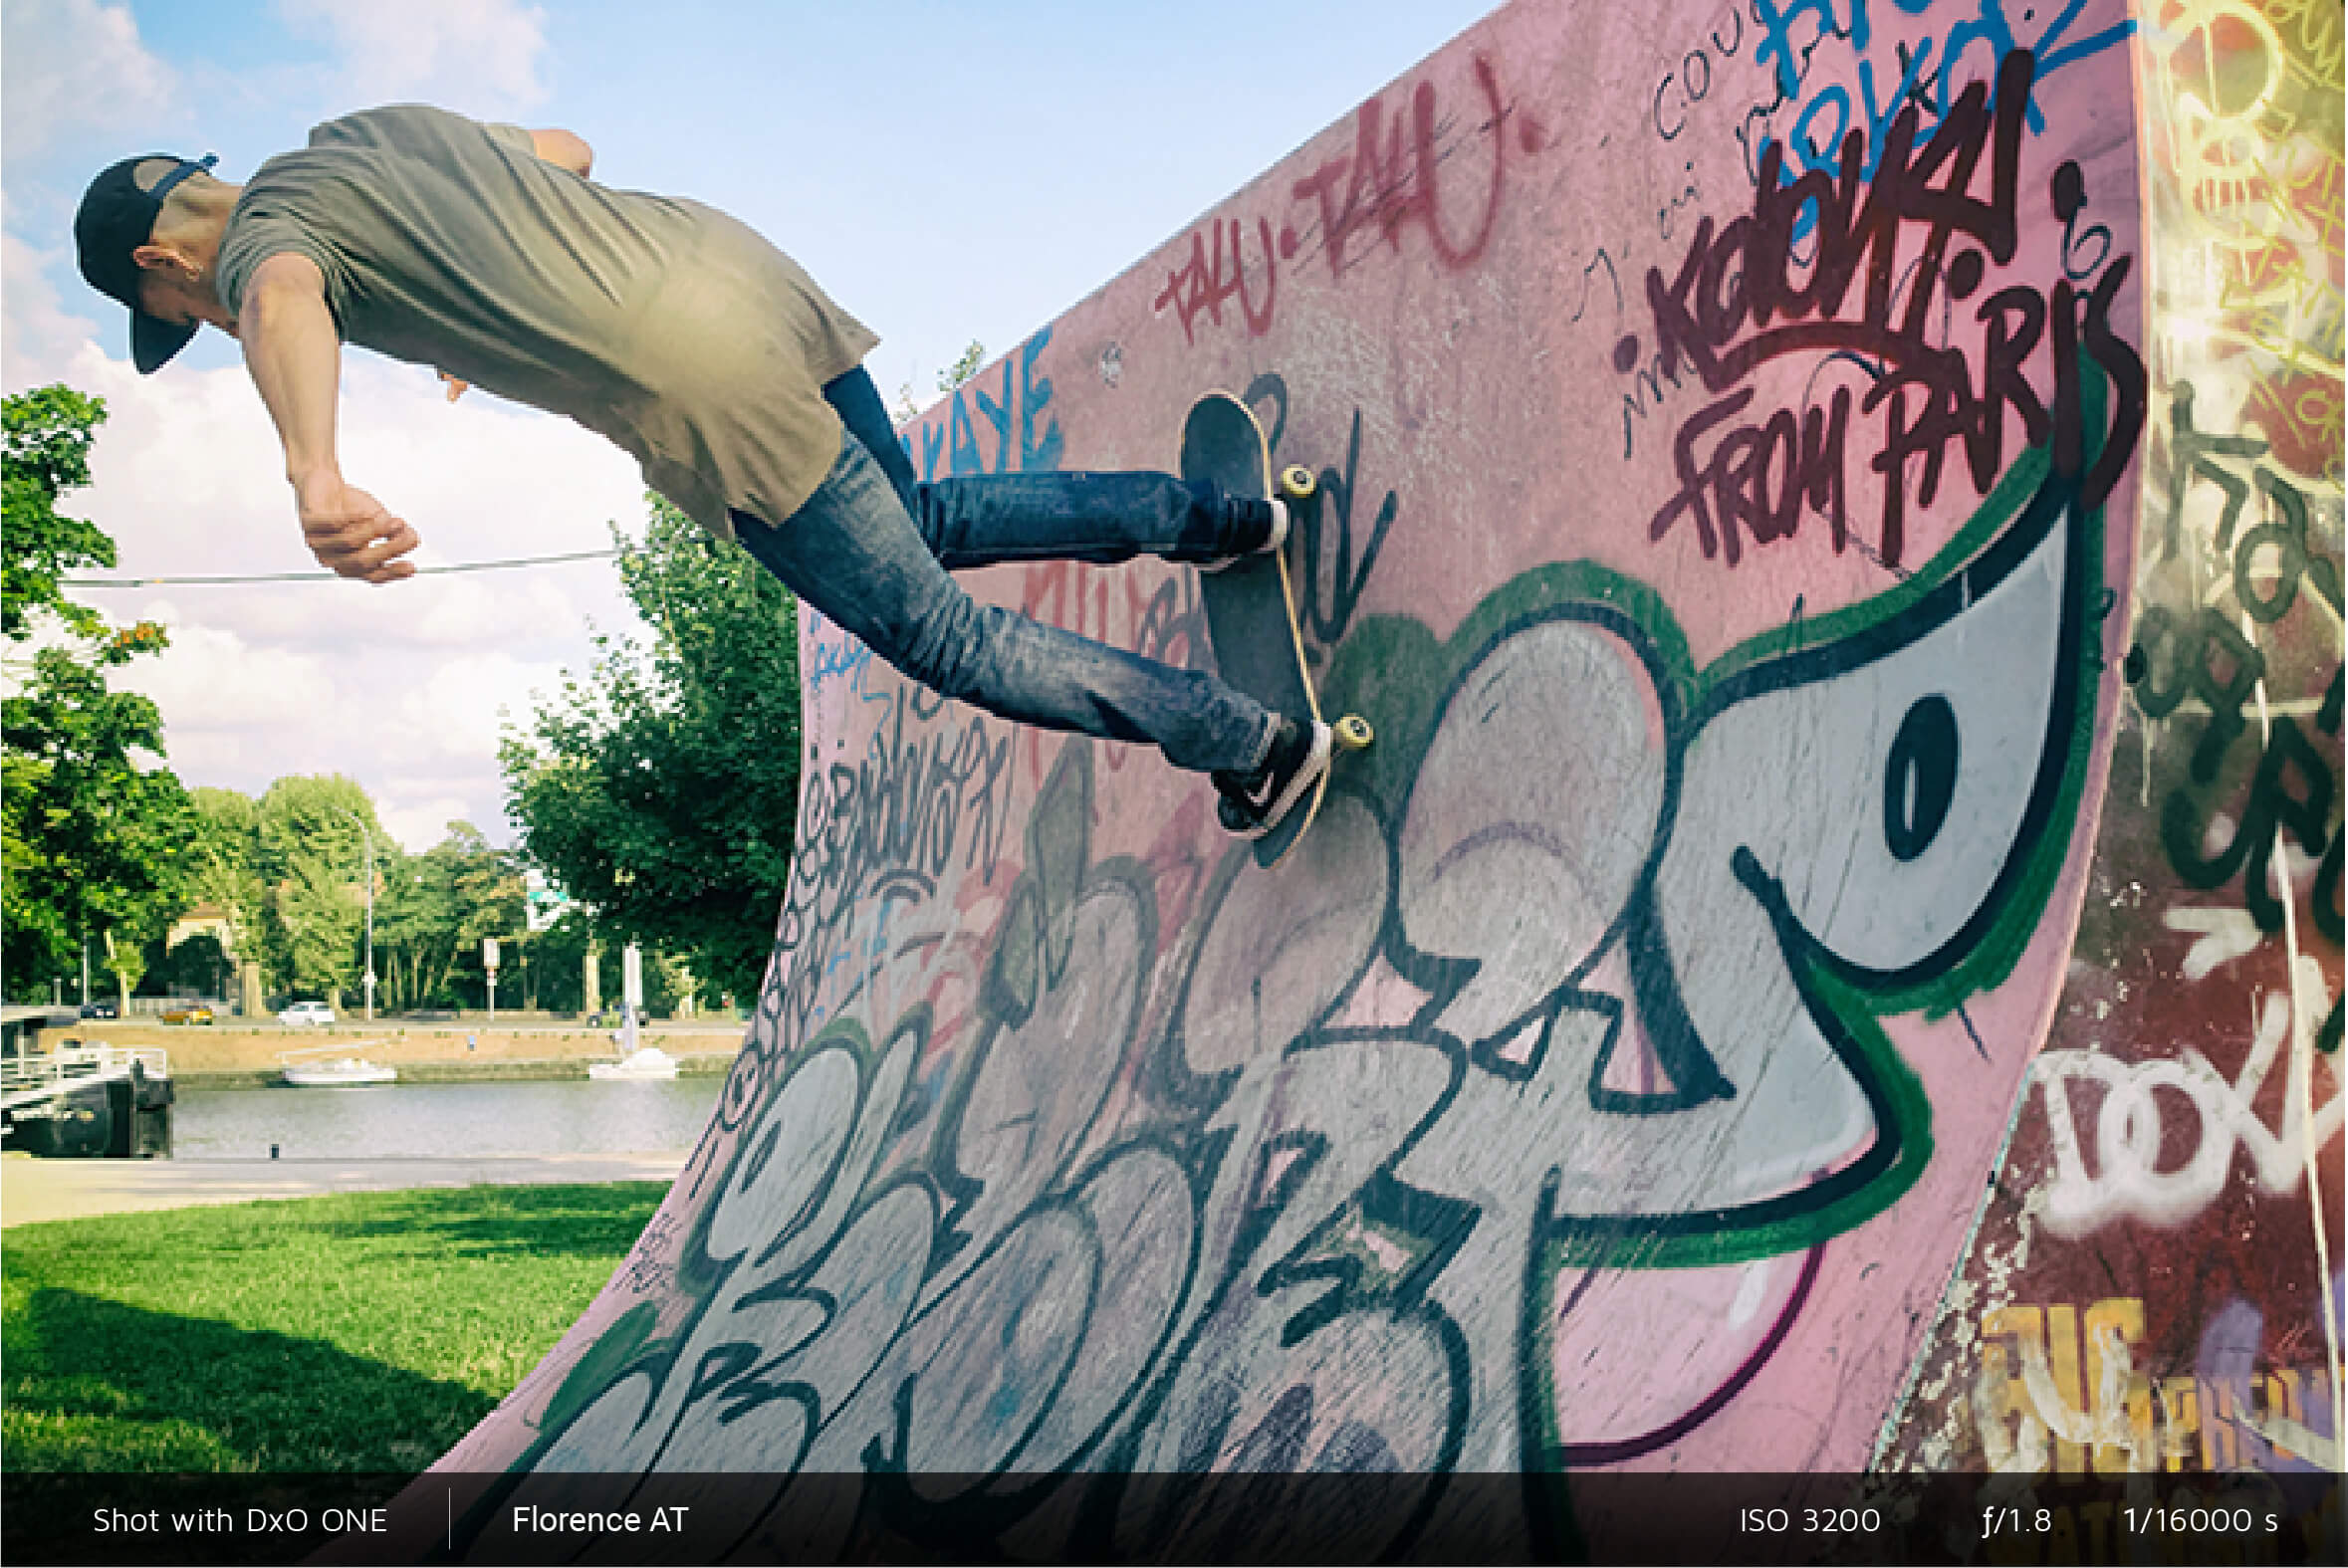
Sport mode
Sport mode is suitable for fast-moving subjects. It pairs a shorter exposure time with sufficient depth of field to accommodate the subject’s movements.
In this mode, the auto focus feature operates continuously (AF-C), allowing the camera to track the subject even when the shutter button is only partially pressed down.
The exposure time is limited to 1/60 s, which can result in noisy images in dark conditions. Photos in Sport mode are taken using a higher sensitivity value in order to compensate for the short exposure time.
Examples of photos taken in Sport mode:
-

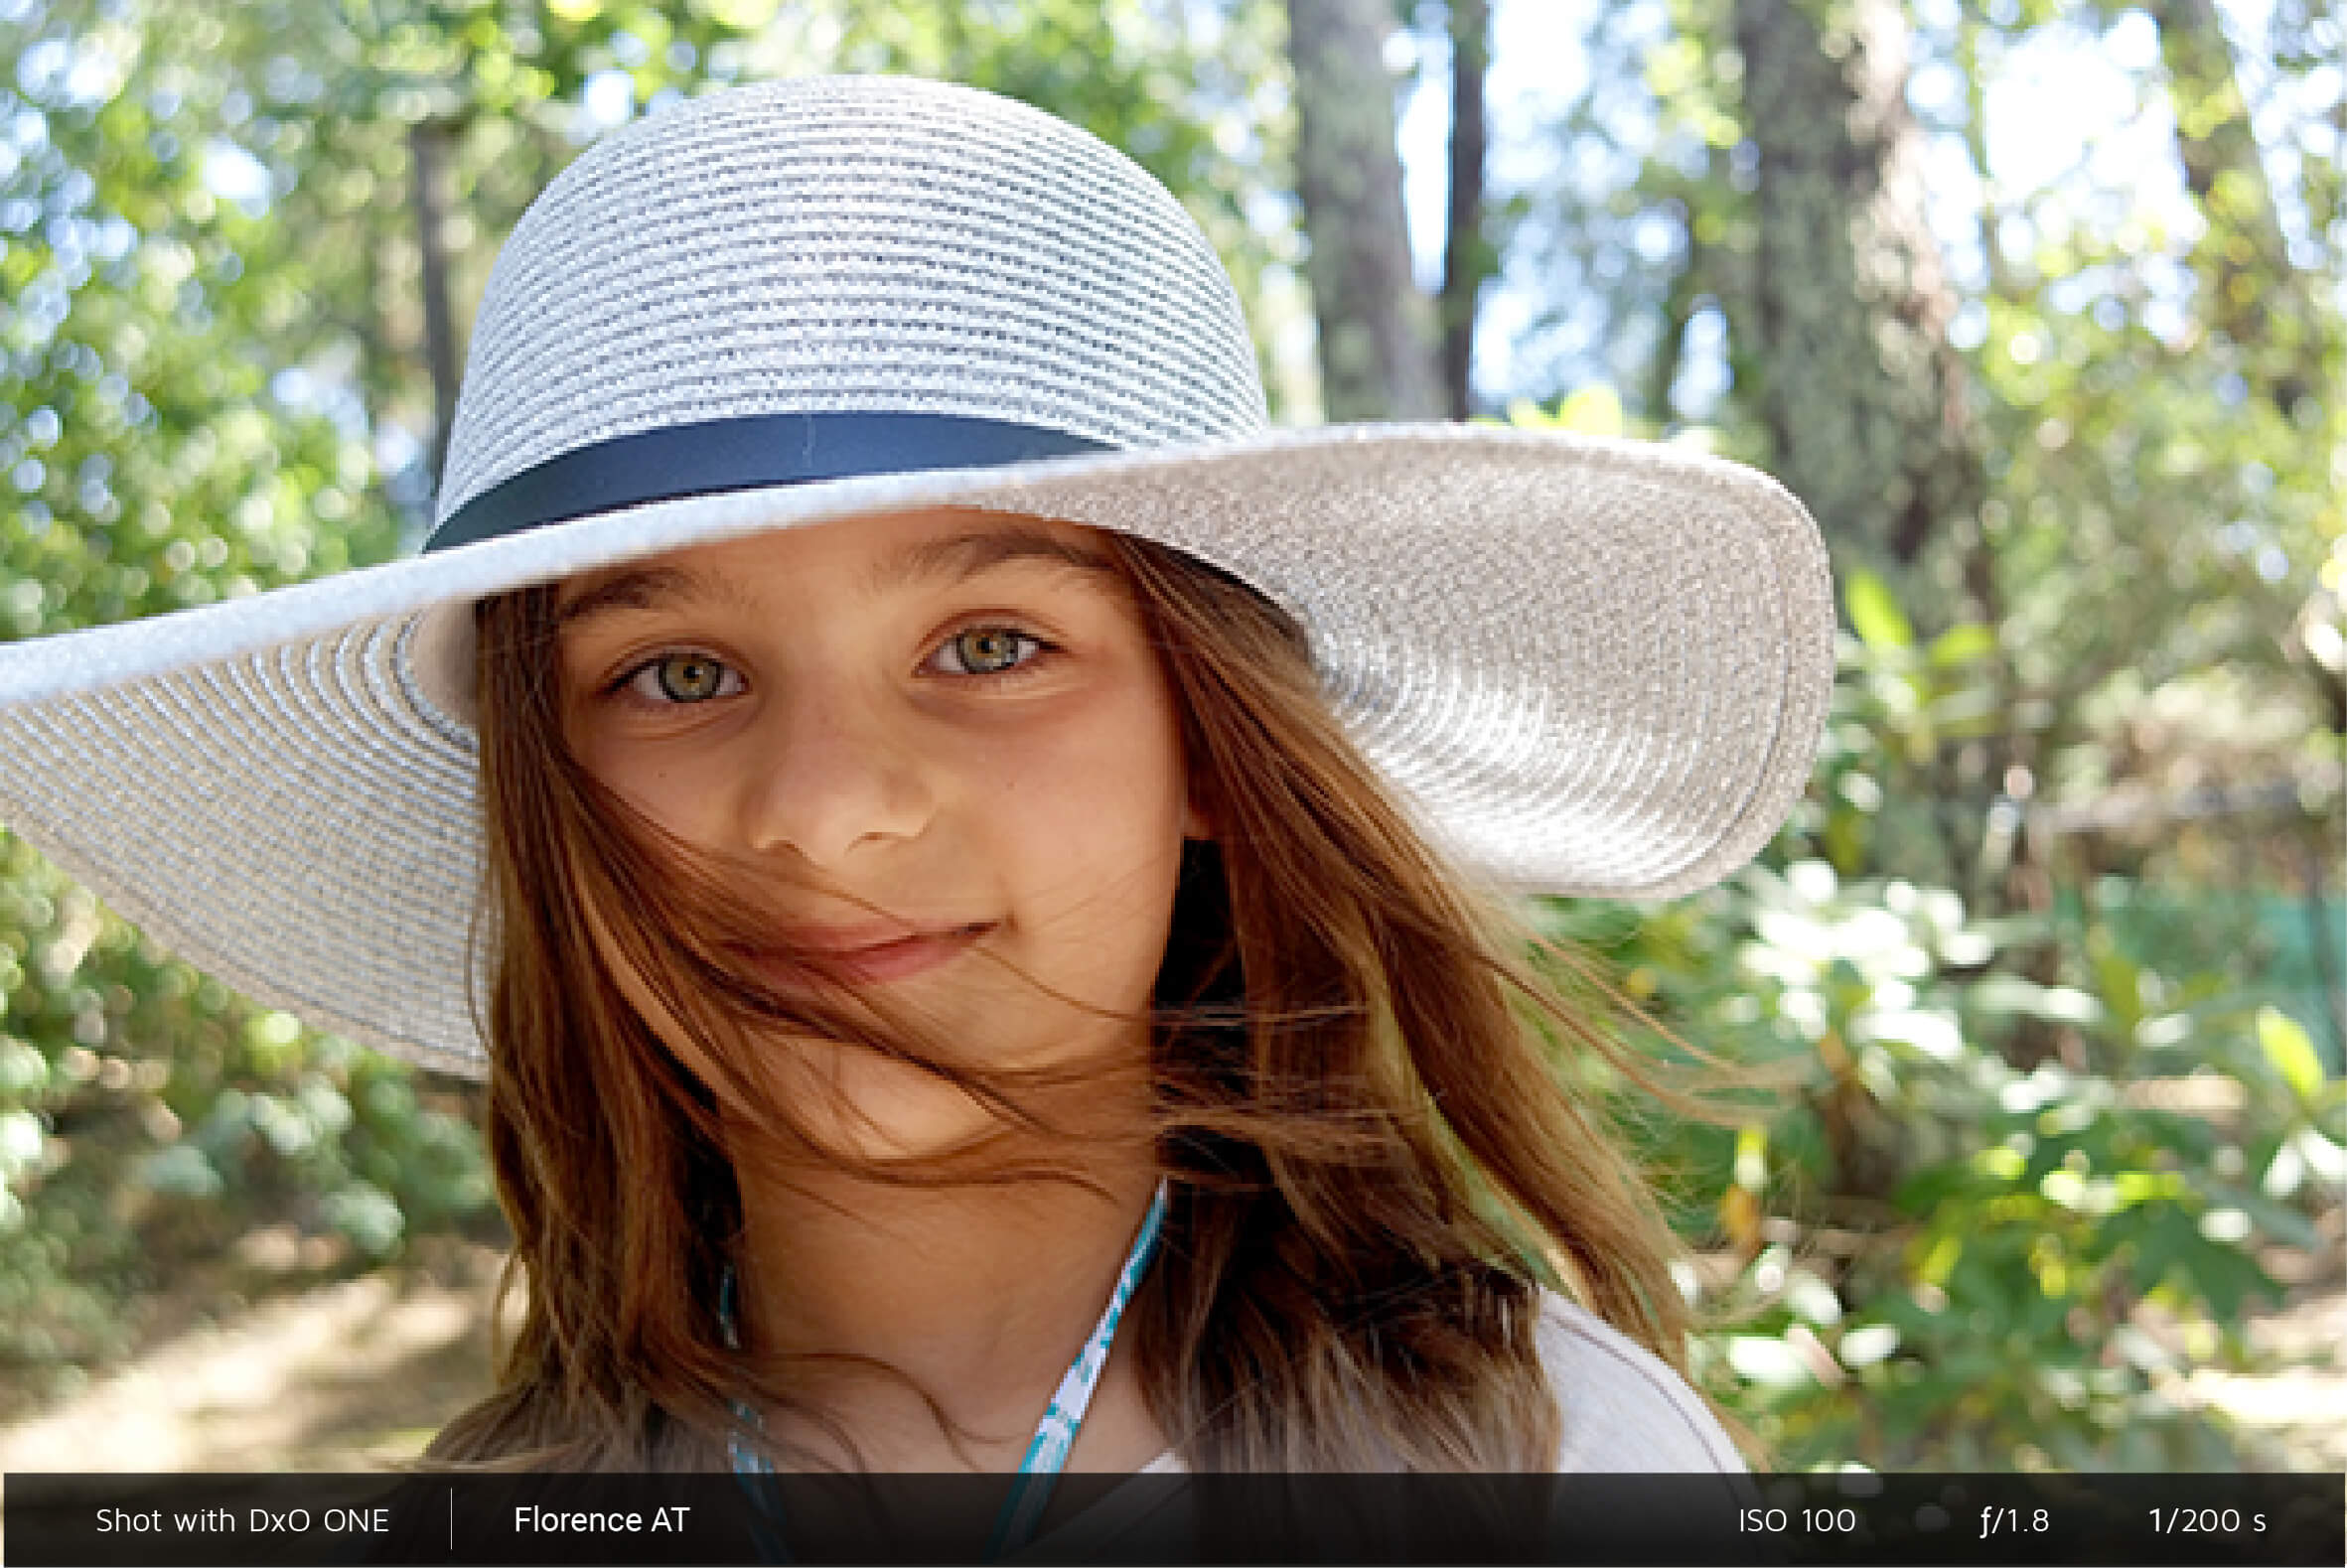
Portrait mode
Portrait mode uses a wider aperture to separate the face from the background and produce a beautifully blurred background. Images will also have a softer appearance; colors will be less vivid and sharpness will be less pronounced.
On the other hand, because of the restricted depth of field, this mode is not suitable for group photos where the faces are located on different planes. For this type of photo, we recommend using A (aperture priority) mode, which is described in section “Advanced modes”.
In a conventional portrait, the subject will be posed. As a result, there’s no need to use a very short exposure time to account for movement. In Portrait mode, default exposure time is not limited and may go below 1/30 s. To avoid camera shake caused by holding the camera, you can use a camera mount, such as a tripod, or adjust the “Maximum exposure time” option (available under shooting settings and described in section “Shooting settings” ). This applies to all modes.
Examples of photos taken in Portrait mode:

-

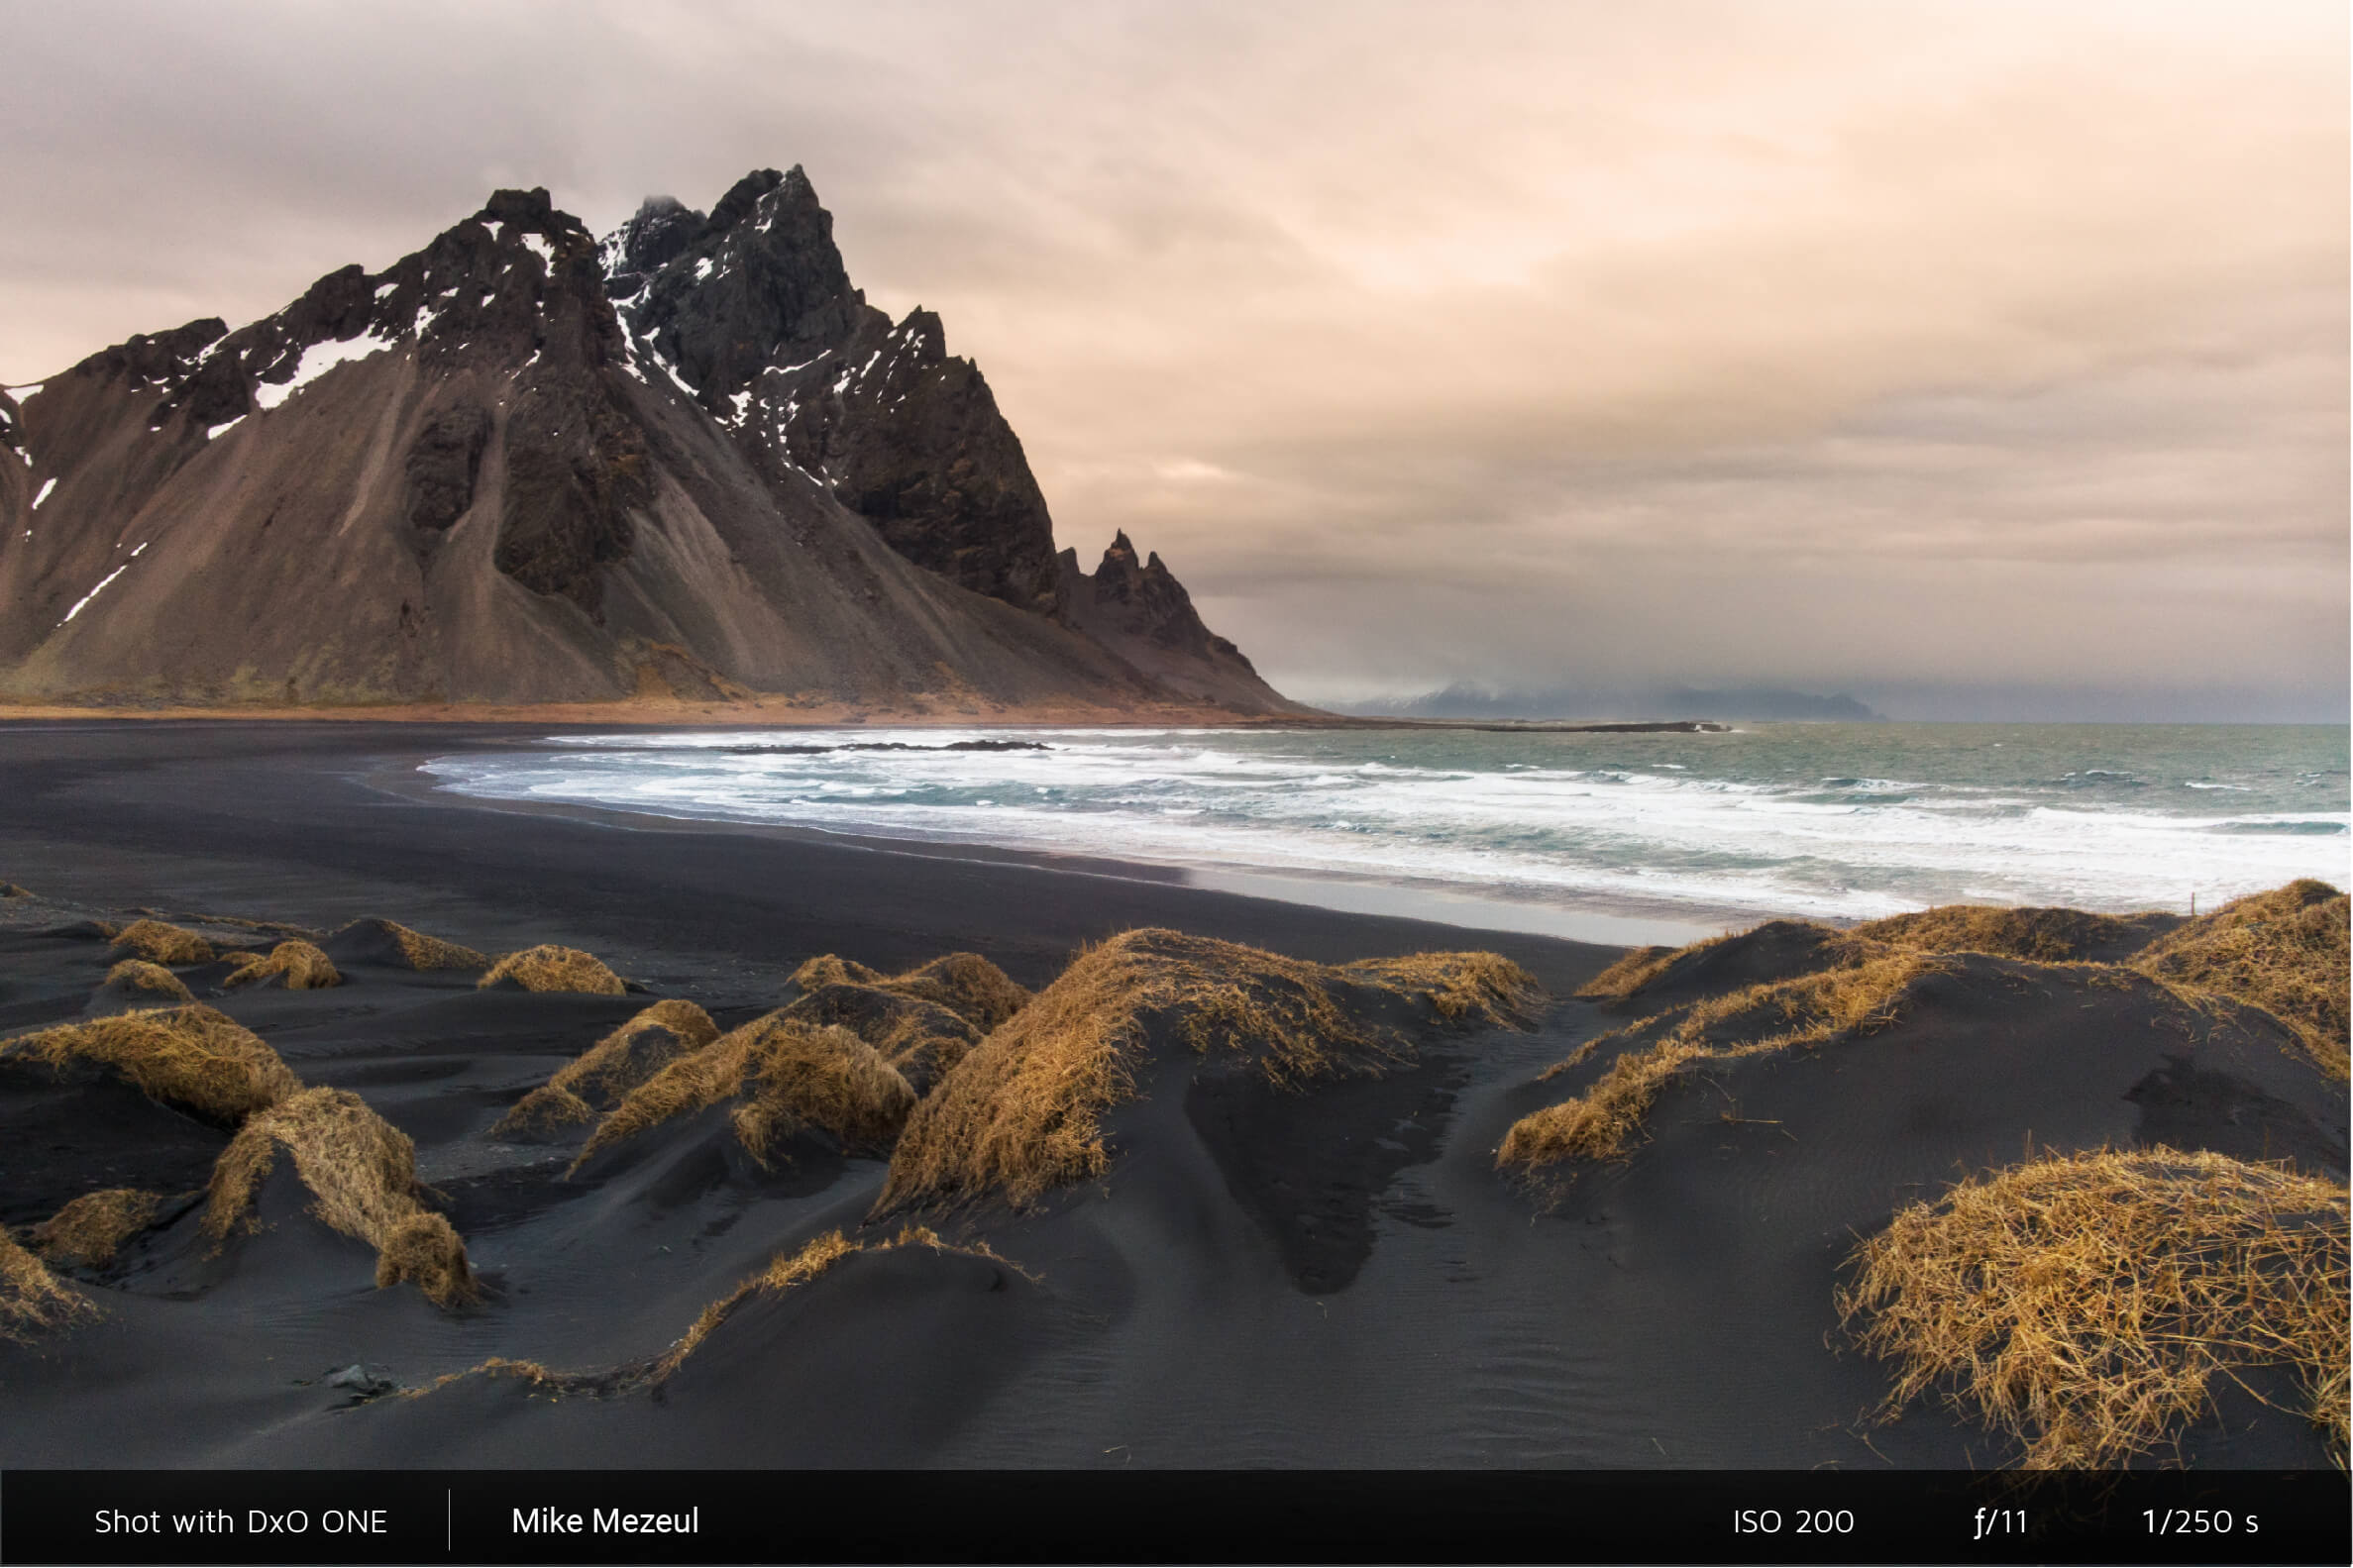
Landscape mode
Landscape mode uses a range of apertures (ƒ/2.8 to ƒ/5.6) that deliver exceptional sharpness, extended depth of field, and enhanced color saturation.
In this mode, Auto Flash will not operate; even if the scene is dark, the subject is too far away to be illuminated by the flash.
Please note the default exposure time is not limited in this mode and may go below 1/30 s. To avoid camera shake caused by holding the camera, you can use a camera mount, such as a tripod, or adjust the “Maximum exposure time” option (available under shooting settings and described in section “Shooting settings” ). This applies to all modes.
When photographing landscapes at night, you’ll need to correct the exposure by reducing the brightness, or by using Night mode, which does the same thing.
Example of a photo taken in Landscape mode:
-

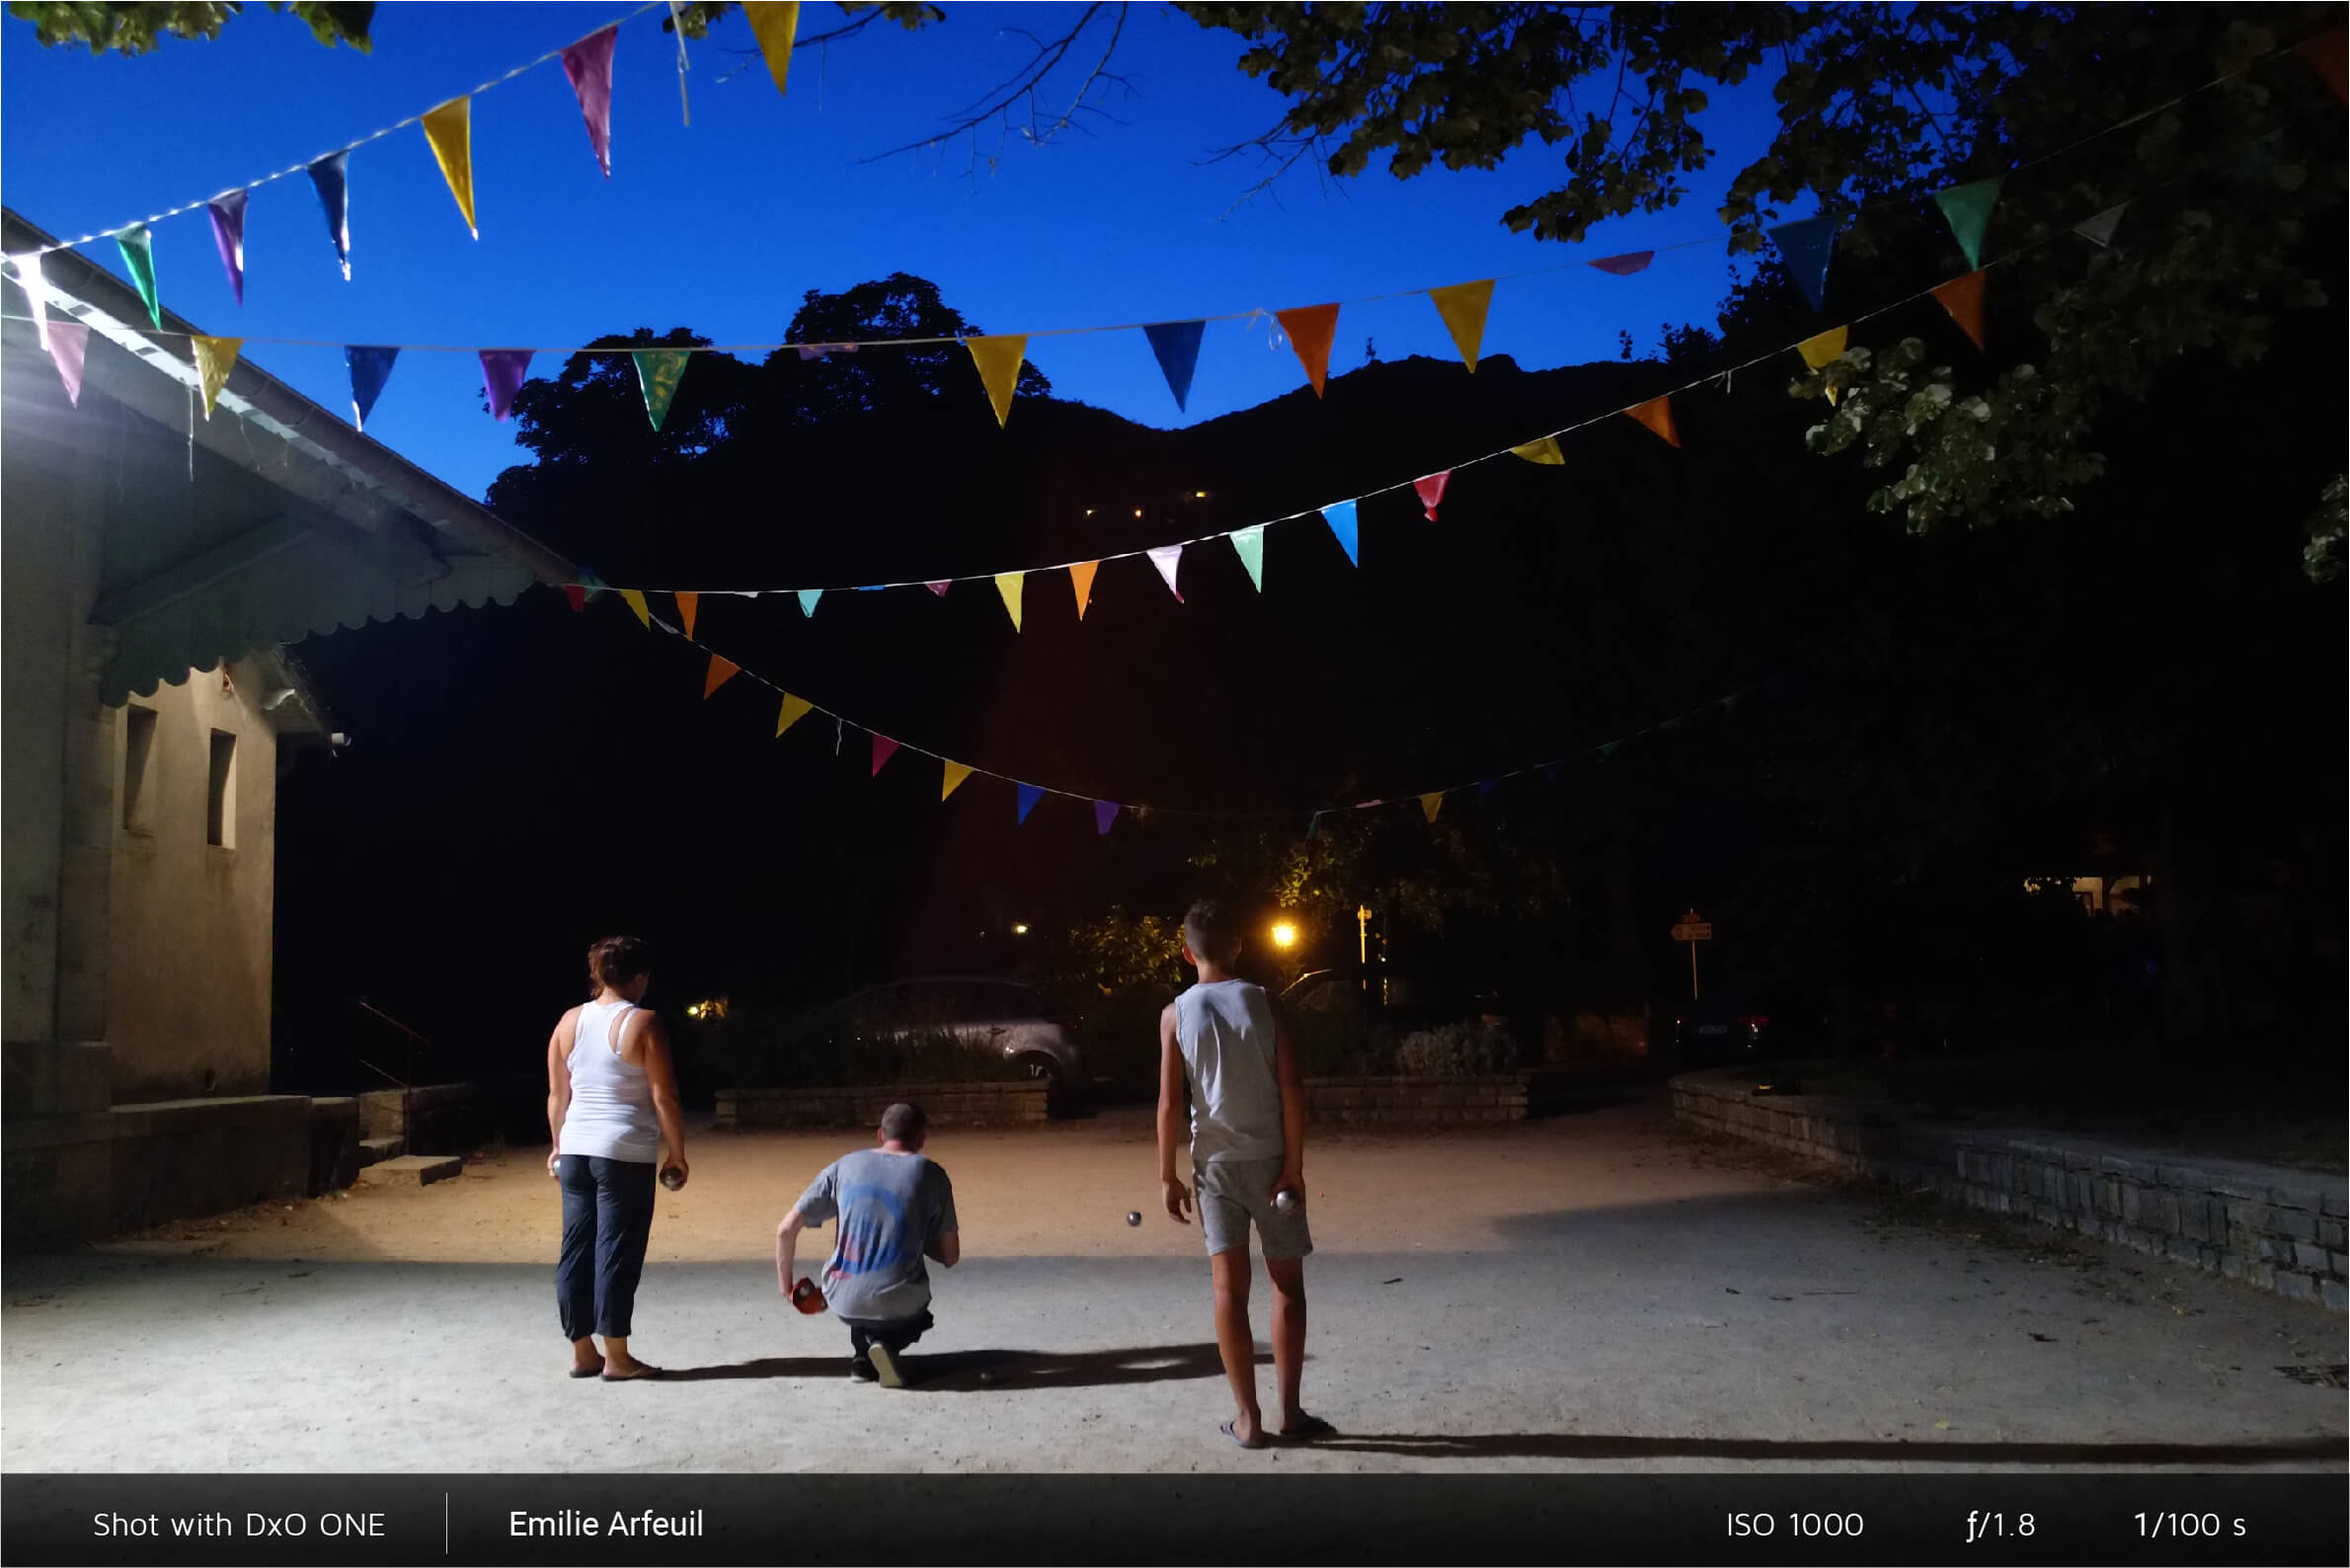
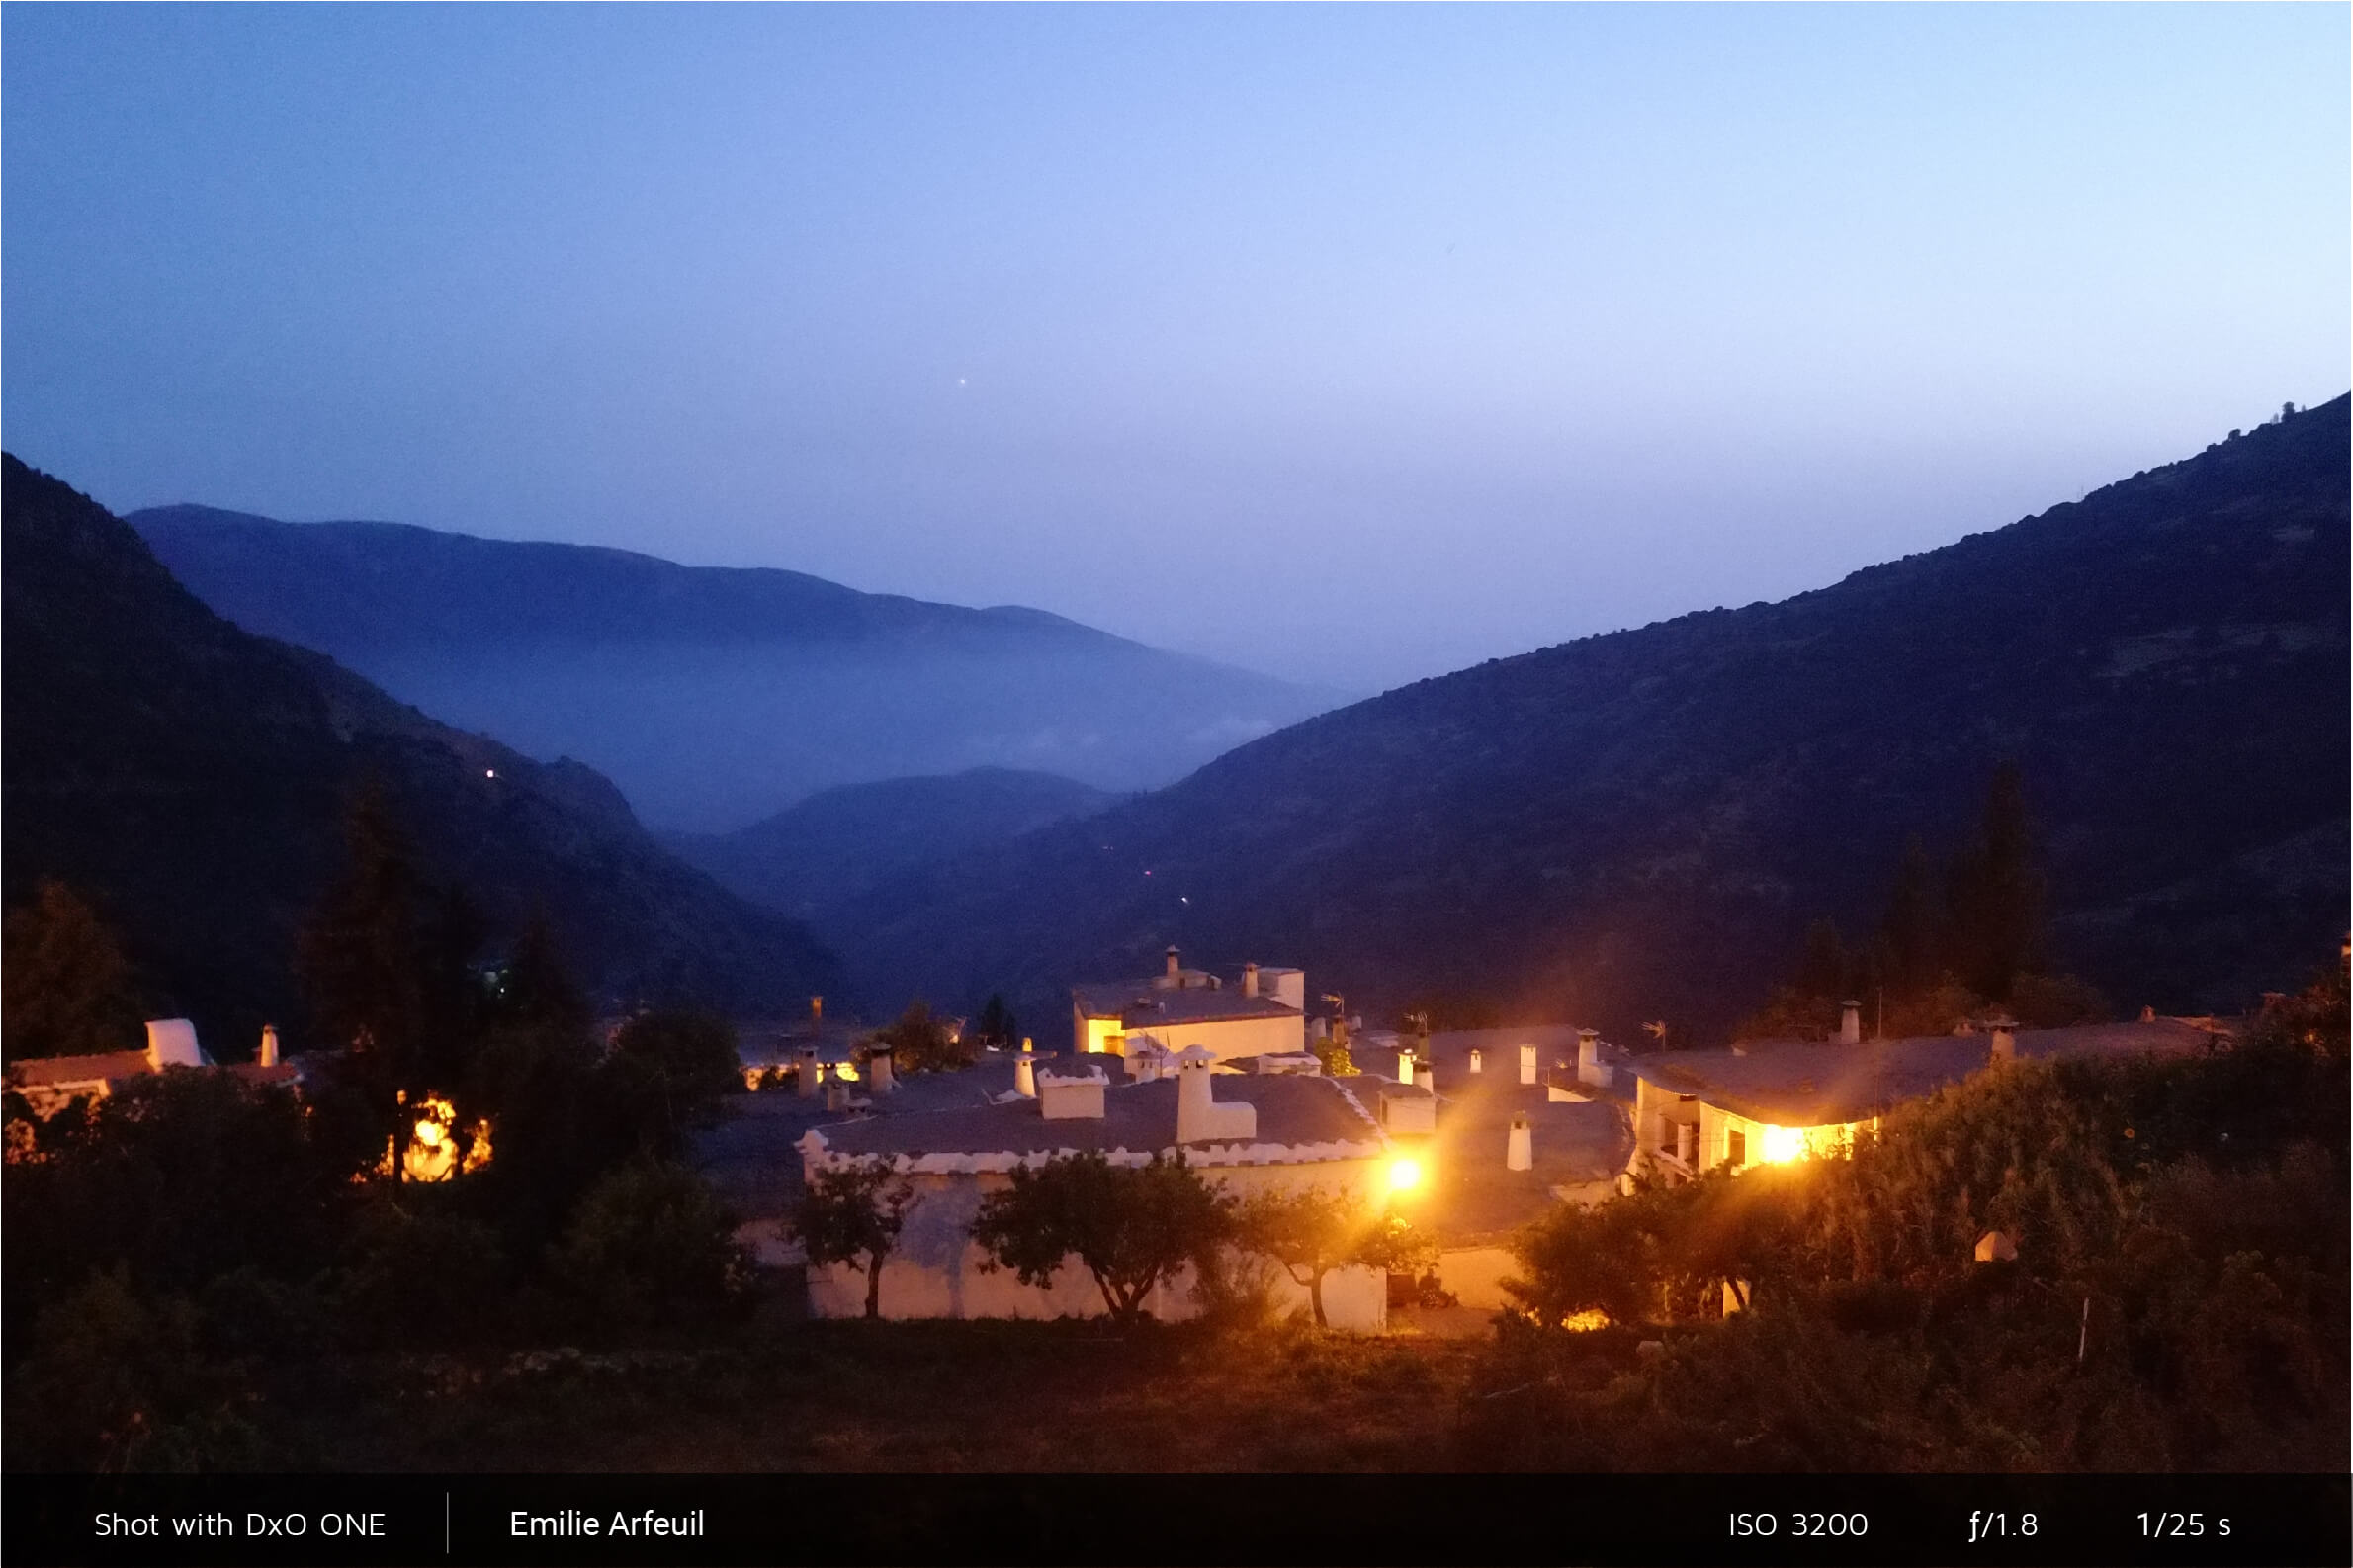
Night mode
Night mode lets you adjust the exposure for a dark scene by slightly under-exposing the image to keep it dark. In addition, sensitivity is limited to 2,500 ISO. This avoids increased digital noise, which produces grainy images.
Please note the default exposure time is not limited in this mode and may go below 1/30 s.
A few tips for avoiding camera shake:
- – Use a tripod with an adapter for your DxO ONE or your iPhone, then release the shutter using the 2-second timer (see section “Shooting settings” ).
- – Even when you’re holding the camera, the two-second timer means the vibrations generated by pressing the shutter button will have time to dissipate.
- – Use Wi-Fi mode (described in section “Shooting in stand-alone mode” ) to set up the DxO ONE, then trigger the shutter using the application to avoid jostling the camera.
- – You can also use the “Maximum exposure time” option (described in section “Shooting settings” ), which can be used with all modes. However, using this option can lead to higher digital noise levels and/or under-exposed photos.
Examples of photos taken in Night mode:
 Download page