Time-lapse City lights
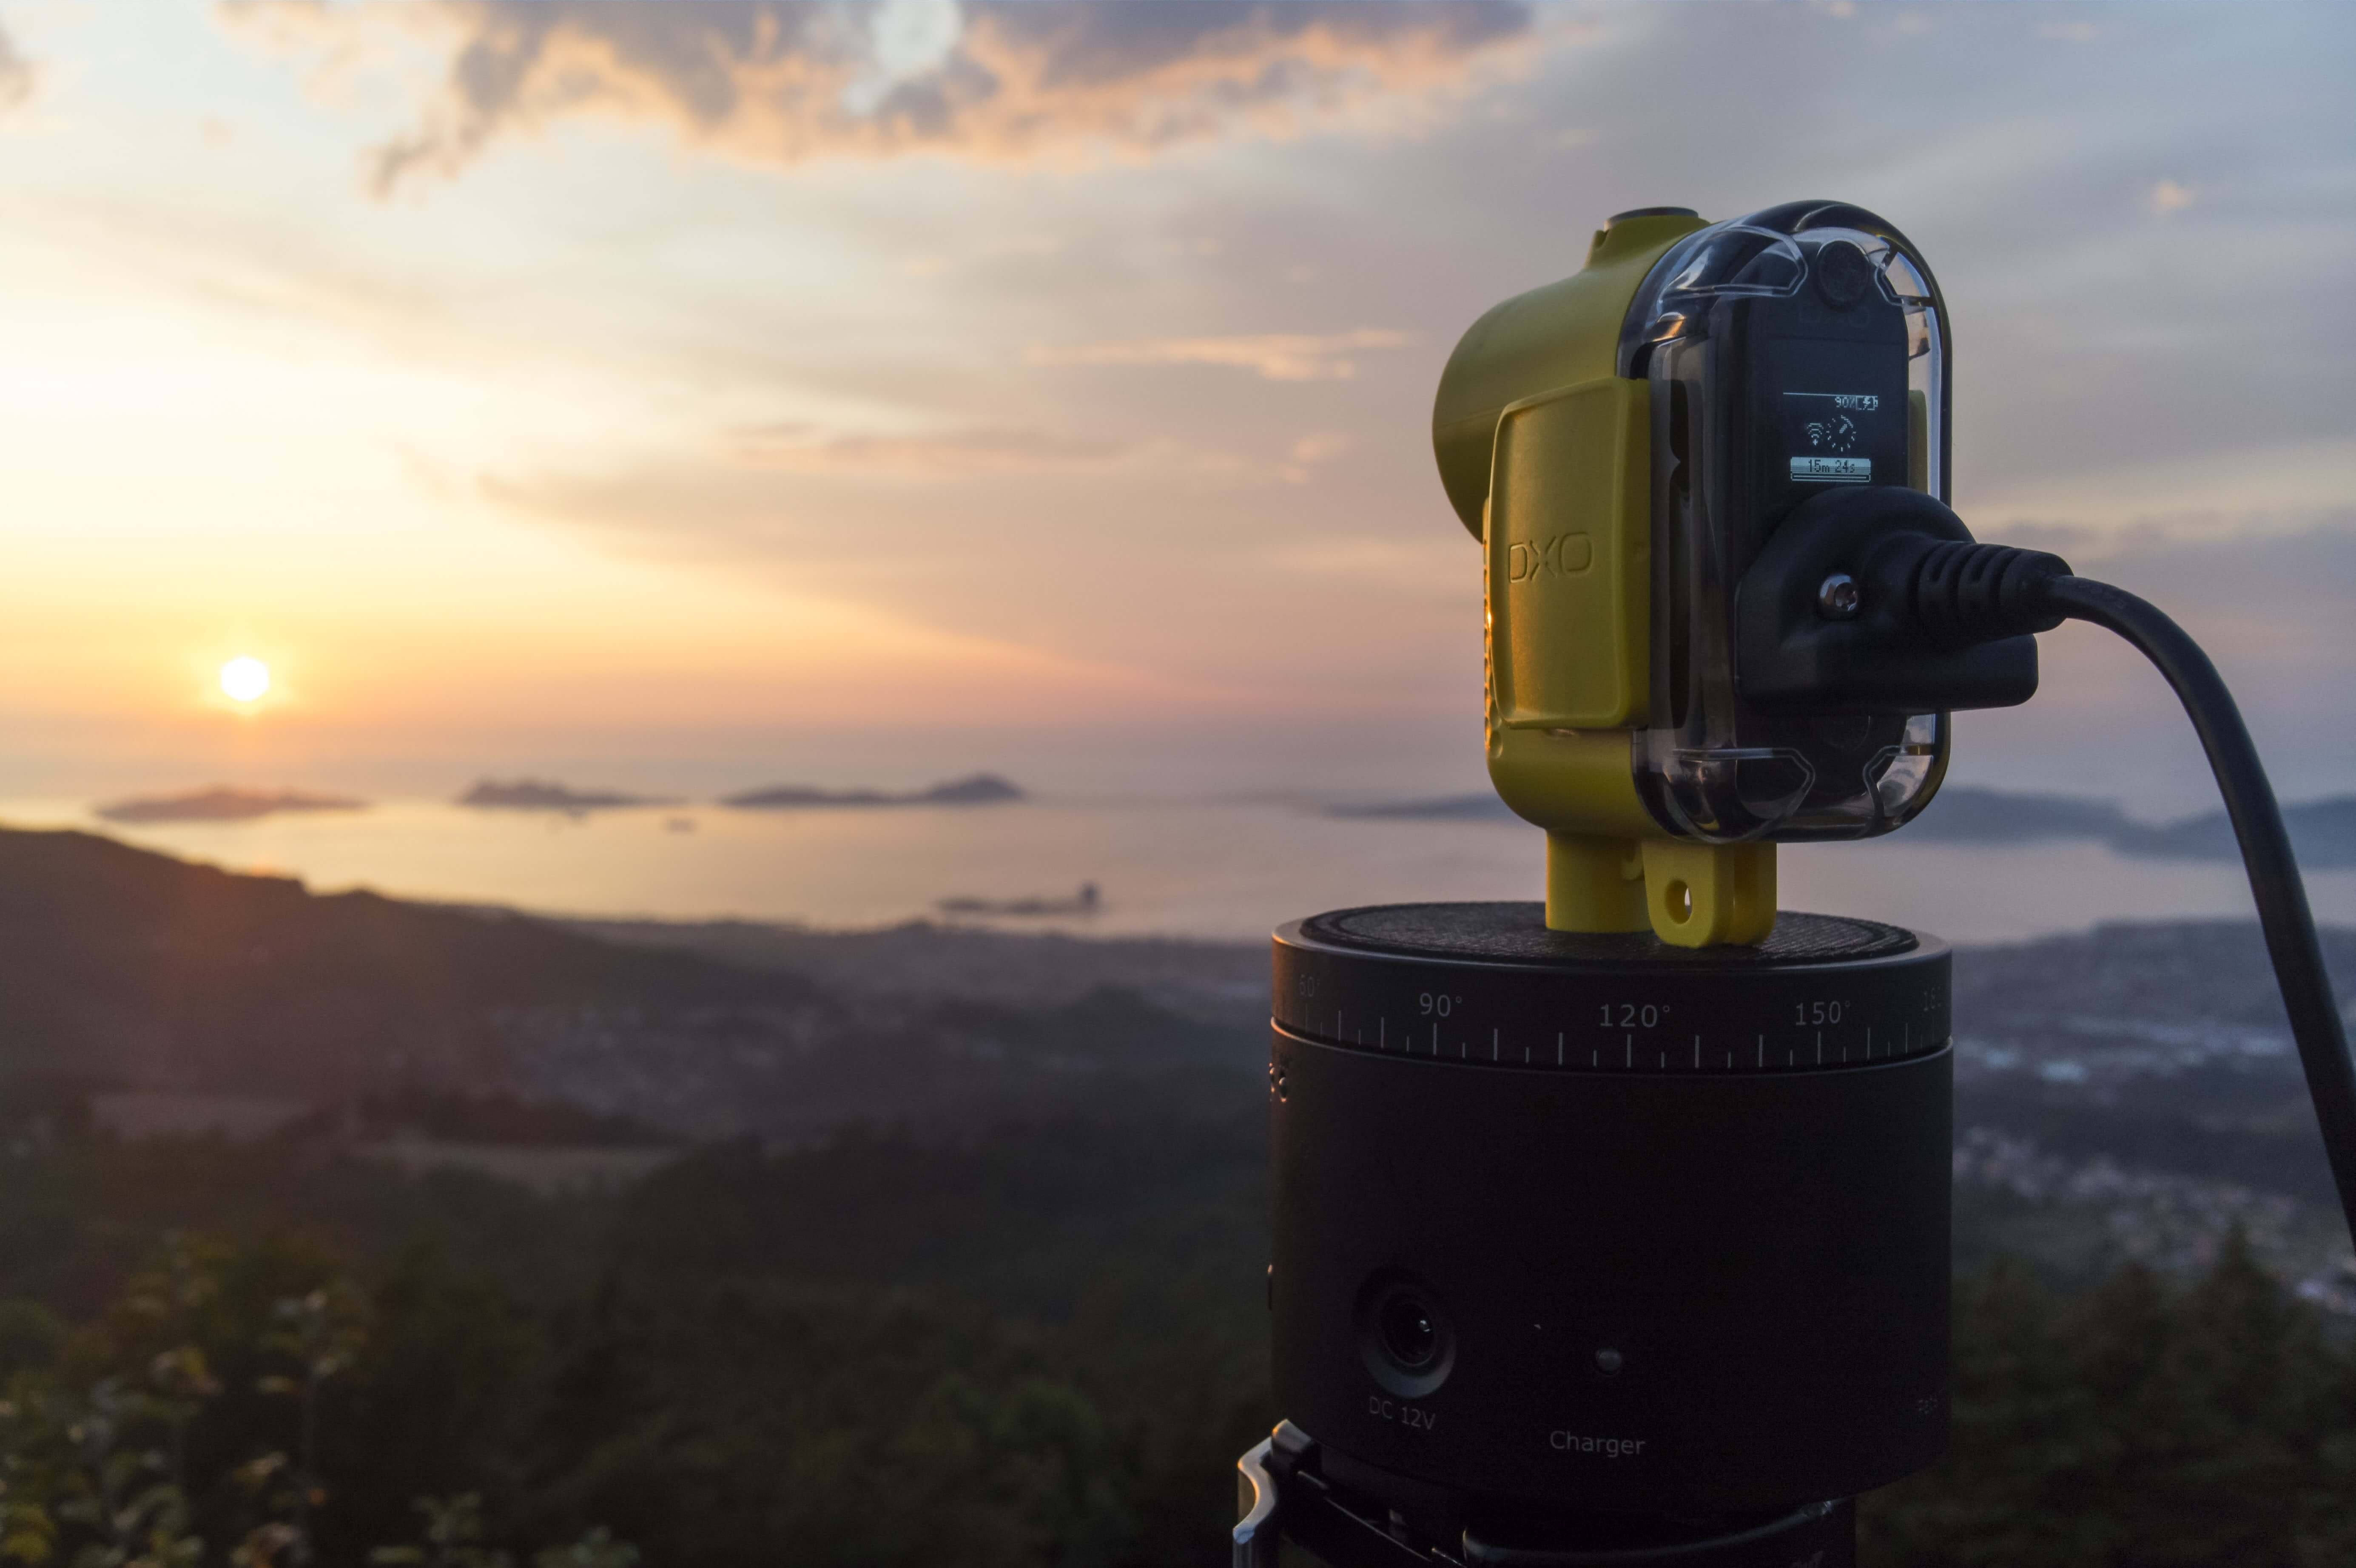
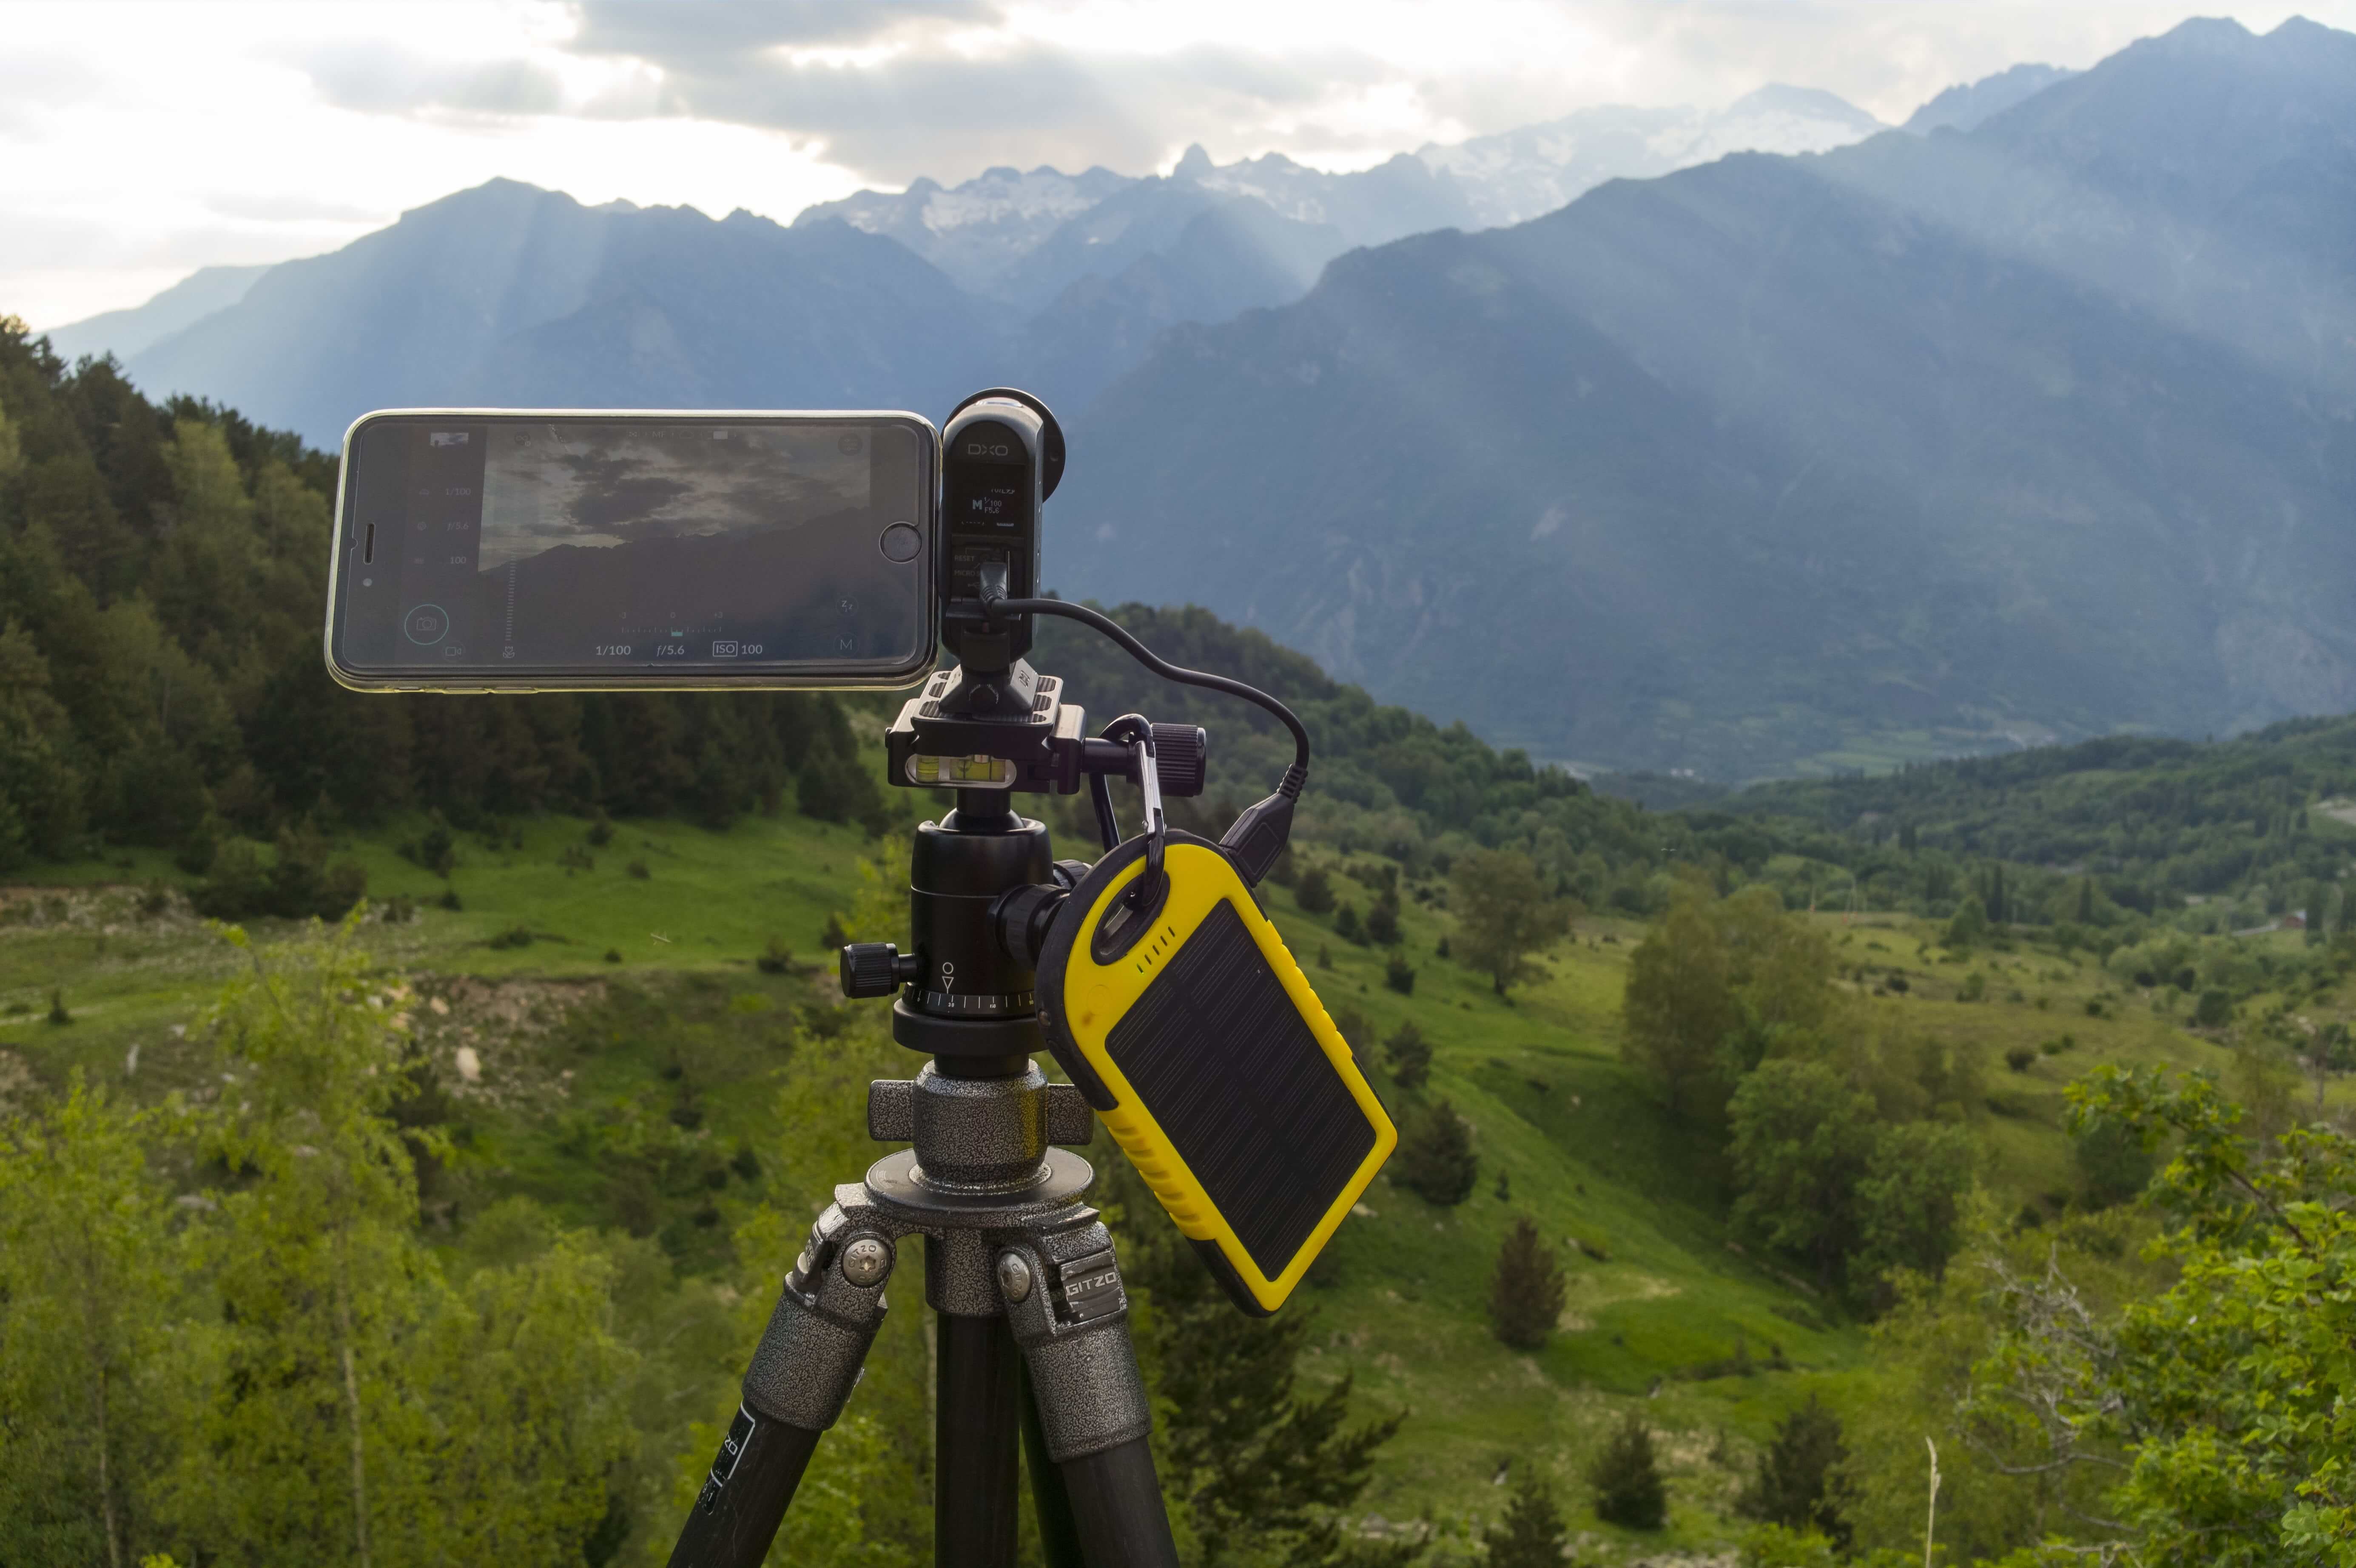
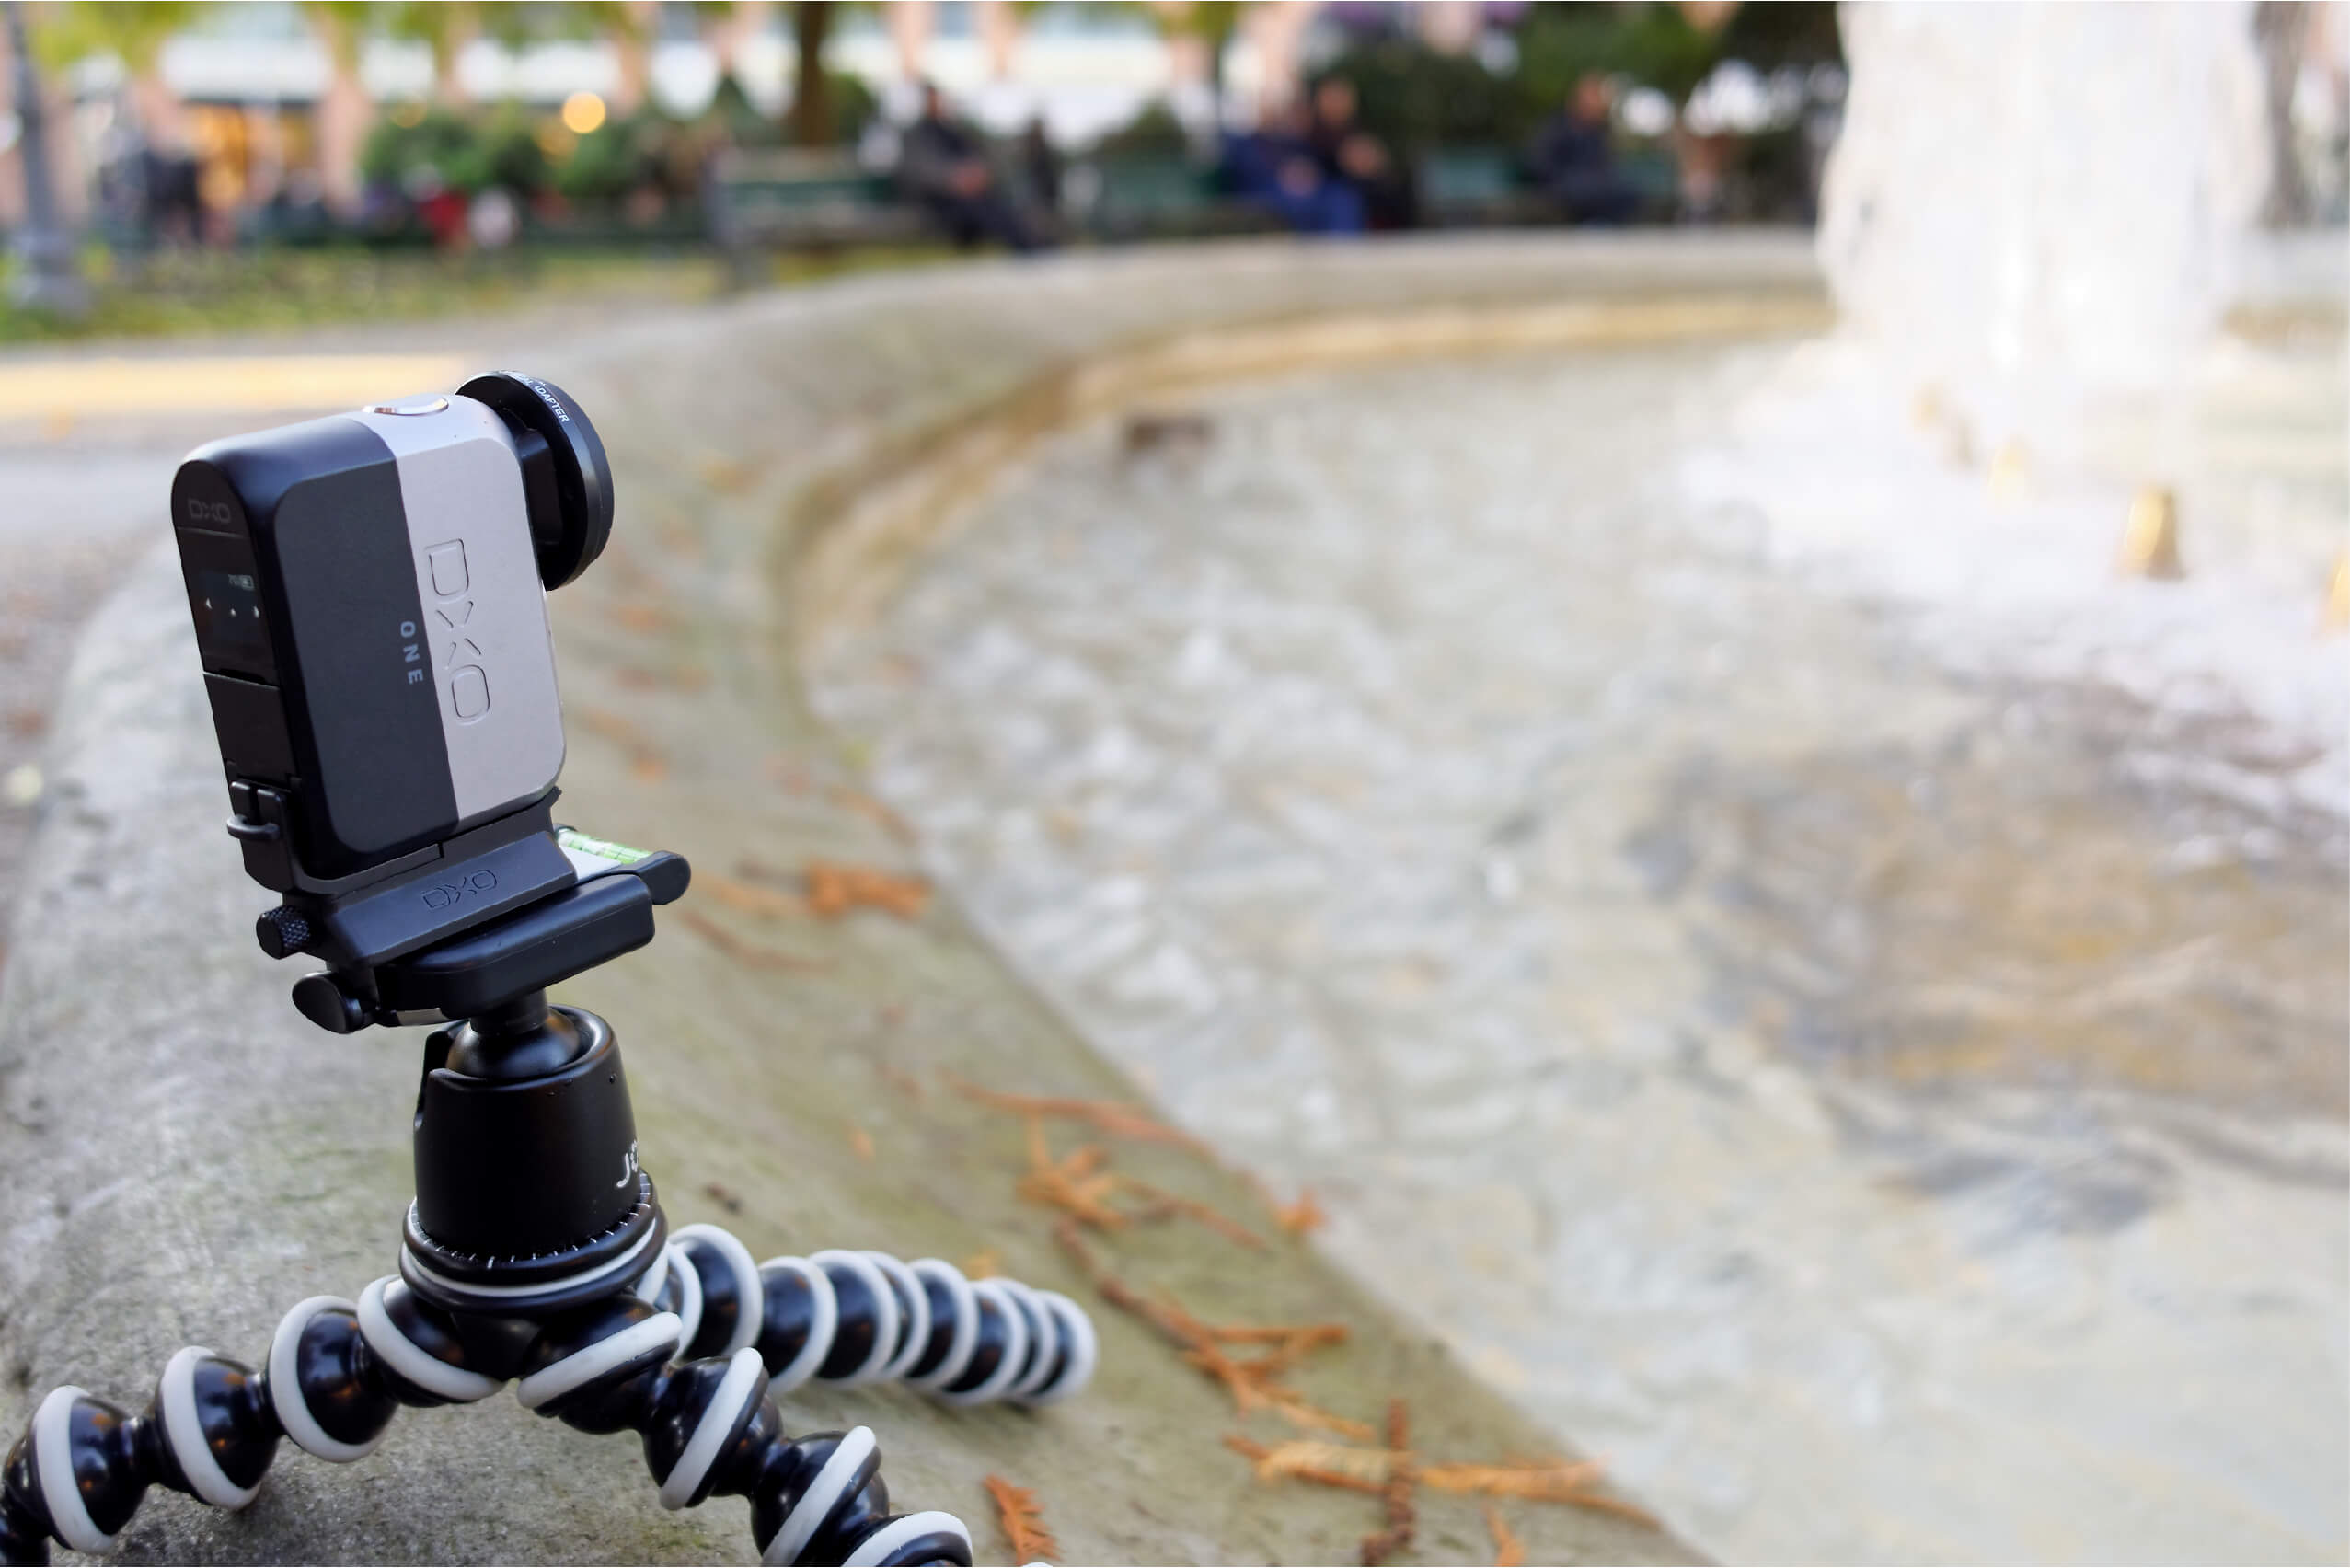
What you need for this tutorial
To progress
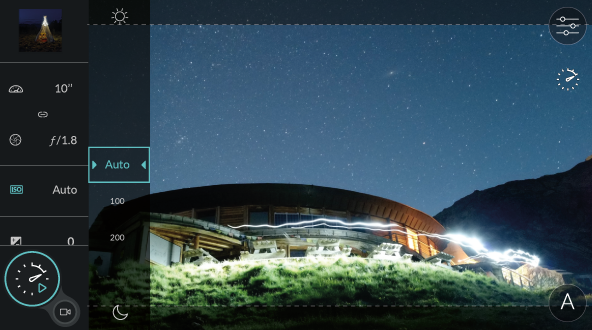
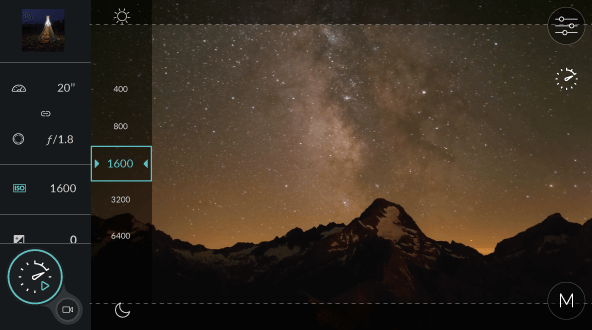
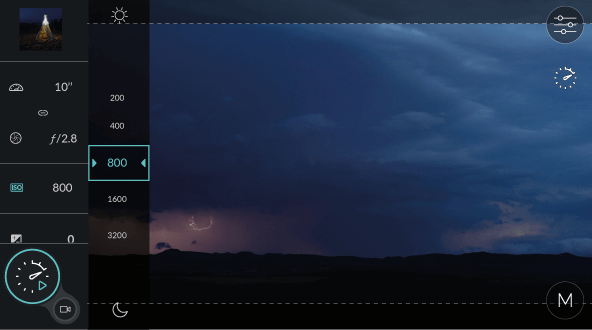
Settings used in this tutorial
– Auto-ramping actived
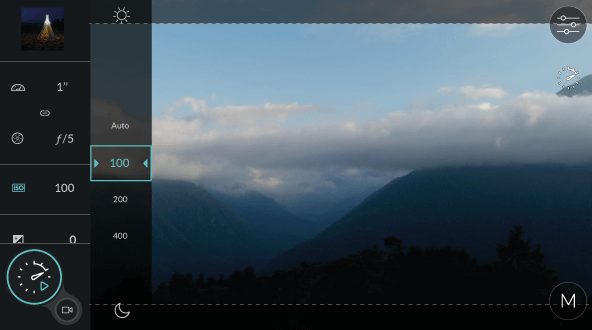
– Manual ISO 100
– Manual focus on the subject

Introduction
Digital cameras, along with the time-lapse technique, have allowed us in recent years to see cities in many different ways, particularly the speed and dynamism of their infinite movement.
Further, technology now lets us photograph with very little light and still obtain clear and noise-free images. In this tutorial, we will discuss the main rules to follow to obtain top-notch time lapses of cities.

Before shooting
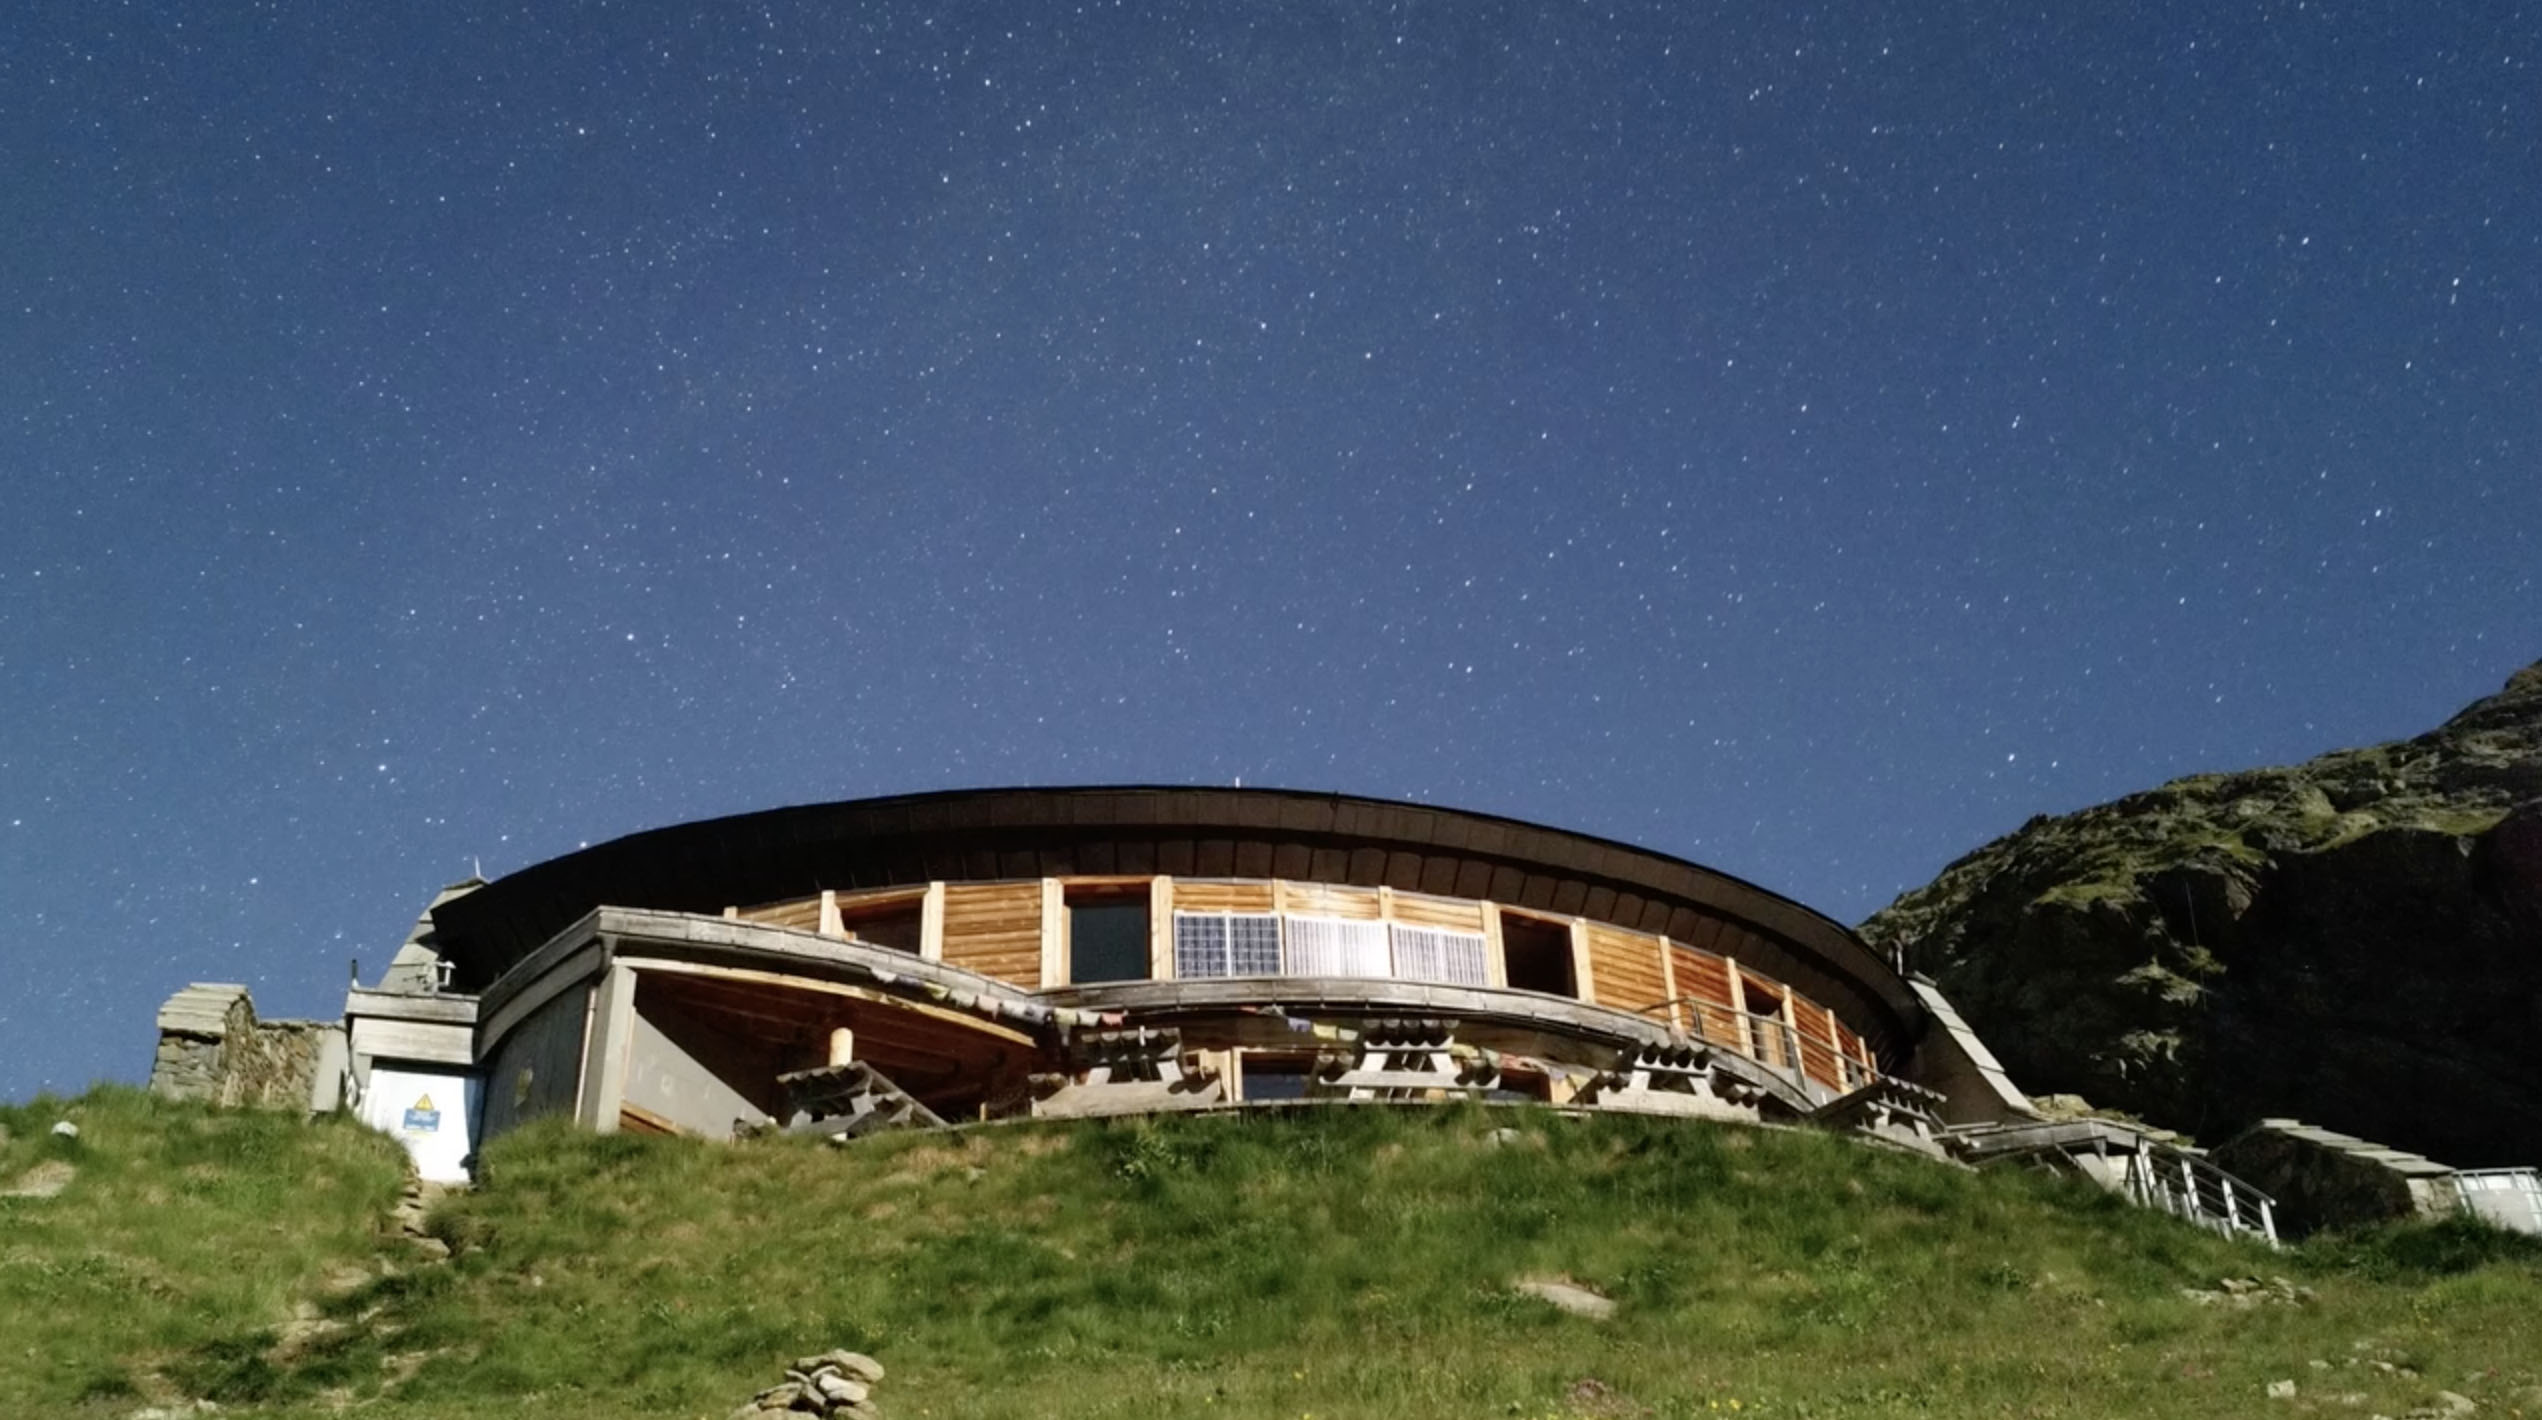
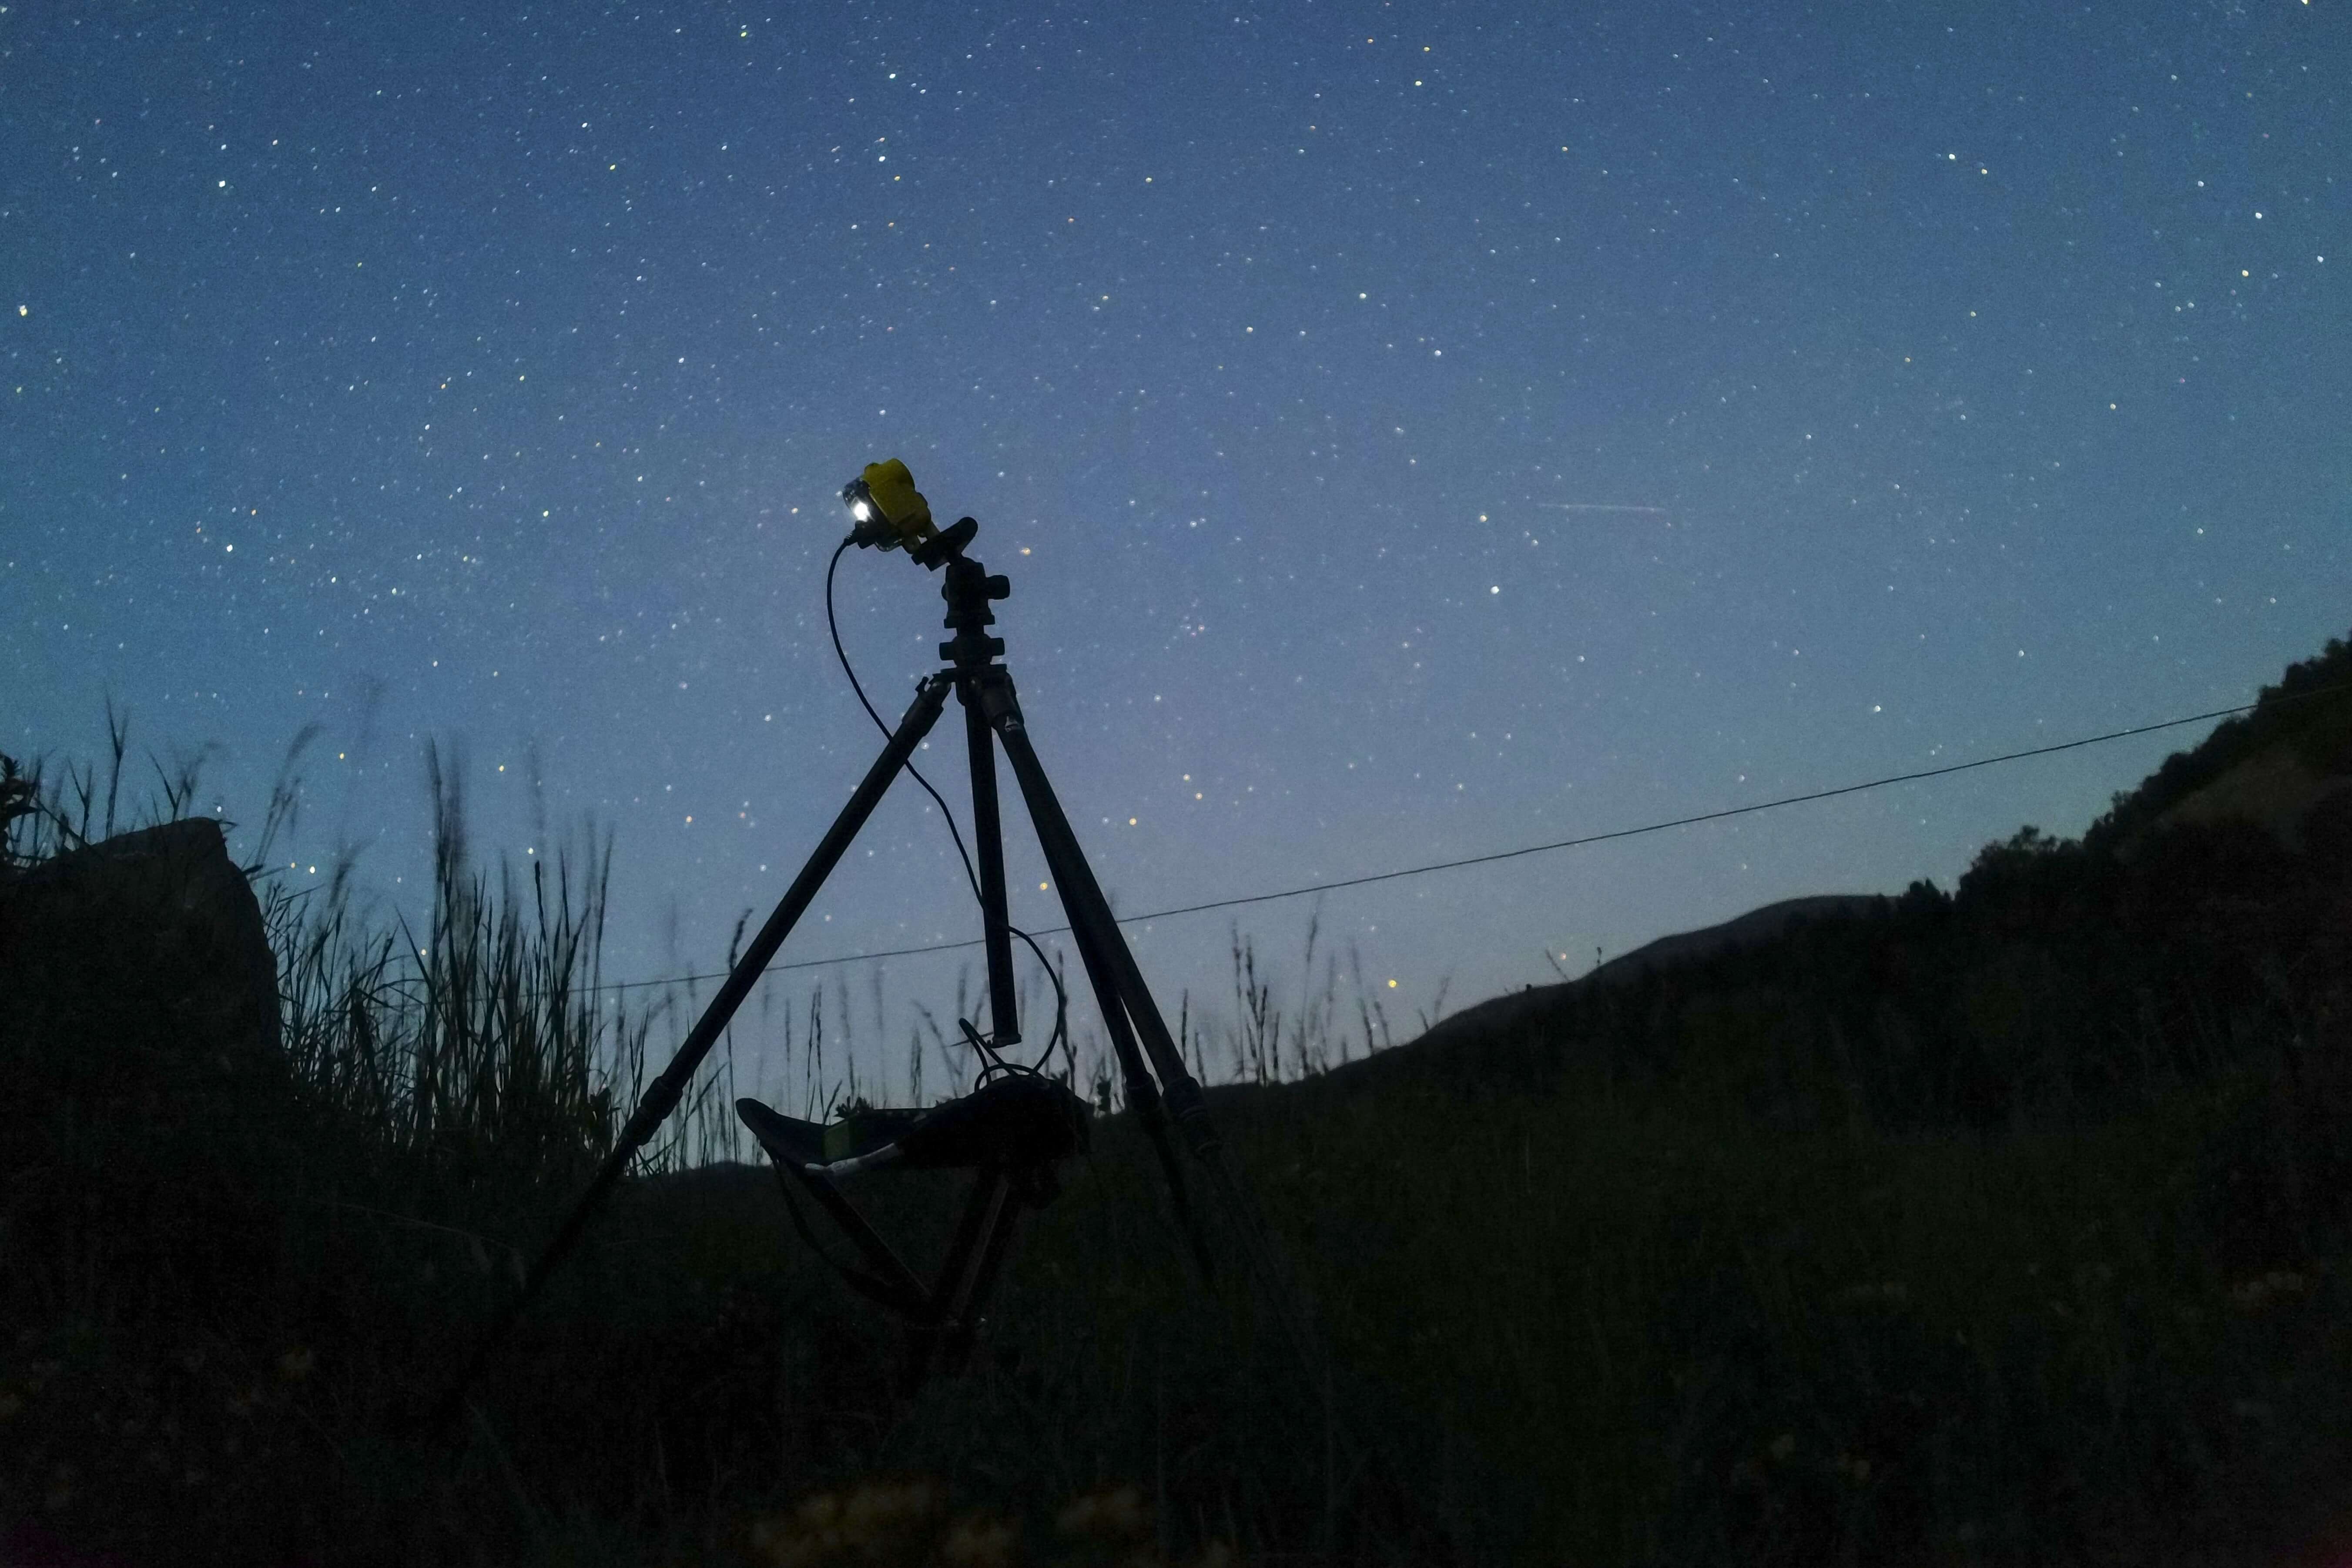
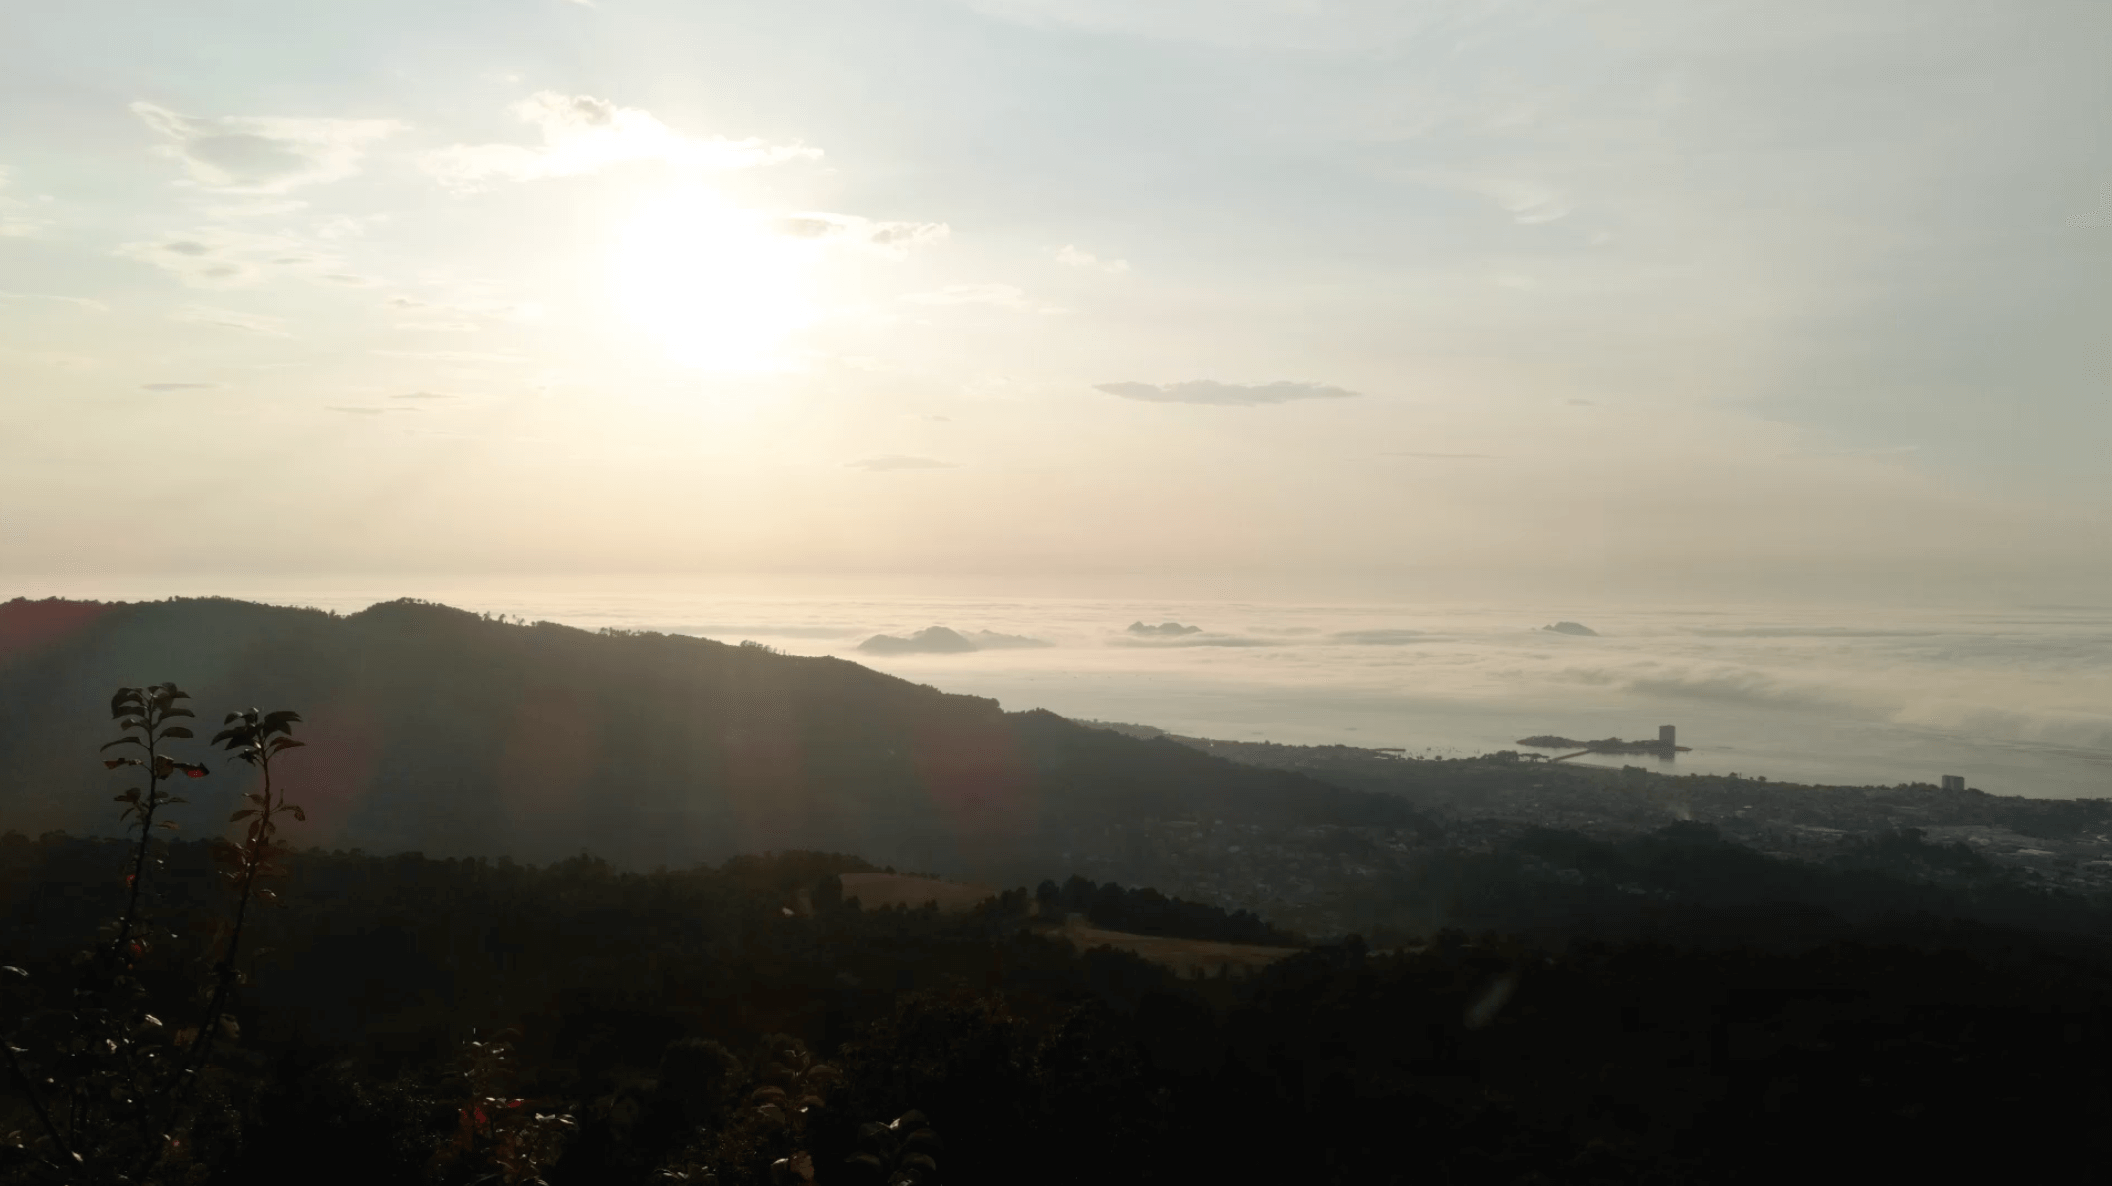
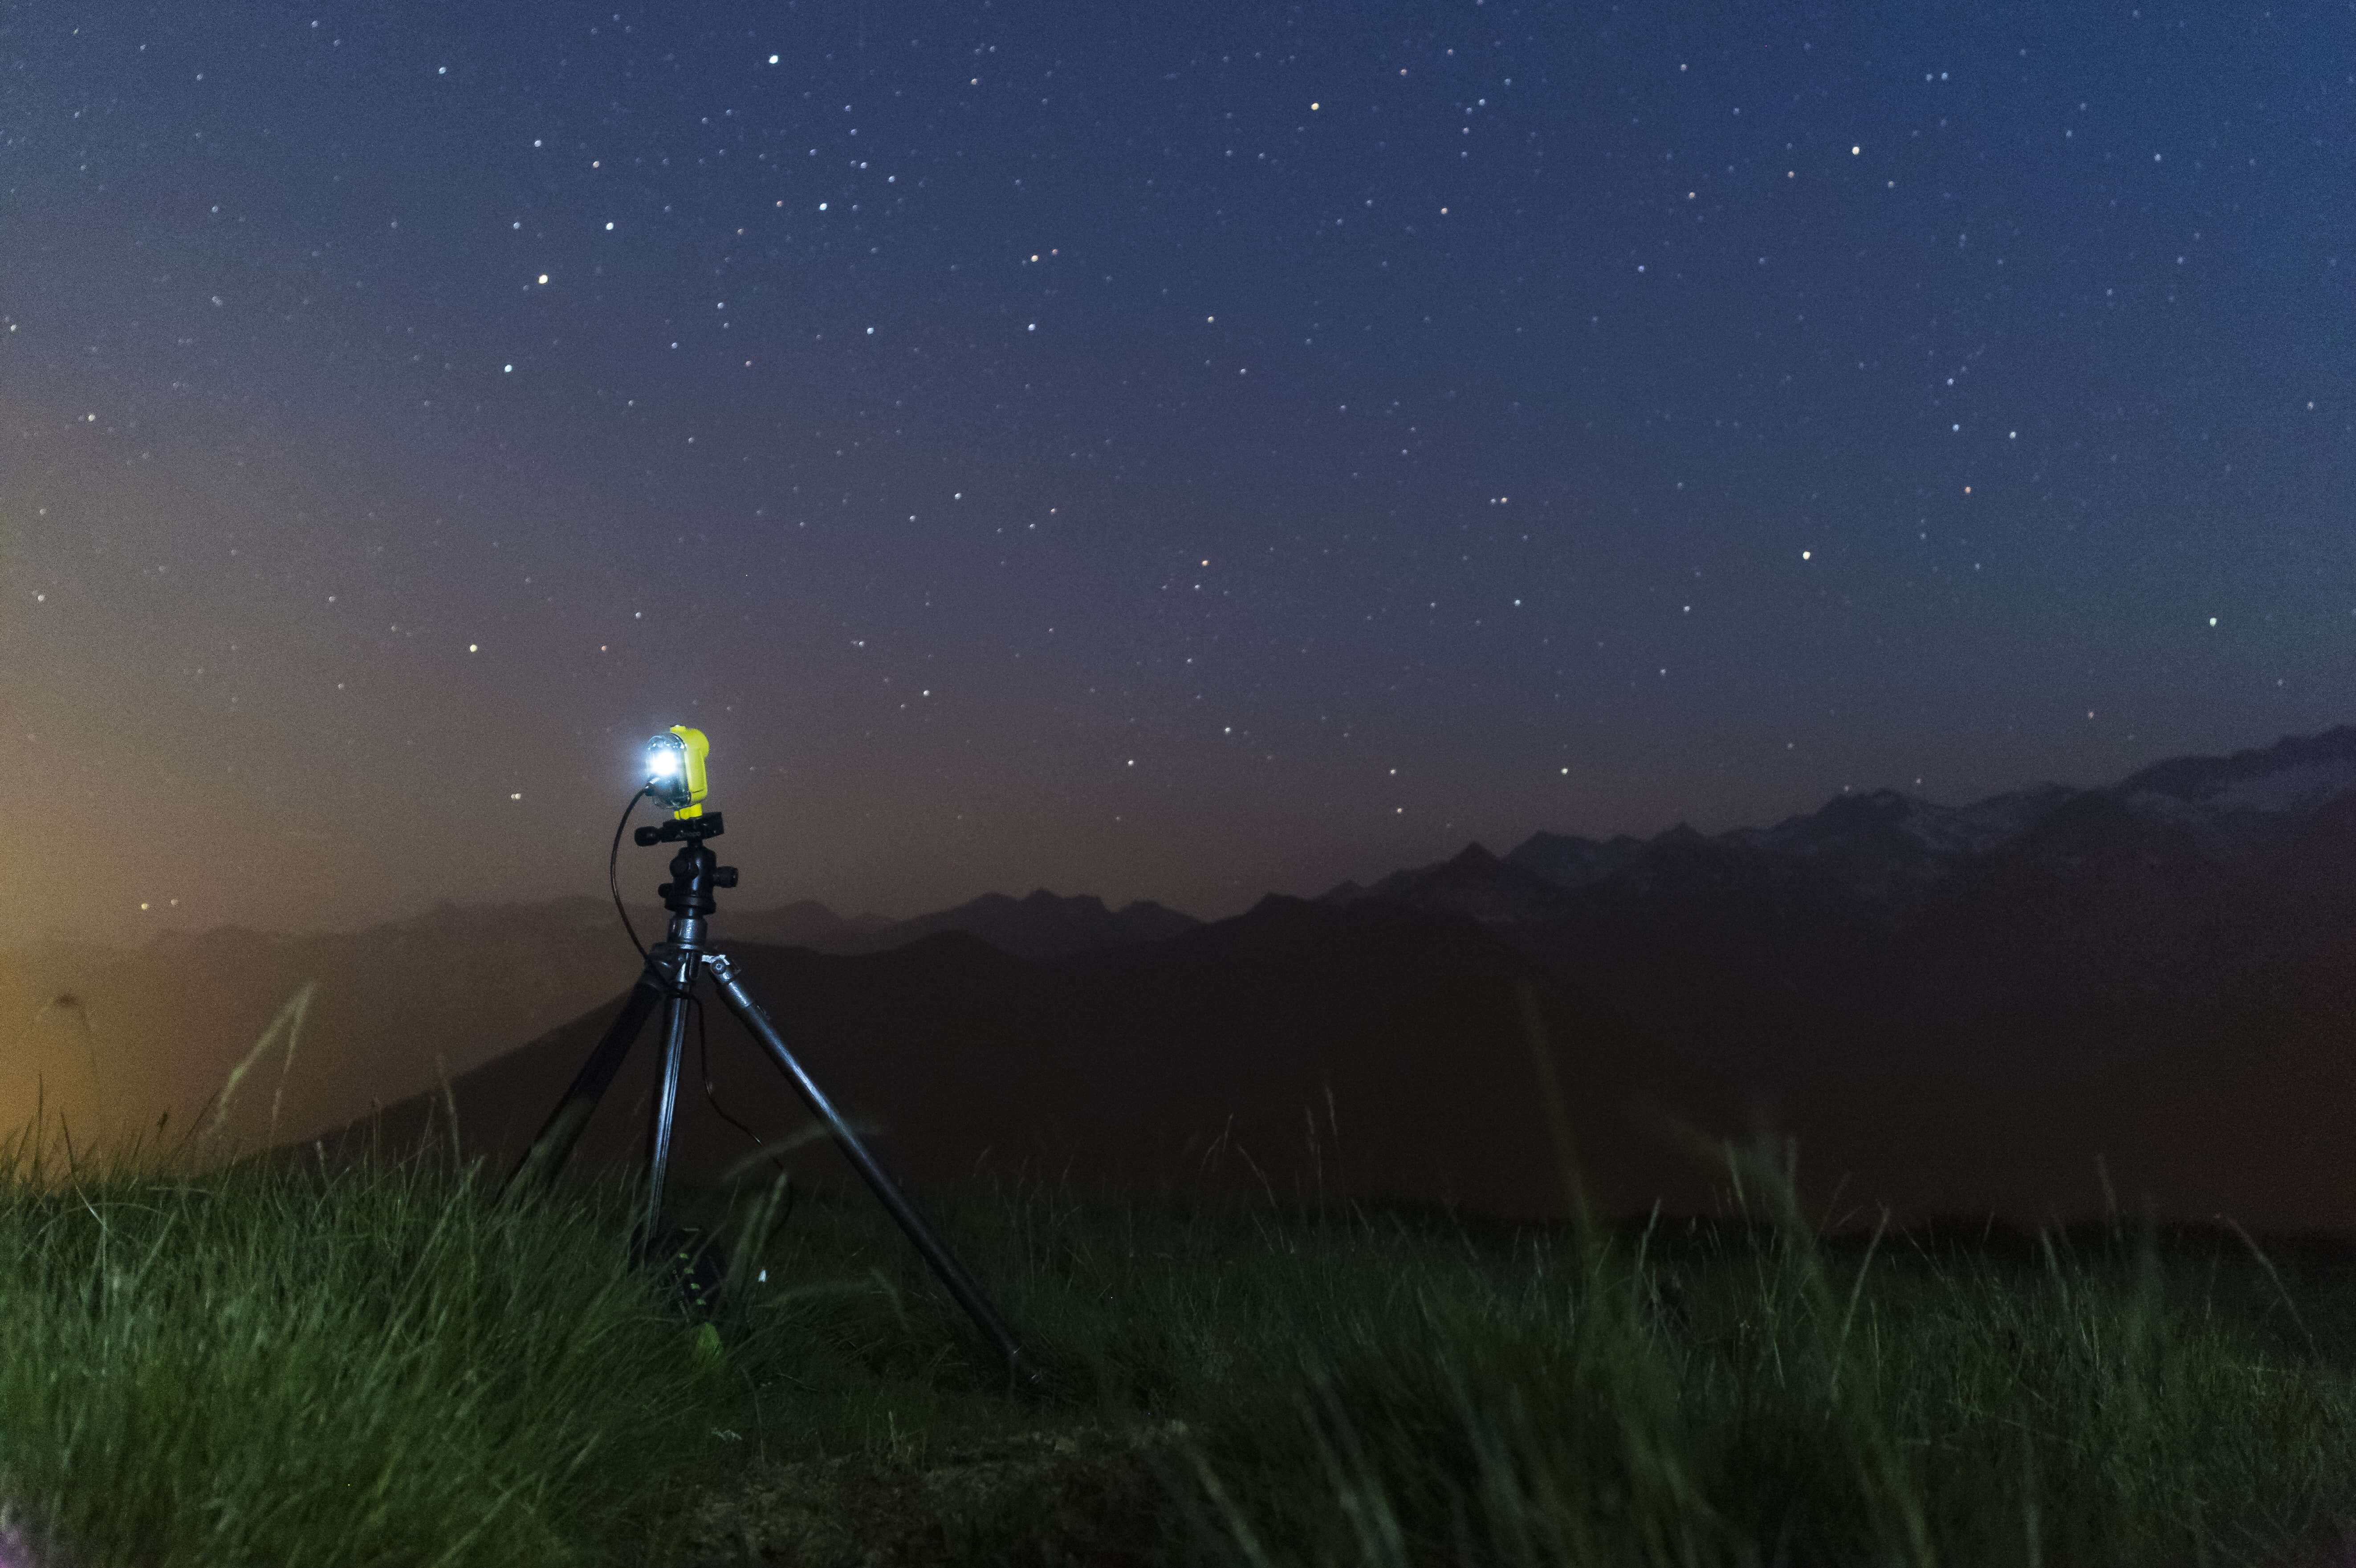
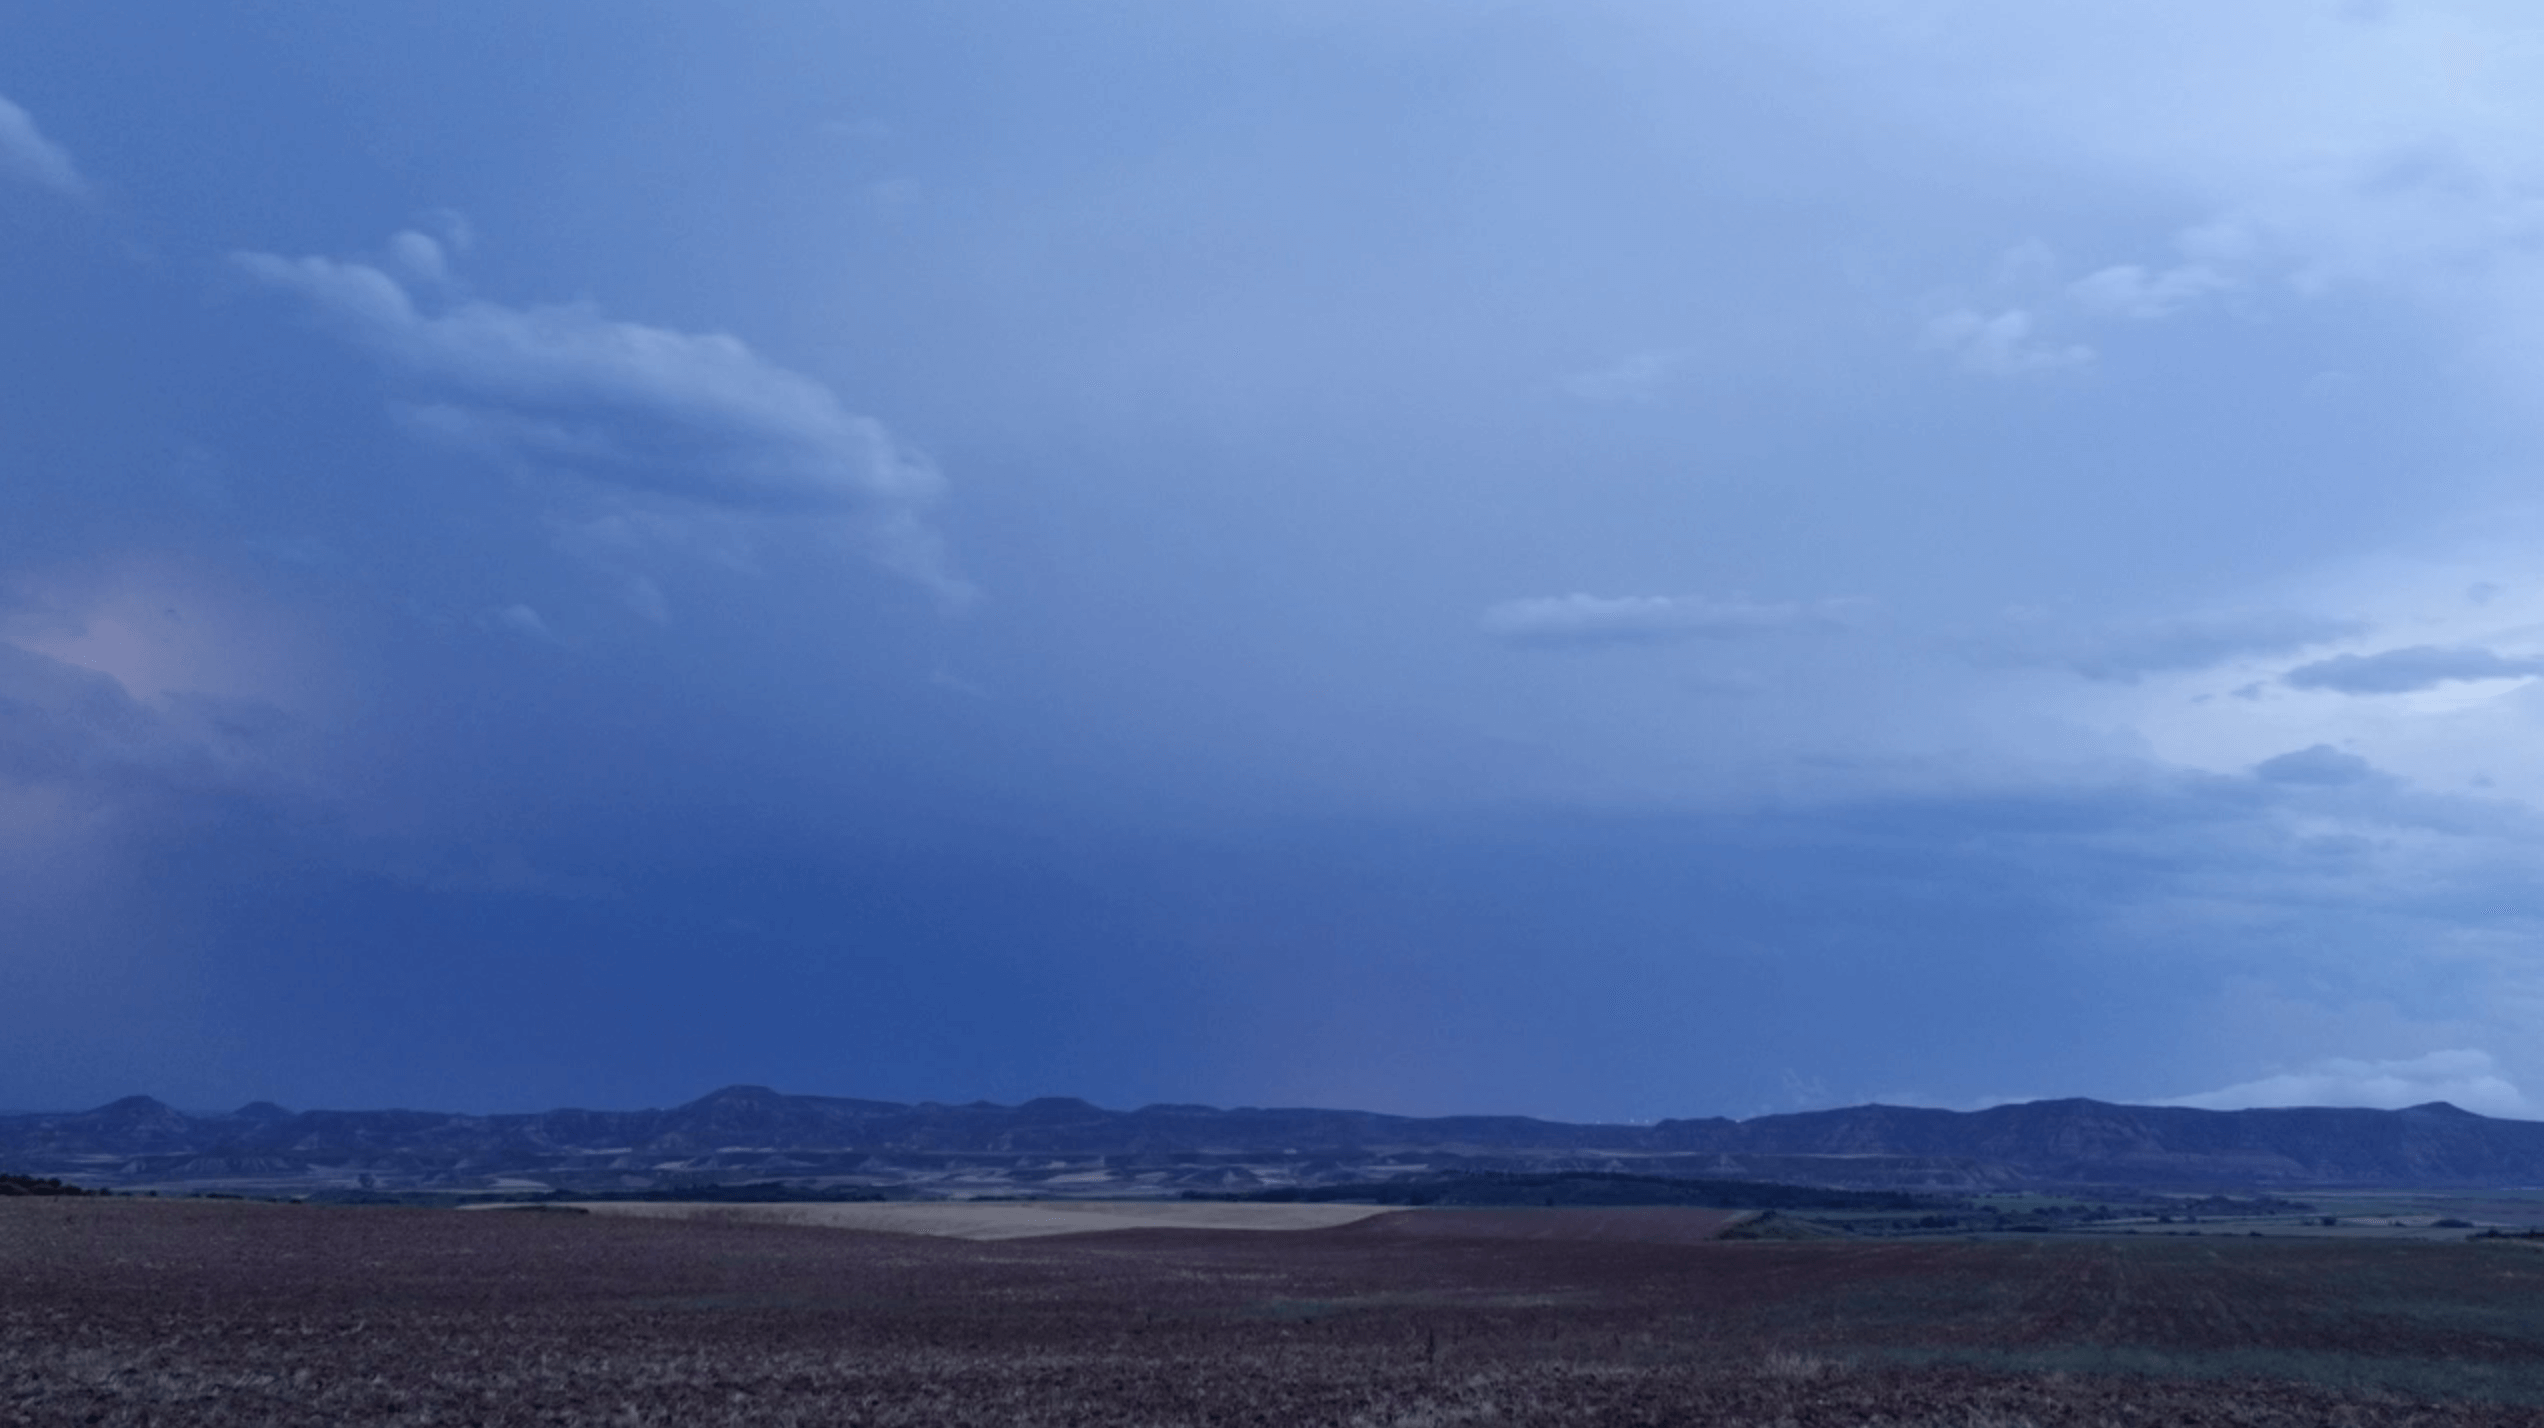
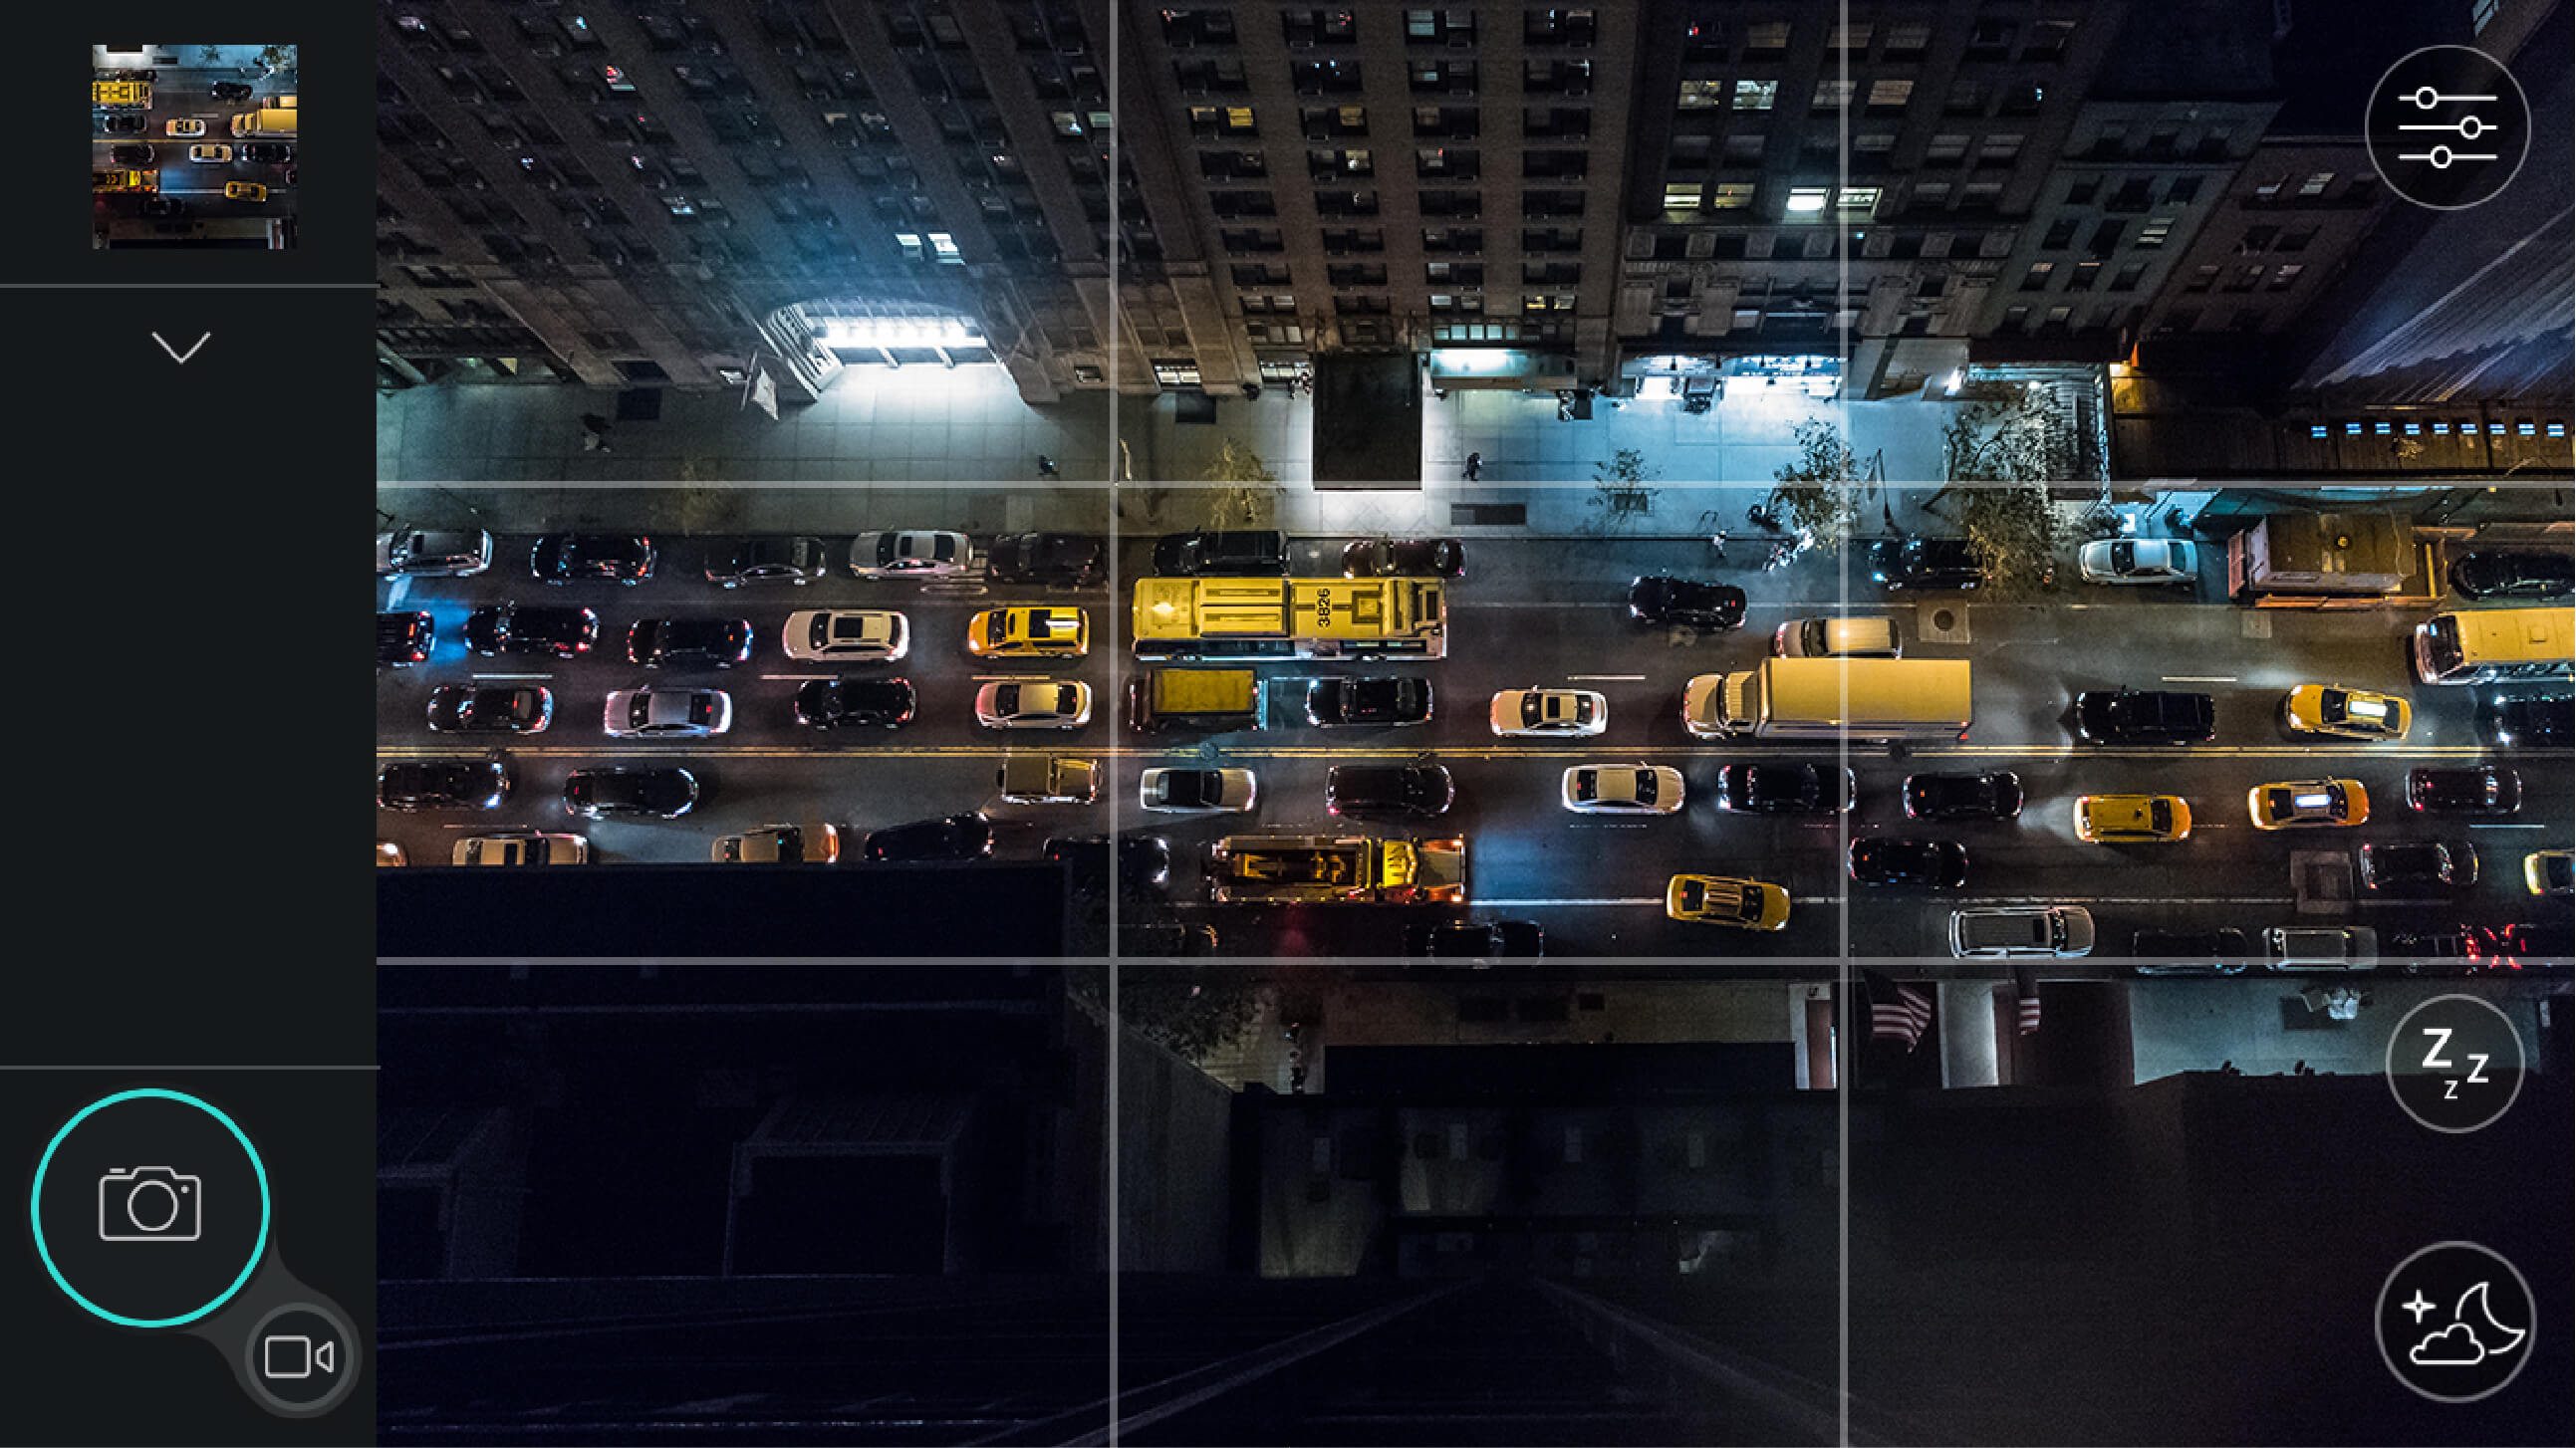
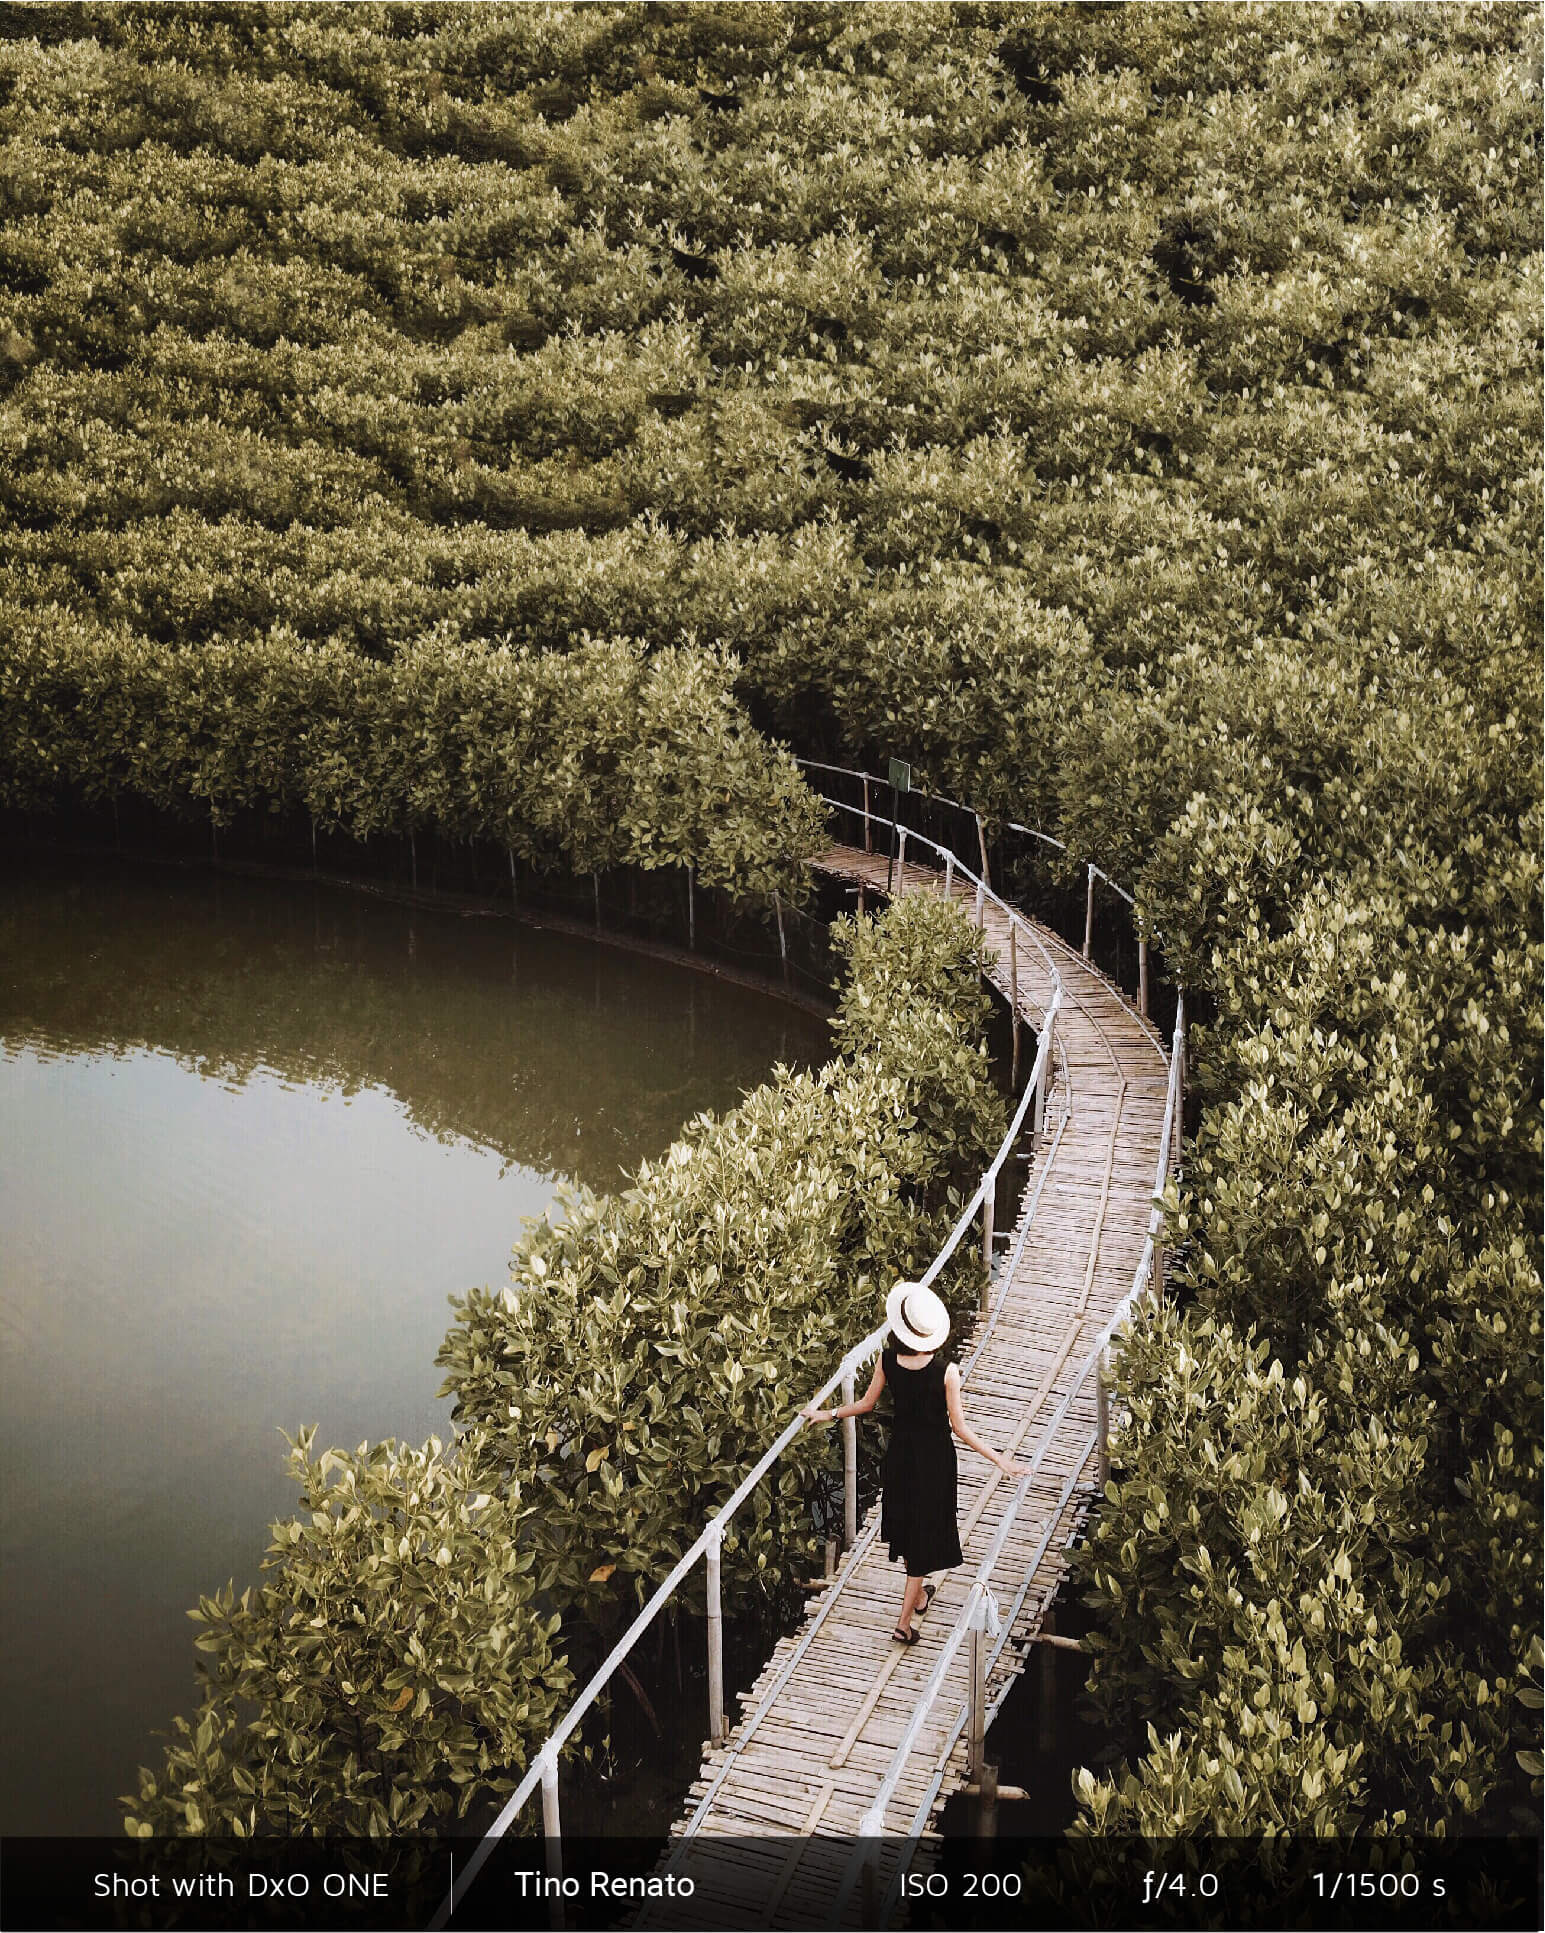
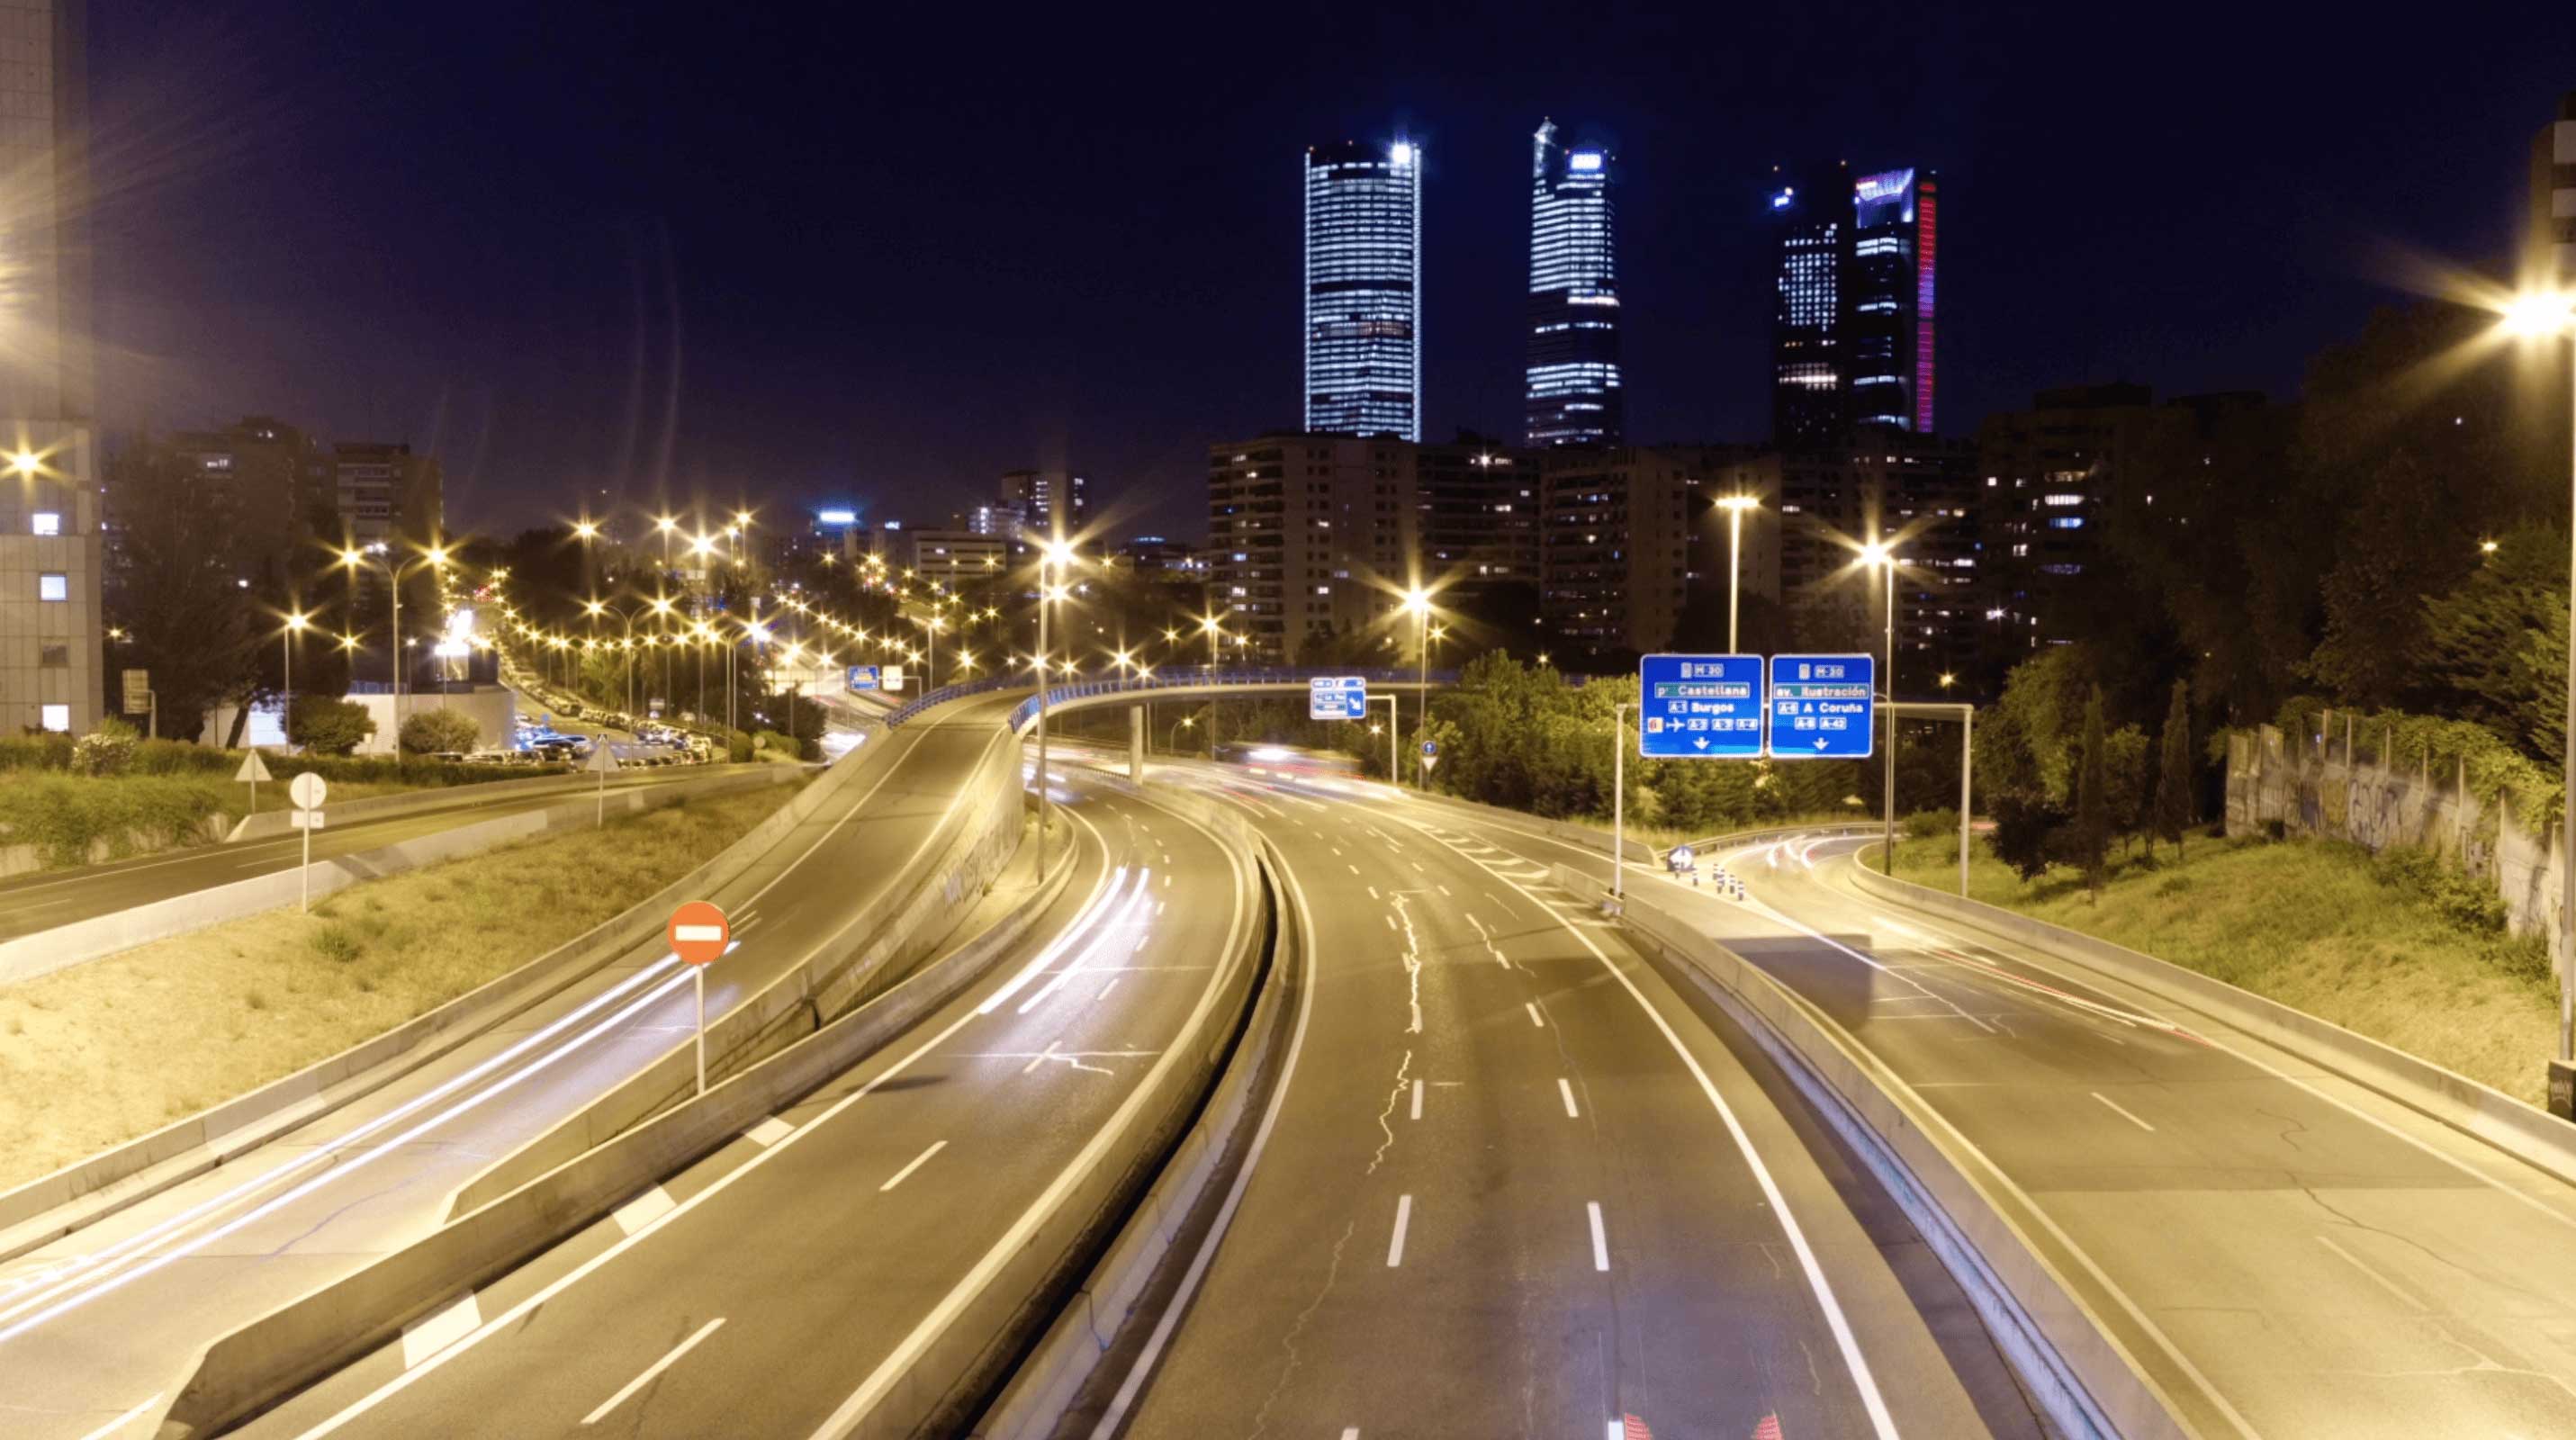
As in any other scene, the first thing you should do is choose the right spot to take your shot. It is important that you have a good perspective from which to see the movement of cars and people.
The scene is usually more dramatic when our position is high off the ground, as moving away from our subjects makes our composition more interesting by accentuating the amplitude and generating slower movements, since cars would otherwise pass by too fast. In addition, we avoid having vehicle lights hit our camera directly and thus generate unwanted flicker.

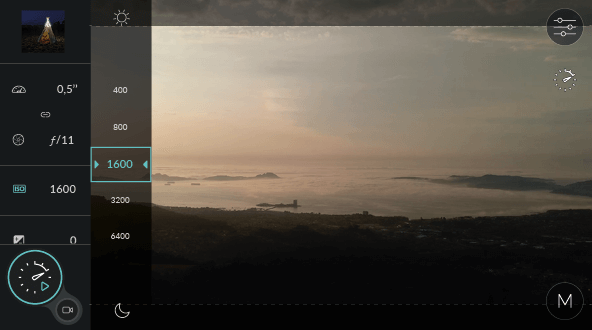
Exposure setup
Correctly choosing the shutter speed and the aperture is very important in city time-lapses because these factors not only serve to control the light that arrives on the sensor, but they are responsible for the amount of motion blur and depth of field, both essential characteristics in these scenes.
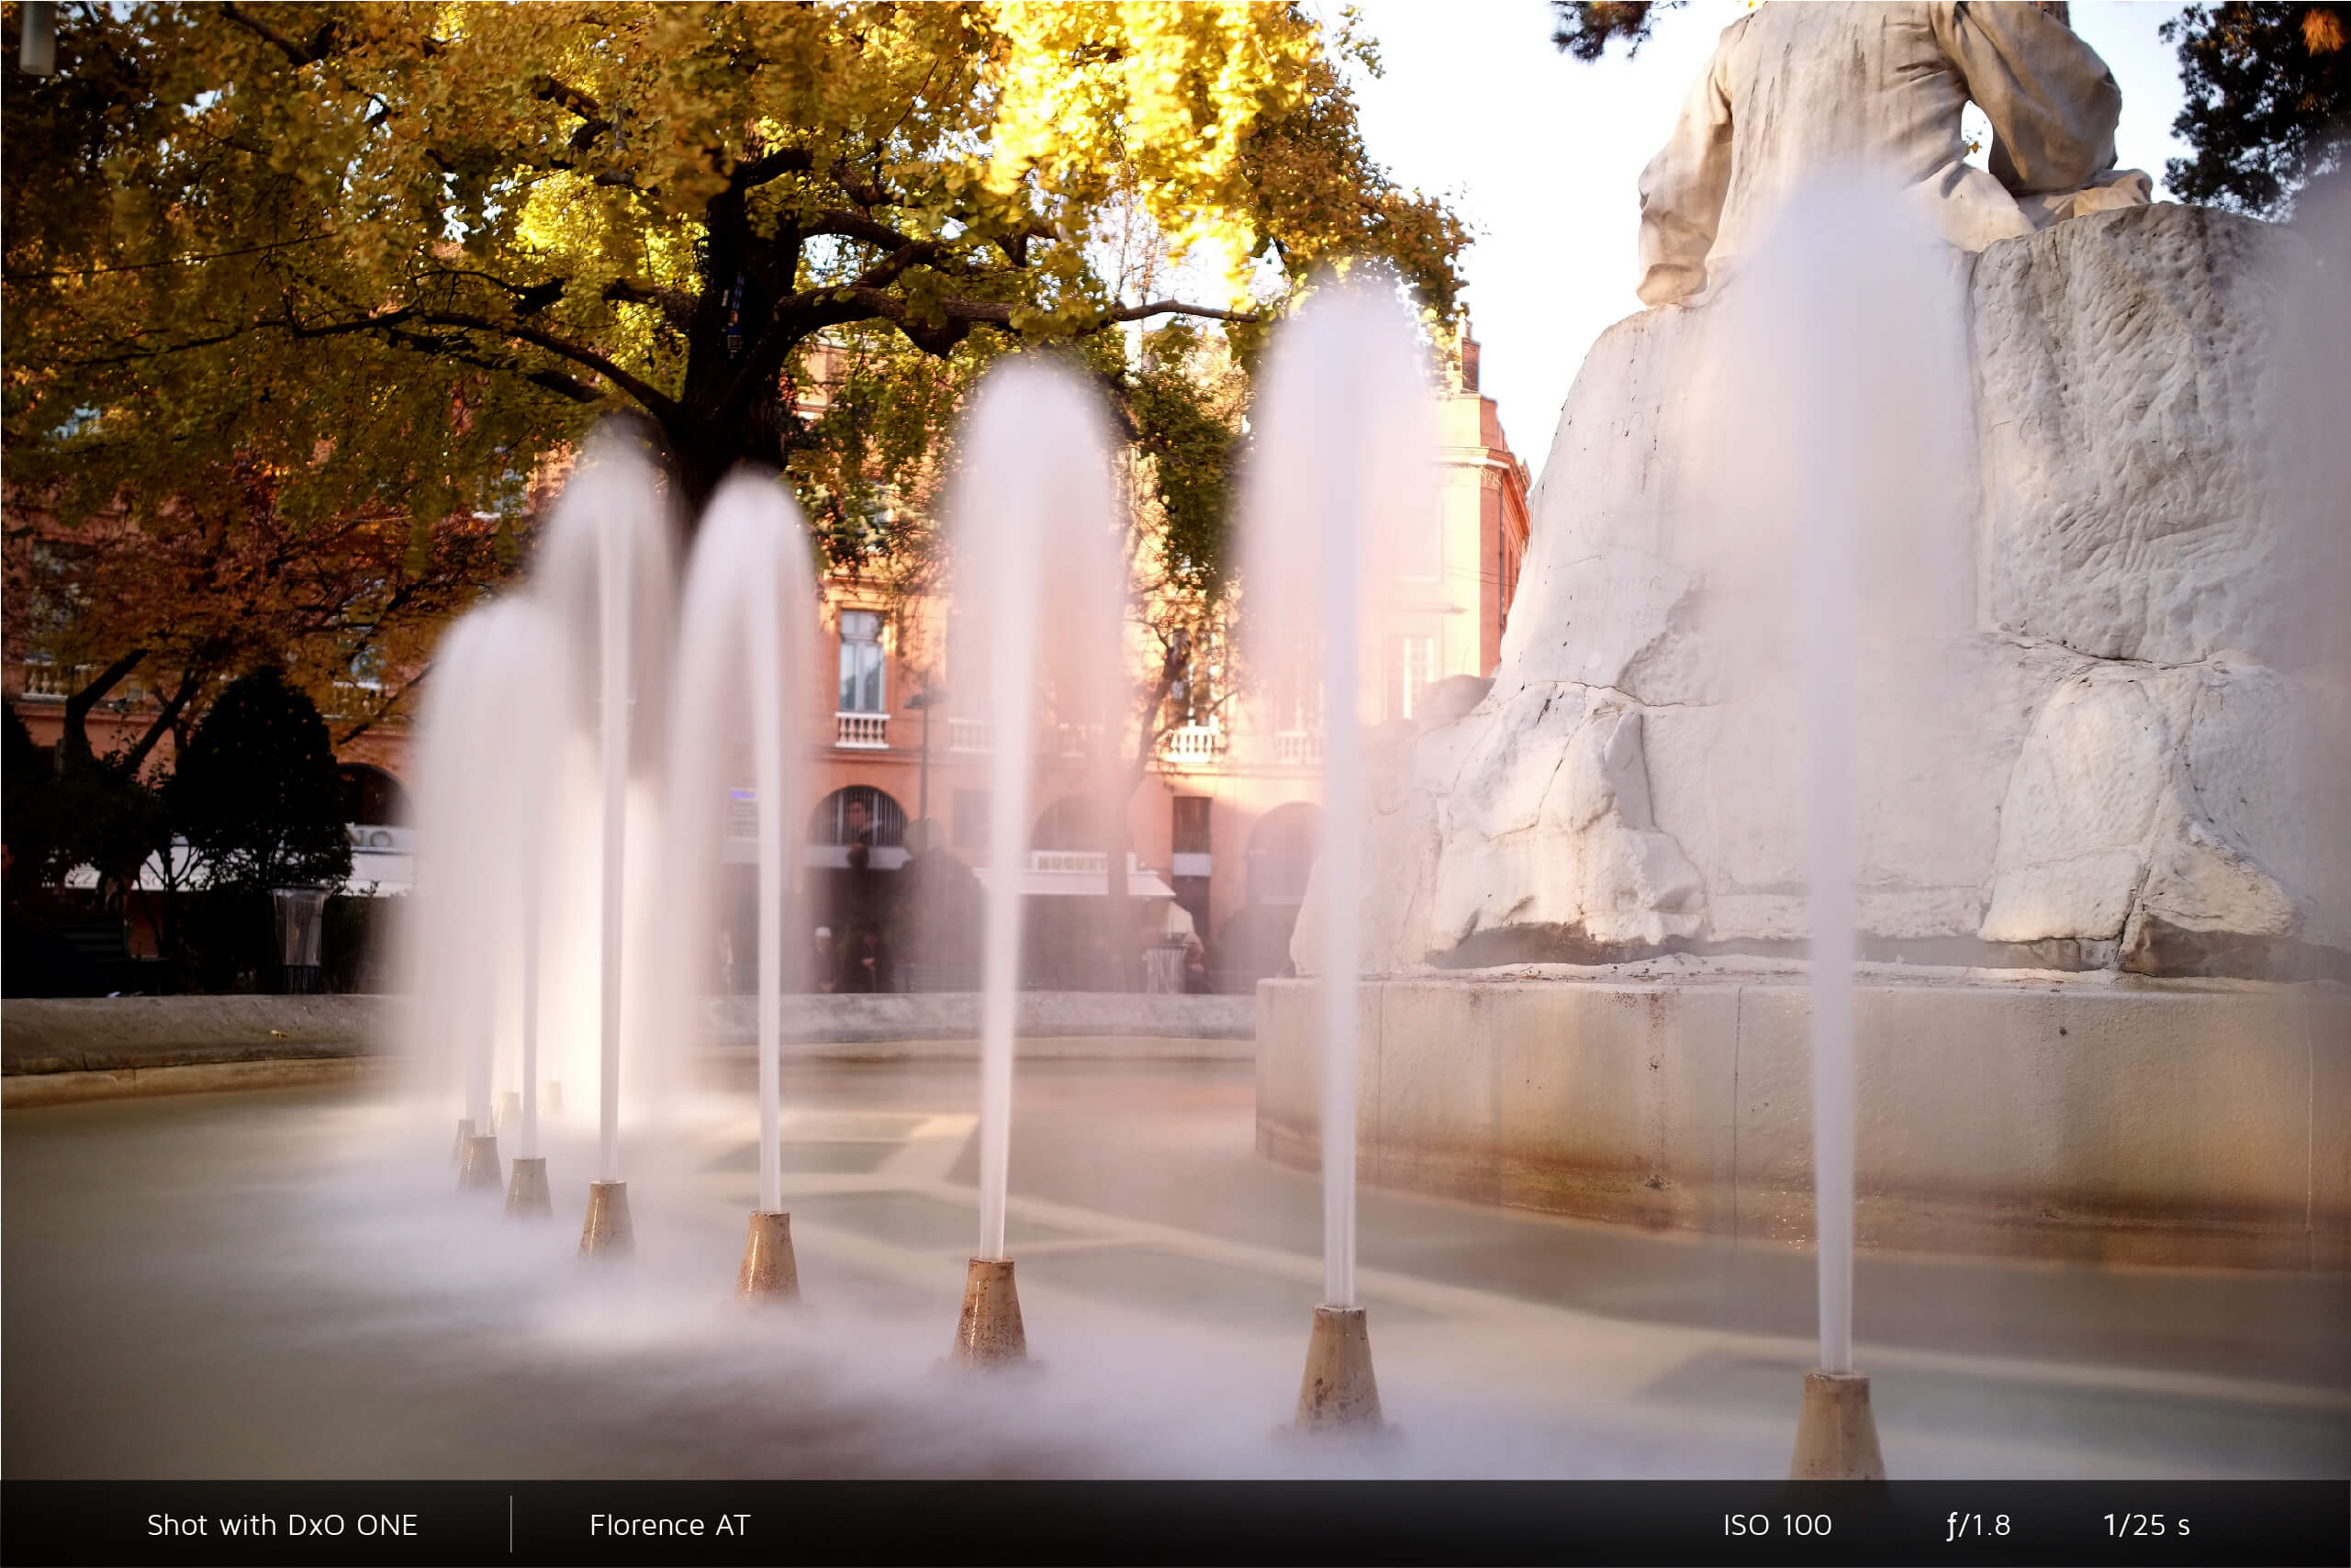
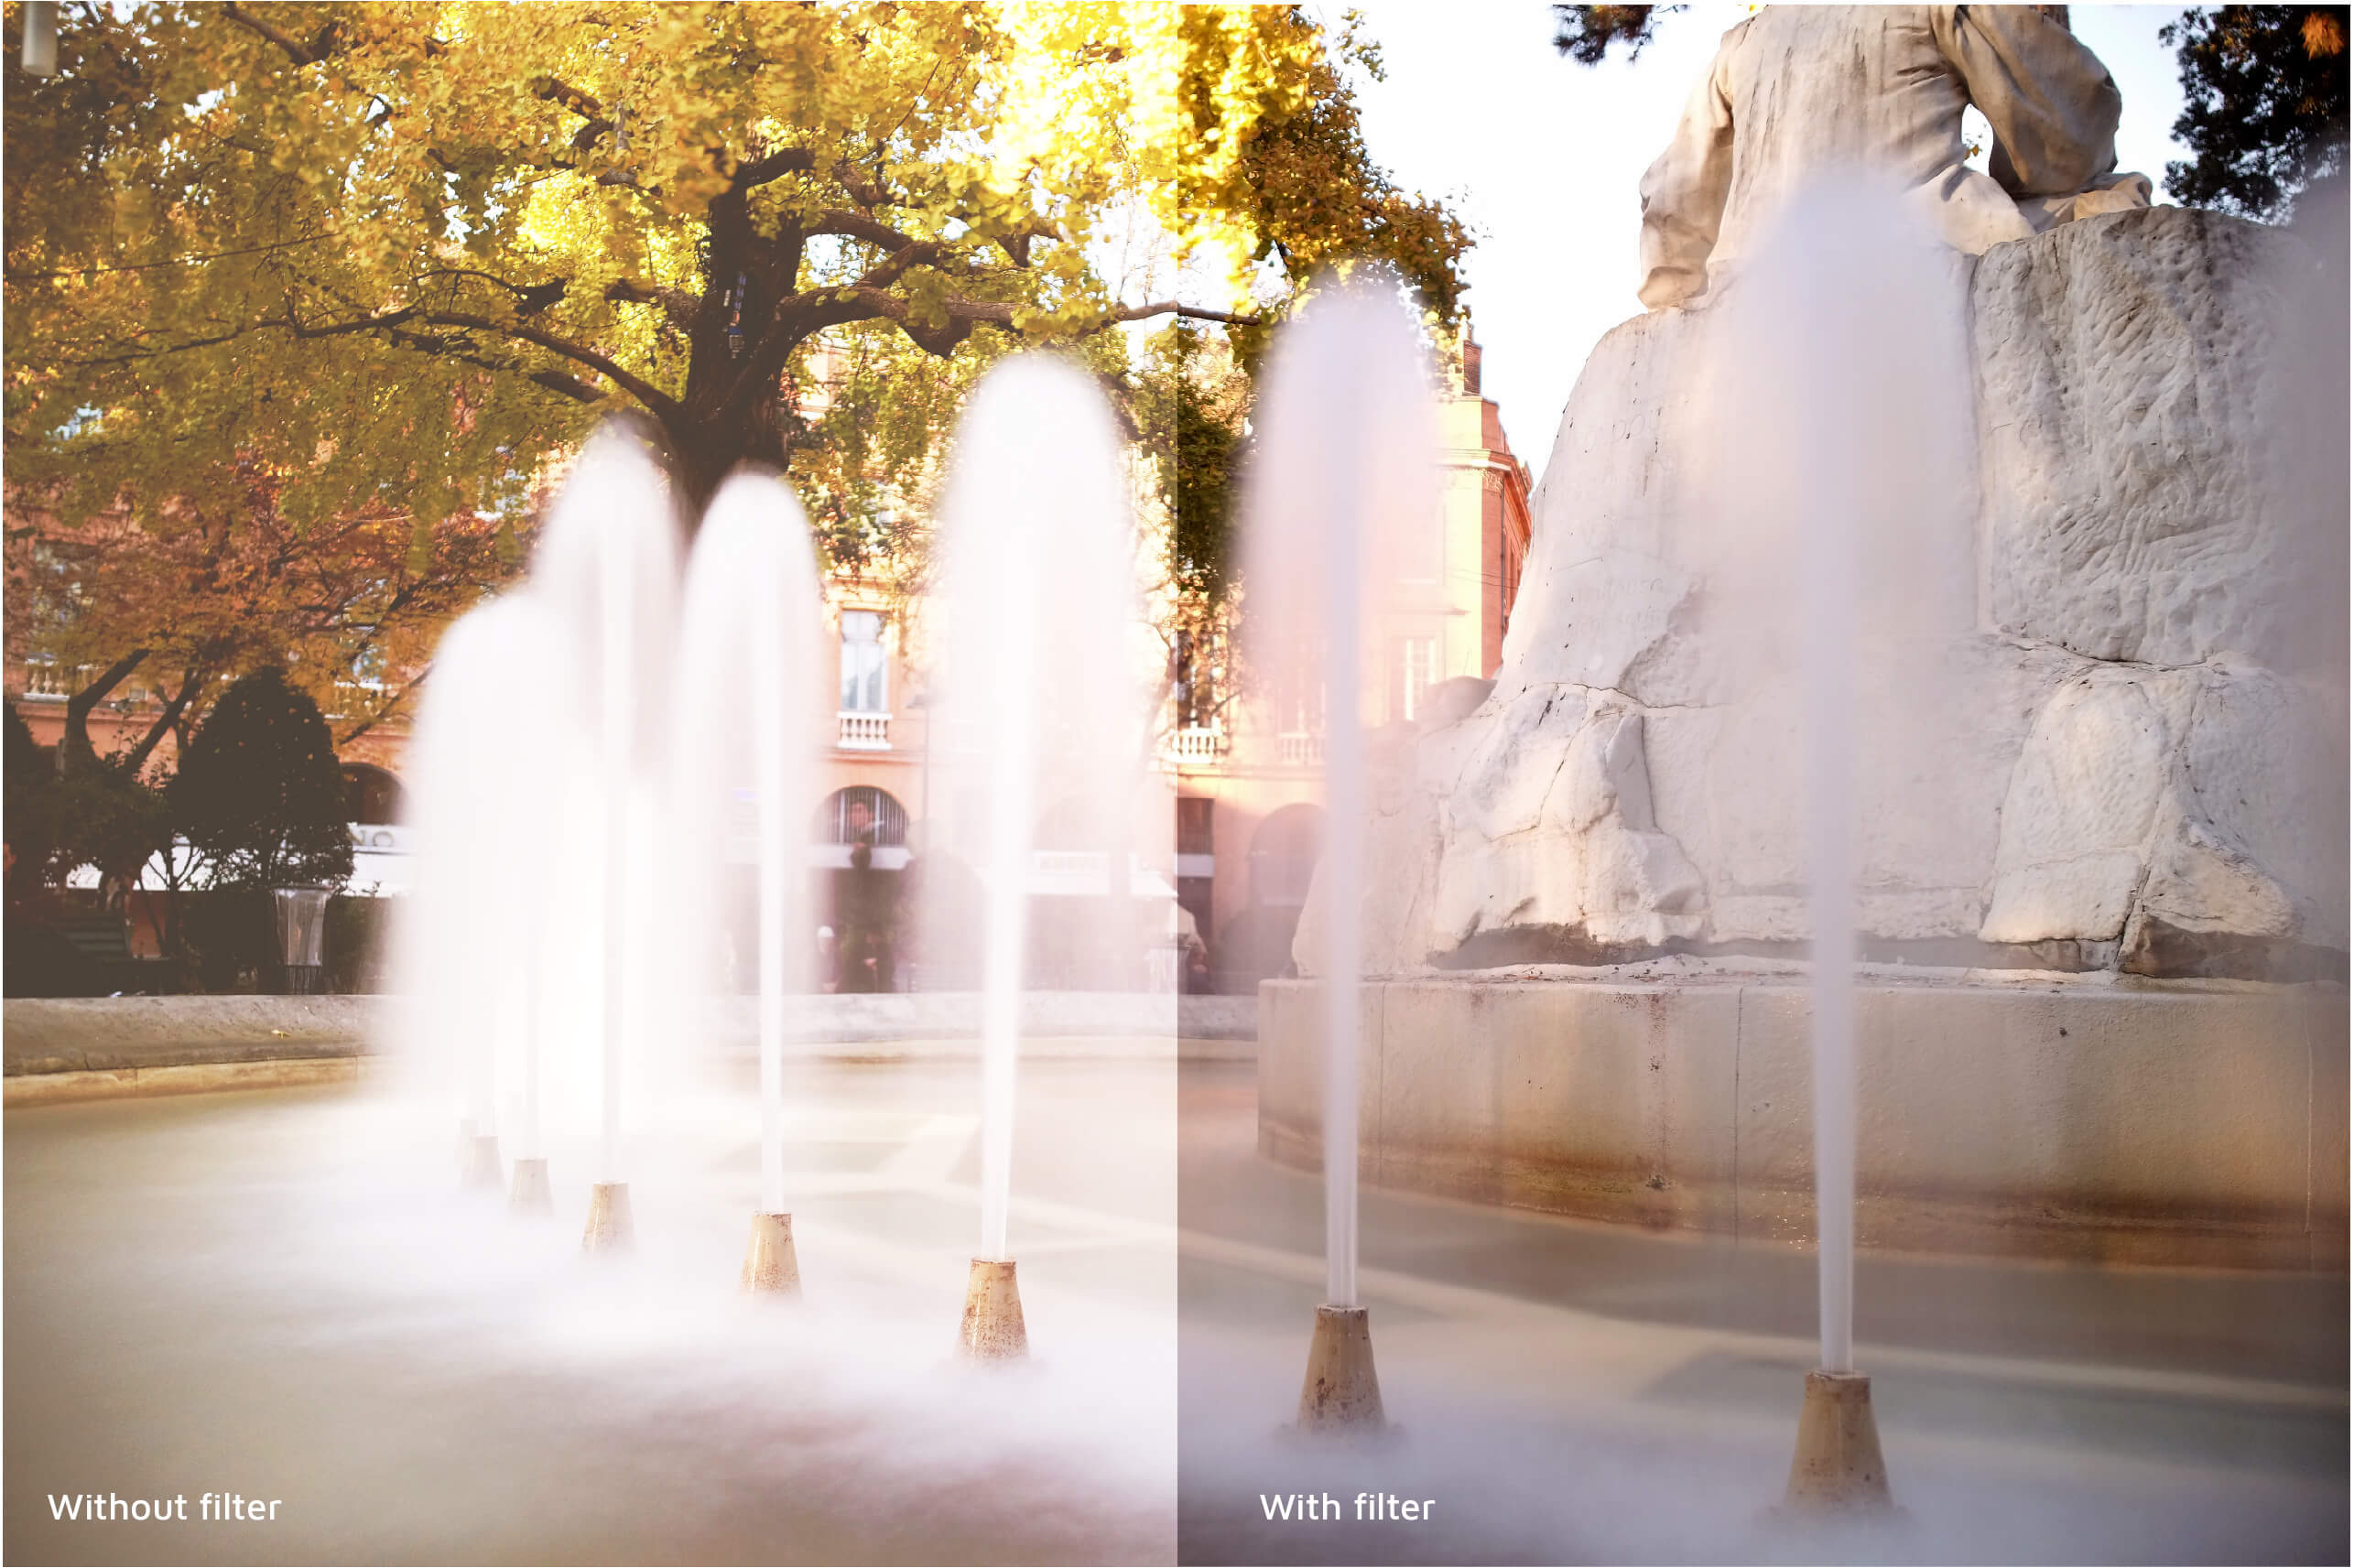
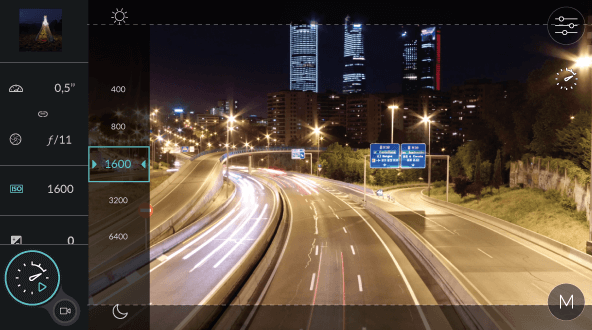
The shutter speed is perhaps the key element in city time-lapses. If we choose a very quick one, we will freeze the movement and the time-lapse will not be fluid.
So I recommend a shutter speed of at least 0.5s, with 1 to 3s also being valid values, depending on the movement in the scene.
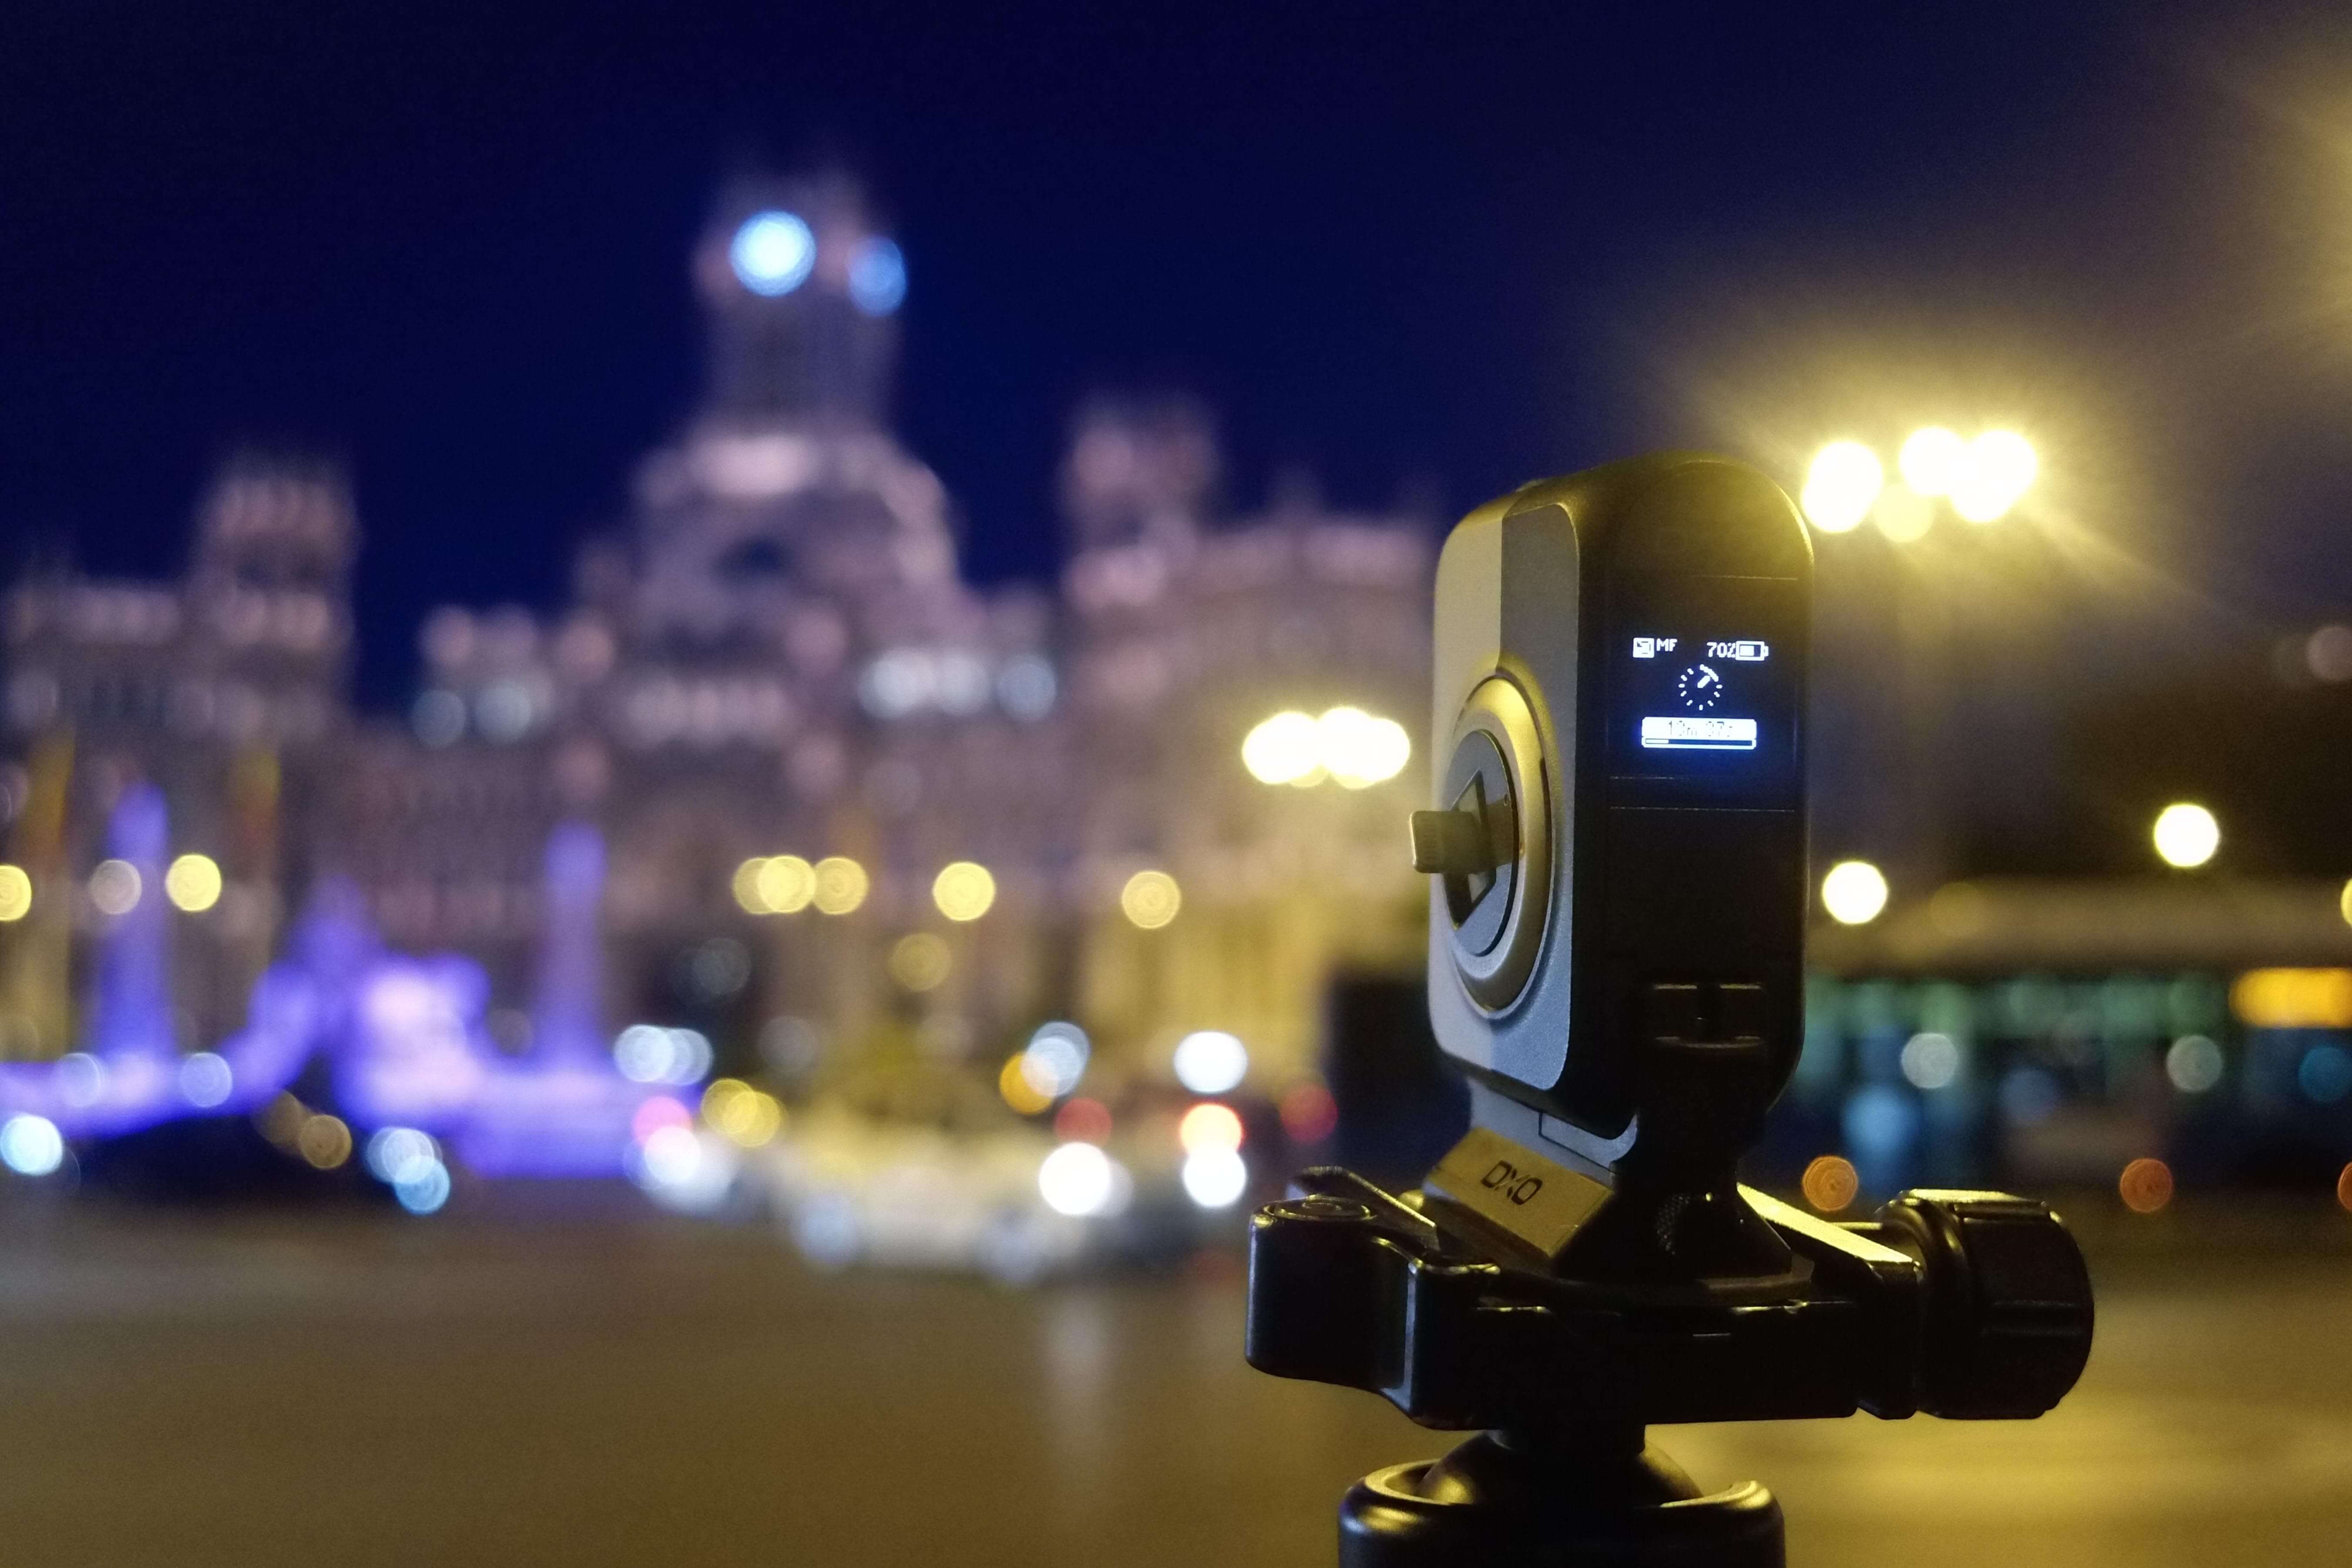
If we are photographing at night, we will not have a problem attaining these speeds—just closing the aperture a little will be enough to achieve 1s, but during the day, the situation becomes more complicated.
Even closing the diaphragm to ƒ/11 will not be enough to reach the right shutter speeds, and it will generate diffraction “stars” around bright lights. For this reason, we absolutely must use neutral density (“ND”) filters. The most useful filters are 0.9 and 1.2, which are equivalent to between 3 and 5 stops.

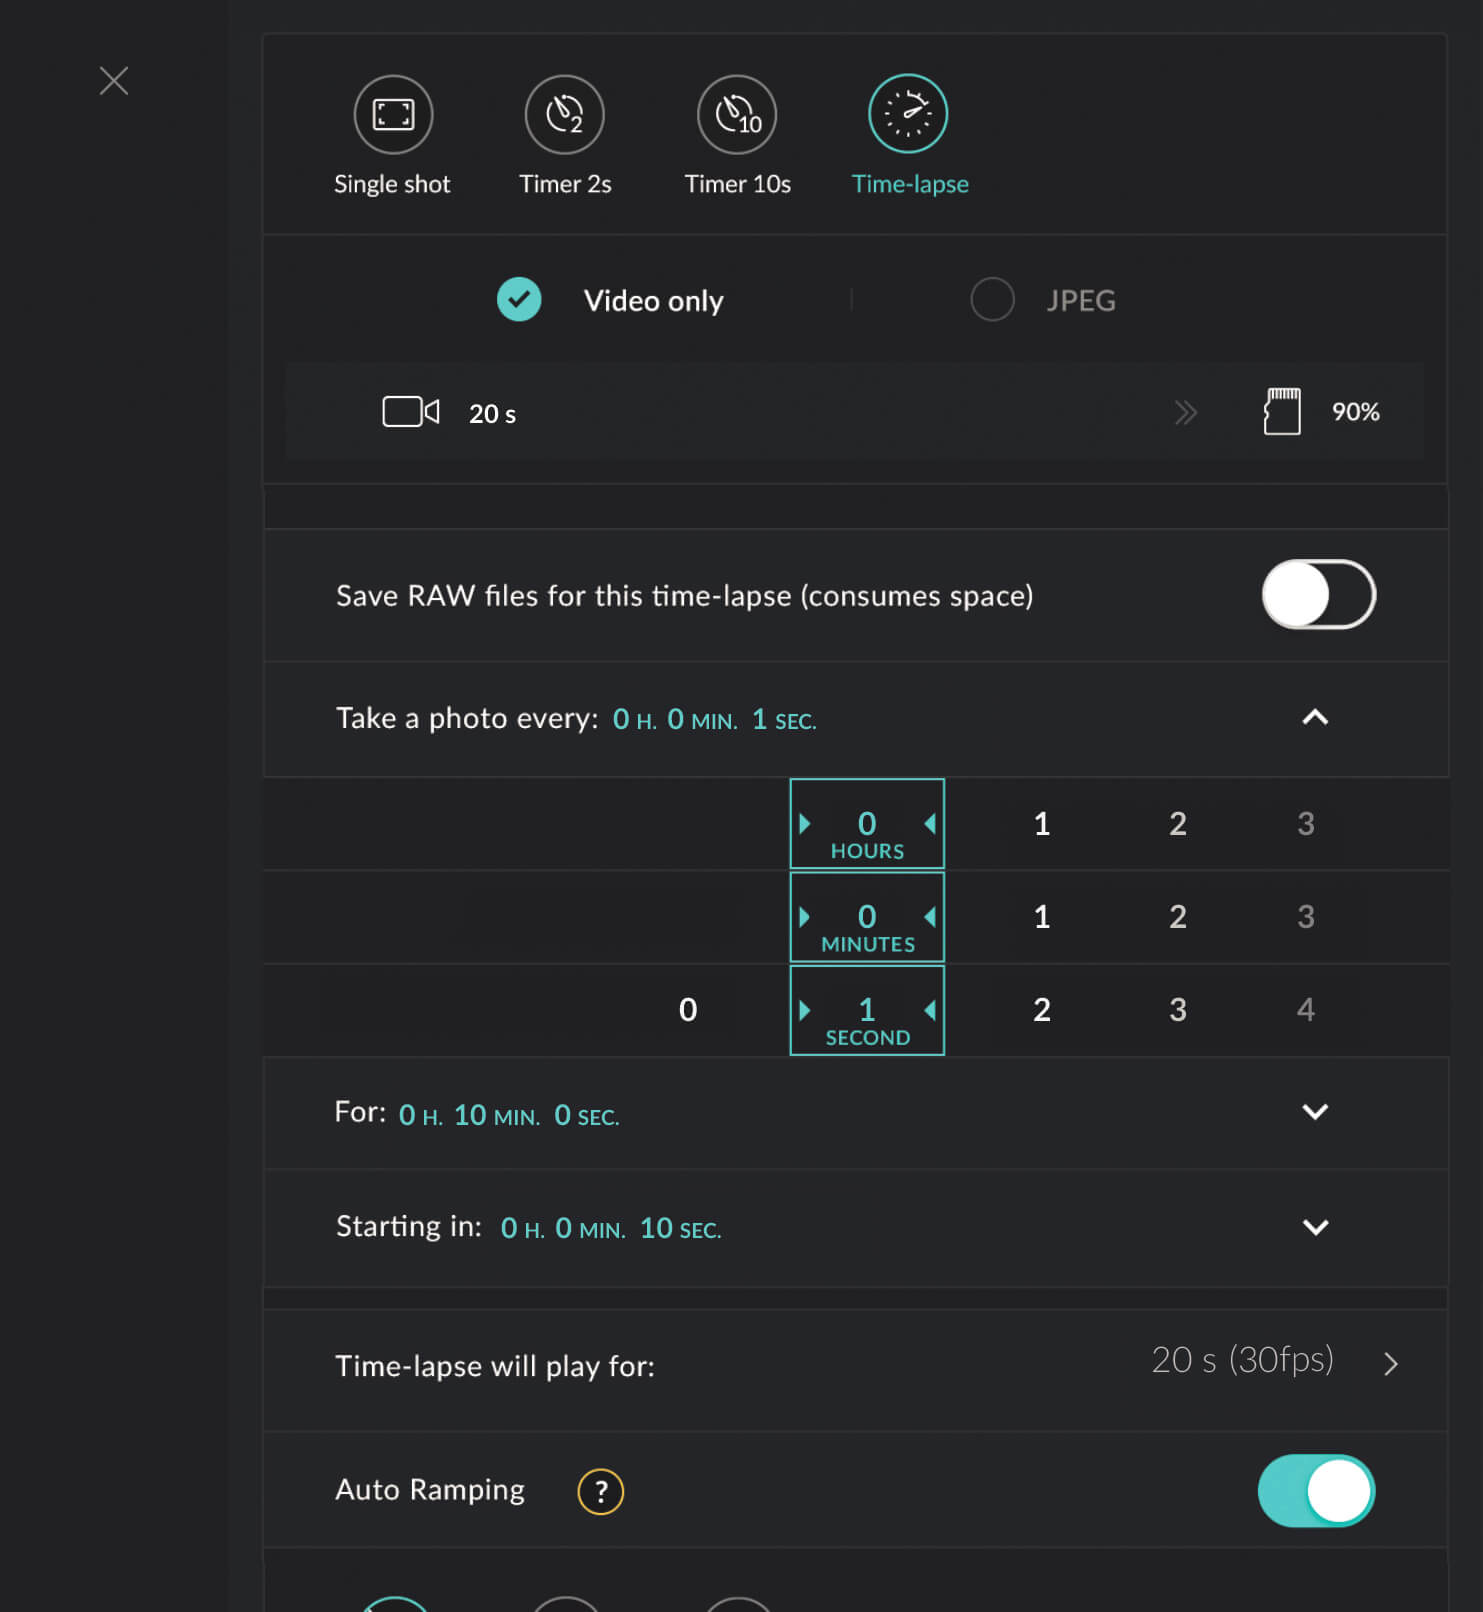
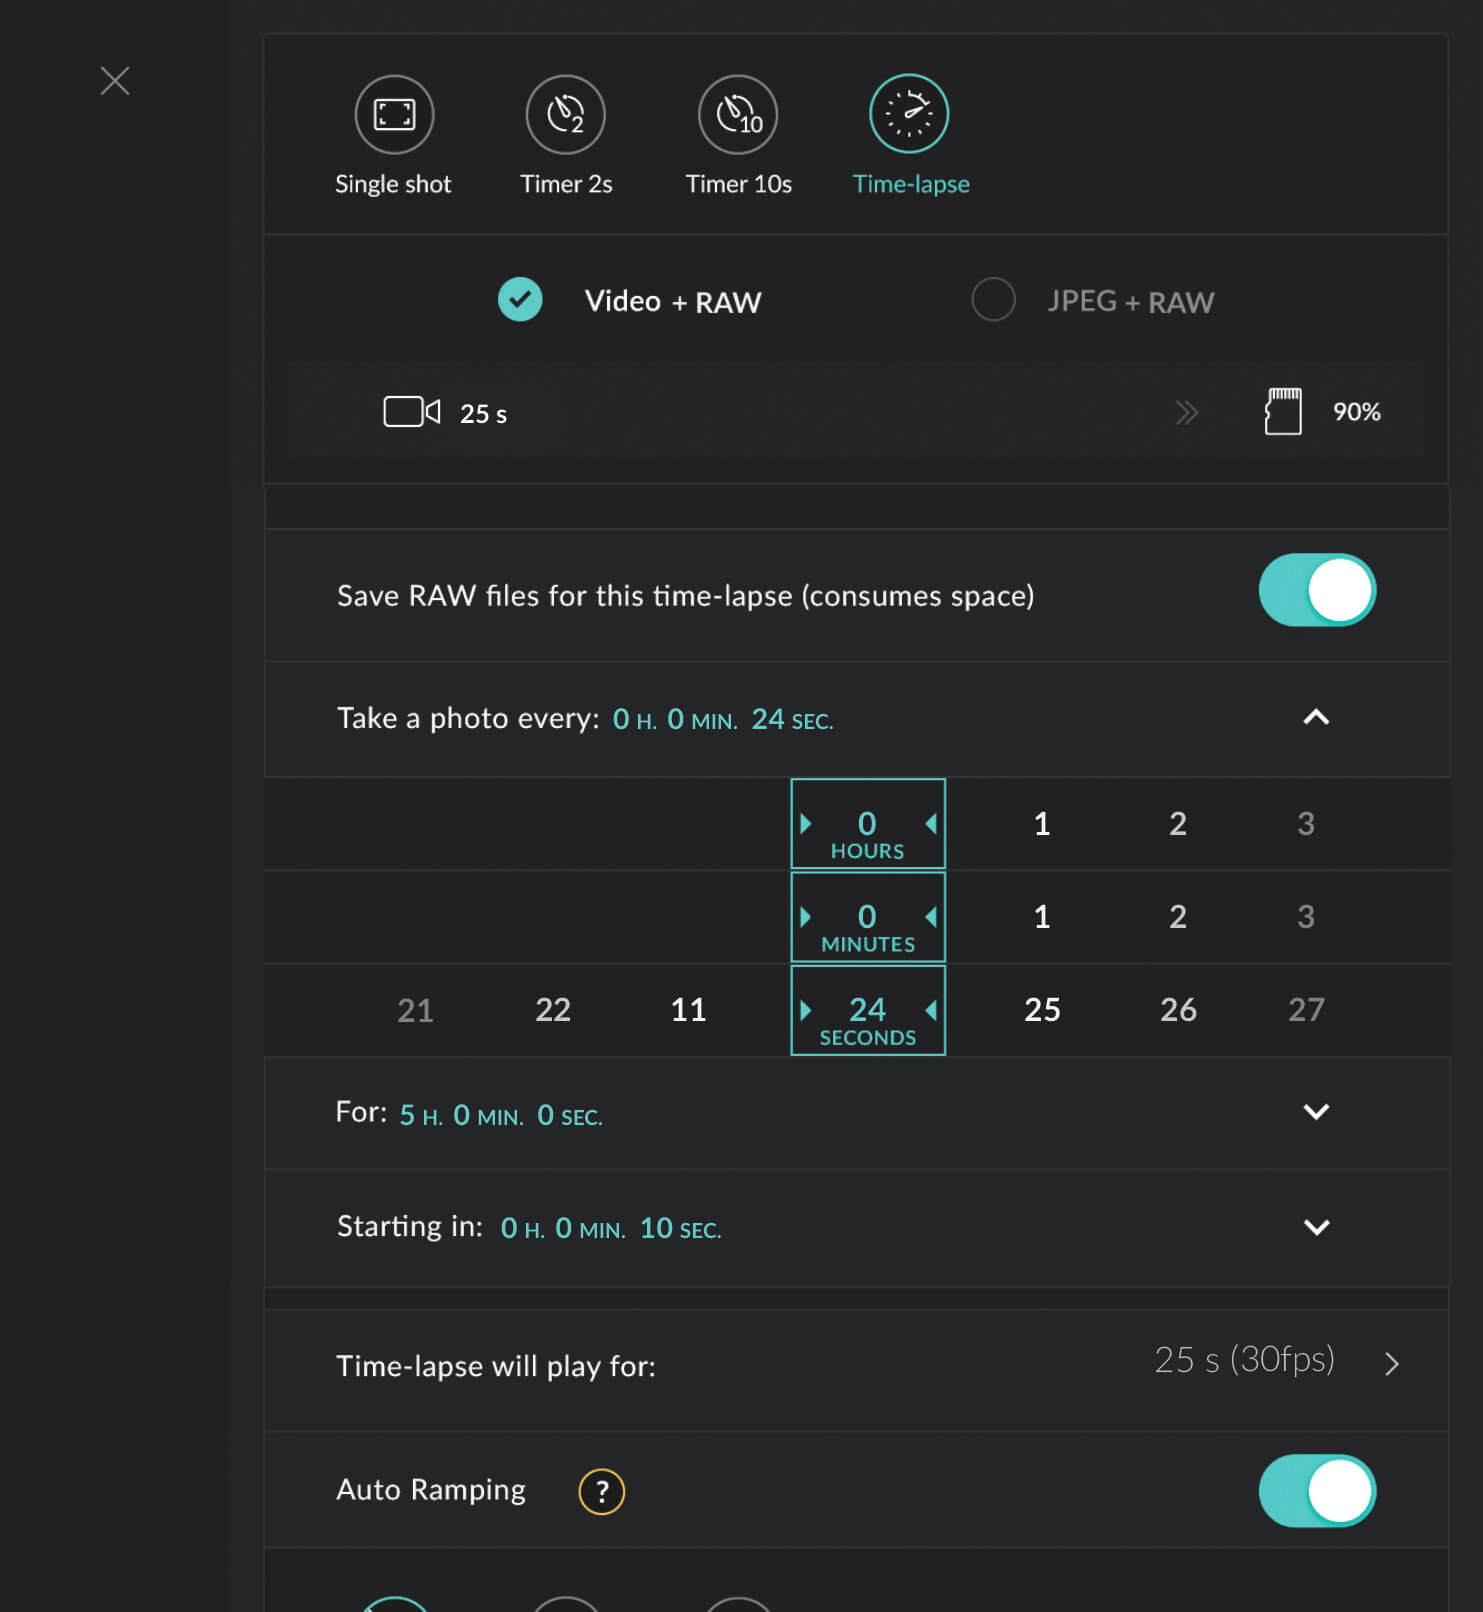
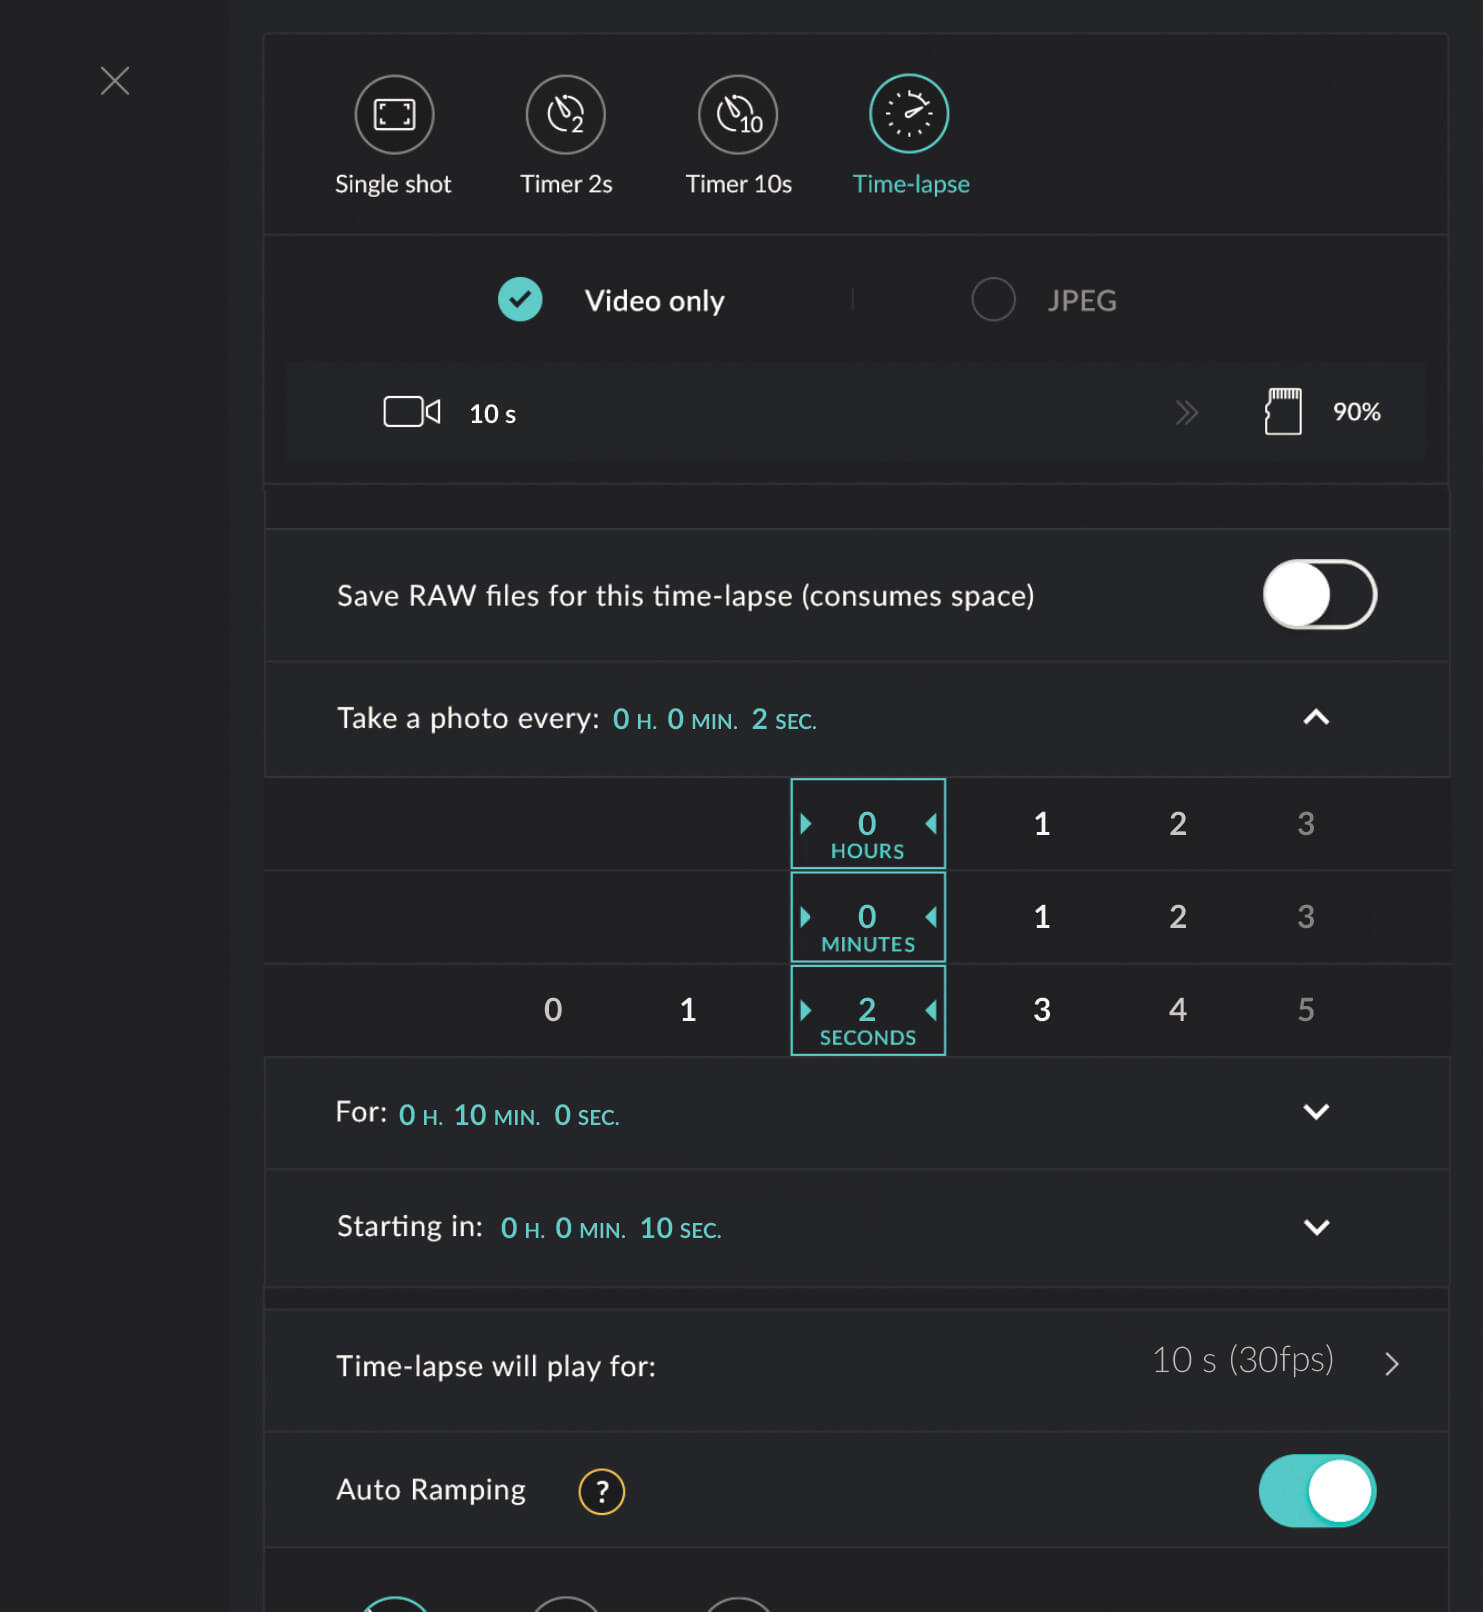
Interval setup

If you are not new to the time-lapse technique, you know this rule, but if you are new, burn it in your memory: the higher the speed of the scene, the shorter the interval you have to select.
This is why, when we capture scenes in cities, we choose the shortest interval possible, because cities are where we find the fastest movement of all — cars and people. The ideal is to choose an interval of 1s, so that the final movement of the city is as fluid and smooth as possible.
But unfortunately, most cameras today are unable to capture high-resolution images at that rate on a continuous burst, because the buffers fill up before the camera is able to write to the card. This means we must choose the shortest interval that allows us to maintain a continuous cadence.
In the case of the DxO ONE, this is 1 photo every 4 seconds with RAW output on a fast-class 10 U3 card. (This said, we can always shoot in .jpg format if we need a shorter interval.)

Evaluating results
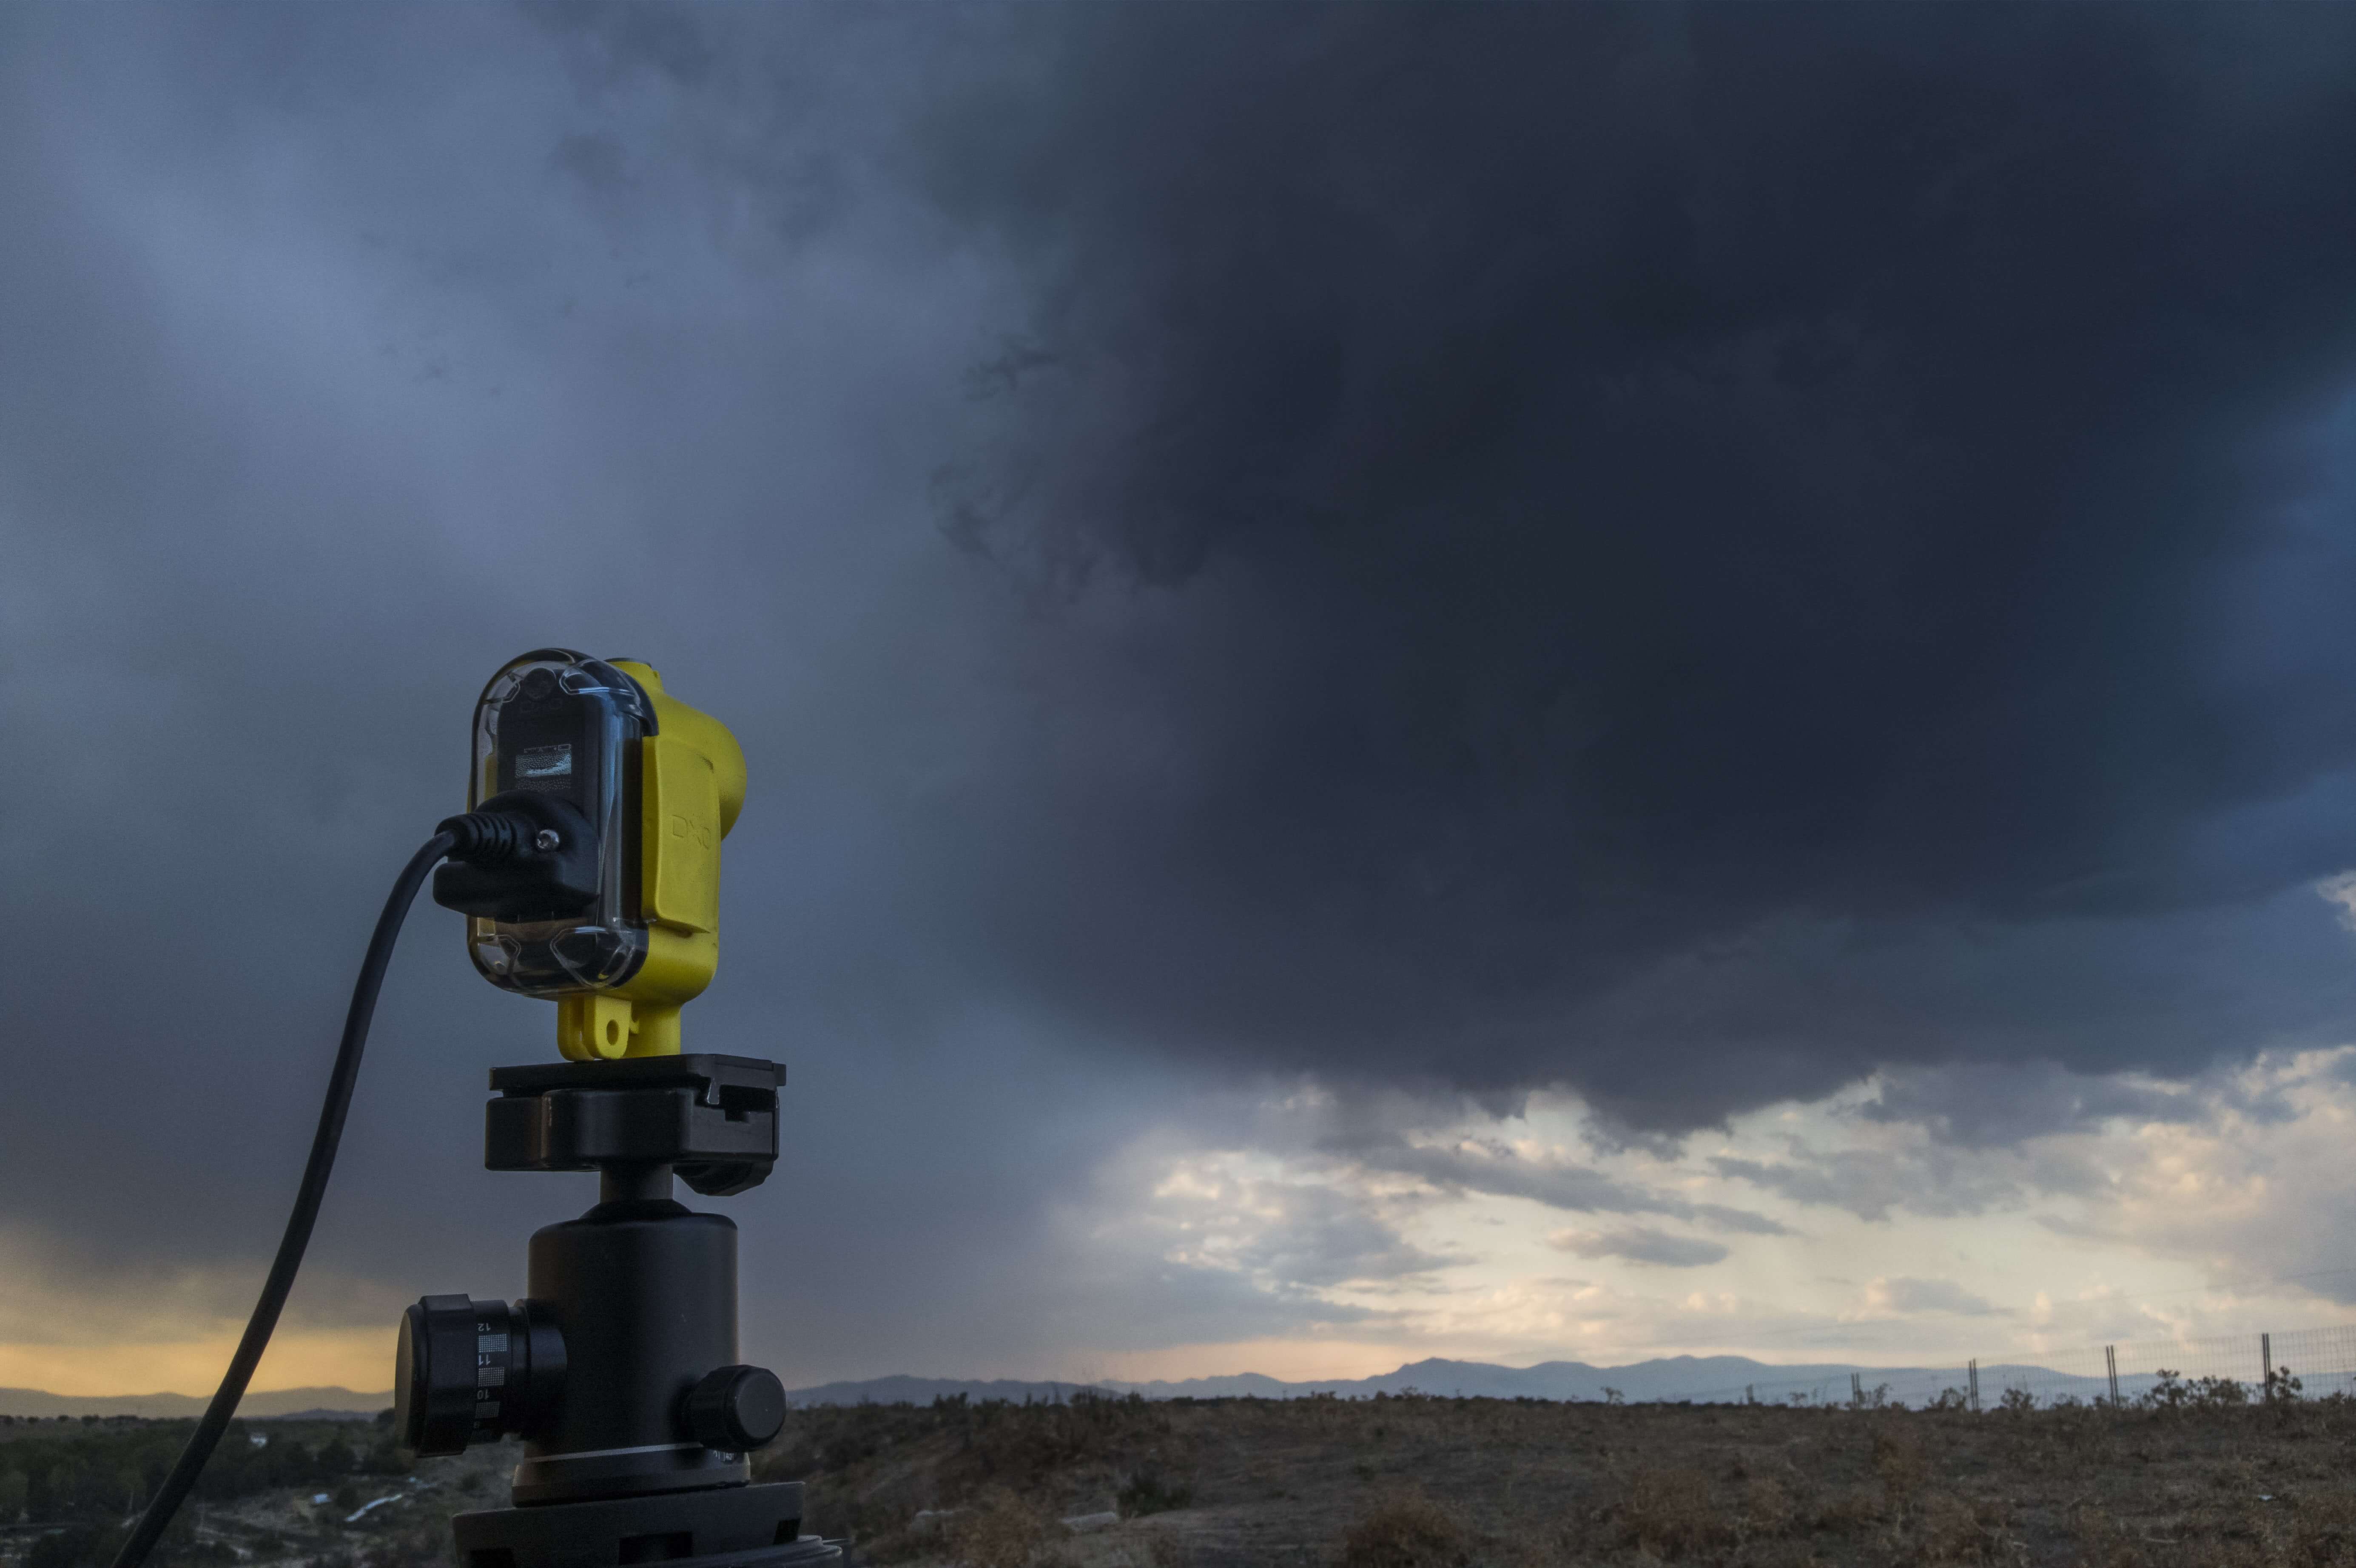
Evaluating the resulting time-lapse is always the best way to learn, and thanks to the DxO ONE’s generation of the video immediately after the shoot, evaluation is easier and more comfortable than ever.
If you have chosen a long shutter speed as advised, you will obtain a clip with a good motion blur. If you selected a small aperture, the images will be clear and have good depth of field. And if the interval you chose was short enough, the movement will be continuous and flicker-free. But if the result is not what you want, take advantage of being in a city where the movement never stops, and simply repeat the shot using short intervals and capture durations.

Enrique Pacheco
Travel cinematographer
& time-lapse specialist
enriquepacheco.com
 Download page